2

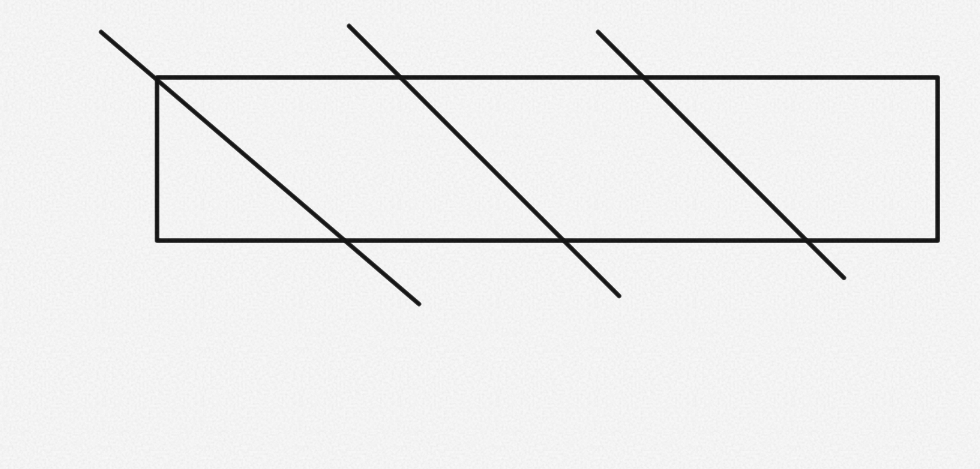
I'm looking to slice 12" segments of 1x6 board into somewhat rhomboid shapes. The angles for each set will be the same but I'm looking for a system where I can change the angle for each set if I need to. Each slice would be roughly 1" apart, and run the full 12" length of the board section.

I'm looking a non-power tool way so please, no table saw or band saw suggestions.

enter image description here

2
  • 1
    Oh, we're looking at the end of the board here, not the surface. Man, that took a minute!
    – FreeMan
    Commented Jan 25, 2023 at 19:08
  • If you mark really straight lines on the top and bottom of the board, you can put the board in a vise and do this by eye with a sharp, undamaged Japanese-style pull saw (available at big-box stores.) You'll need some waste on one side so you can err that way and clean it up. That is, unless you are really good. If your saw is beat up, it's nearly impossible to keep a straight line, in my experience.
    – JimmyJames
    Commented Jan 25, 2023 at 21:38

7 Answers 7

7

Crosscut

If this is a cross cut (cutting across the grains of the board), then sawing freehand to the line with a handsaw is possible. Like any effort requiring hand eye coordination, the more you have practiced, the better your results. If you are new to hand sawing, you'll probably benefit from some kind of jig. I would suggest the use of a miter box. For custom angles, a quick homemade version would work well.

A miter box is a trough of 12 inches long or so made wide enough for the board your going to cut to fit inside and has boards attached to the sides that come up higher than the thickness of the board you're going to cut by at least 3 or 4 inches. You can lay out the angles you'll need across the top of the side boards and saw down to the base of the trough. Then you lay your board into the trough, and use the pre-cut channel to guide your saw through the cut.

There's a tutorial here on how to make and use a miter box.

Rip Cut

If this is a rip cut, meaning a cut down the length of the board, then this is easier done freehand, but will take some time.

You'll need a few things to make it work;

  1. Rip saw. A saw with its teeth filed specifically for this kind of cutting. Rip cut teeth are identifiable by the front edge of the teeth being perpendicular to the blade.
  2. A method to clamp the board securely upright. This is important because it's how you maintain your angle.
  3. A method to mark the lines you want to cut on both sides and the ends of the board.

For this process

  • Clamp the board upright and begin your cut on the line you've marked on the top end of the board.

  • Once it's started, you'll begin cutting down the line on the face of the board and angle the saw up (pointing upwards) so it only cuts on the side of the board you can see.

  • When the angle becomes too steep to continue without cutting into the opposite face, stop sawing and turn the board around.

  • Then start sawing down the line on that side and, again, angling the saw so you cut as far down as you can without sawing down the line on the other side.

  • Continue switching sides all the way down.

You may, depending on your clamping situation and the head room available, need to turn the board over and start from the other and meet your cuts in the middle. If your careful and take your time, you can get good results. Best to mark your lines to give you a little extra so you can sand or plane the cut surface.

A couple of pointers. If you're using a western style saw that cuts on the push stroke, you can course correct by gently twisting the handle to guide the teeth back onto the line. If you're using a Japanese style saw that cuts on the pull stroke, you can do the same, but the blade may twist on the opposite side, so pay close attention.

0
3

This requires a nice sharp handsaw for the best cut.

Options:

  1. Draw a line and follow it with the saw cut.
  2. Clamp a guide with a straight edge (1x2 perhaps) and use the guide to keep the cut straight and parallel to avoid a compound miter cut.
2
  • Even by drawing the line or using a straight edge, how do I keep a hand saw tilted at the required angle, be in 15° or 22° from the plane of the wood for the entire length of the board? Commented Jan 16, 2023 at 2:38
  • @MatthewPilkington Use 2 straight pieces of wood clamped to the board. Space them so that the teeth are touching where one meets the board and have the side of the blade resting on the other piece that is clamped. By varying the space between the guides, you can change the angle of your cut. Commented Jan 16, 2023 at 3:08
2

It appears that you want to make cuts length-wise through a board, and that the drawing is showing the end-grain, not a top-down view. I think that confused many people.

The easiest way to get these cuts at a consistent angle is to make a pair of saw guides and clamp them to the top of the piece of wood being sawn.

Using a piece of 1x4 (or similar), make a cross-cut at the angle you're after. This way, you only have to hold the proper angle as you cut down through a 3/4" thick board, and only for the 3-1/2" of the width of the board. If your angle happens to be 45°, you could stand the piece on edge in a standard miter box and cut with the 3/4" edge up and have a pre-cut guide for this first block. Cut so that the off-cut piece is at least 3" long.

Once you've got an angle on this piece, rip it length-wise to have 2 pieces, each ~3" long, about 1-1/2" wide, and with one end cut at your desired angle.

Set one guide block so the bevel is resting at the cut line on your target board, and clamp it firmly in place. Rest your saw against this block and start sawing.

Before the saw clears this first guide block, stop with the saw still in the kerf and set the next guide block against the edge of the saw, further along on the target board. Clamp this firmly in place.

Continue sawing, leap frogging the guide blocks down the length of the board so you've always got a guide block to lean against, setting each against the blade of the saw as a reference to ensure you're still on the same cut line.

With a half-decent back-saw (that often comes with a miter box), the blade will be thick enough (and the fold on the non-cutting side stiff enough) to ensure you're making a straight cut and that the future guide blocks end up in the right spots.

The hard part of cutting the arbitrary angle is now reduced to one cut to make the guide blocks, and that can be reasonably easily done by marking the angle on the 3/4" edge of the 1x4, then, using a square, "wrap" the line along the 3-1/2" faces of the board. This will make maintaining the proper angle reasonably easy by taking your time to cut, making sure that you're sawing through the line on both faces.

0

Draw a line, then cut to it.

Or get one of the power saws that run on a rail and set that up.

1
  • That would involve a power tool, something I clearly said wasn't an option. Also, how, even by drawing the line, do I keep a hand saw tilted at the required angle, be in 15° or 22° from the plane of the wood? Commented Jan 16, 2023 at 2:34
0

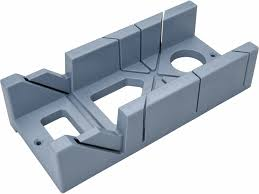
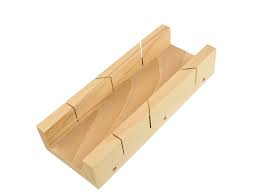
there are guiders either plastic or wooden that can guide your hand under the desired angle:

enter image description here enter image description here

you can either buy them or DIY them to fit your needs. then you just pop in the wood and cut

0

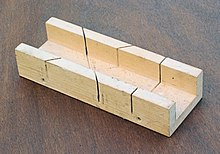
McGyvered miterbox.

Here is a miterbox.

enter image description here

https://en.wikipedia.org/wiki/Mitre_box

You can put a board in and grooves guide your saw to an angled cut. There are fancier metal ones.

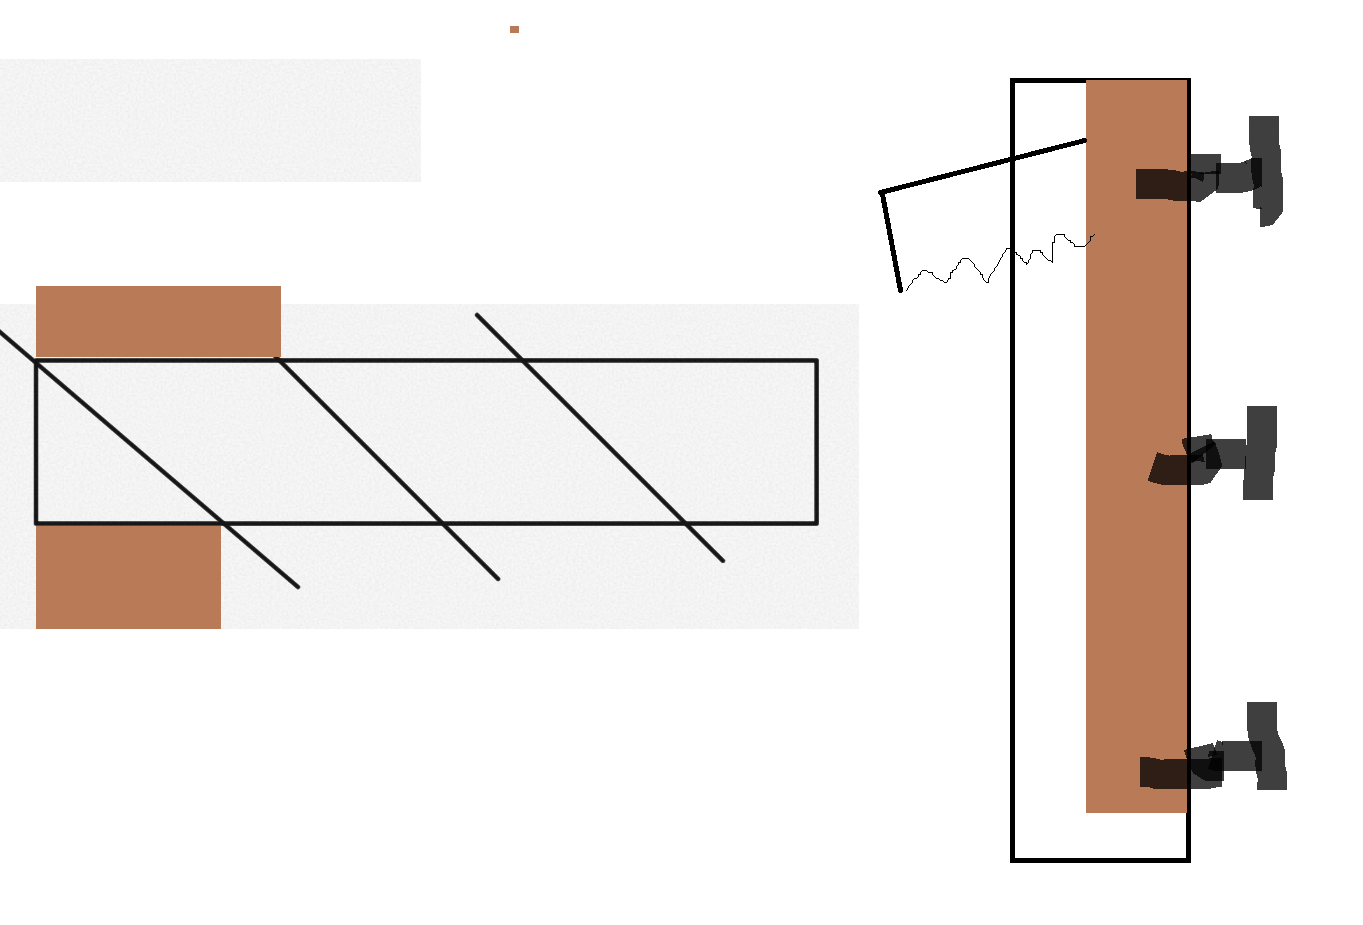
I have never seen one that is 12 inches deep, though. Maybe. But you can make something up like this:

enter image description here

In this schematic you have clamped guide boards on the top and bottom of your board to guide your saw. I have added the boards to the end-on picture you had then flipped it vertical so you can see how the boards would be attached. The idea is the cut of your saw is contstrained by the 2 boards so it follows the diagonal between the edges of your board.

Of course you would need to move the clamps when your saw got to them. ANd you would need to reposition the guide boards for your next cut.

0

Making cuts like this with a handsaw is a skill, but not a super-hard one. I'd try searching for some online videos of "How to cut along a line with a handsaw" or similar to get an idea of the technique, and then practice it a few times before you work on a piece you really need. I'll give you my best shot at describing how to do it, but it is probably a lot easier to learn by watching.

Mark those angles on the end of your board and then transfer the corresponding lines down each face of the board. Clamp the board in a woodworking vise so that the marked end of the board is sticking up a few inches. If you don't have a woodworking vise, you'll have to arrange something with clamps and whatever sturdy table/bench/something that will not move around as you're cutting.

Now comes the part where you'll probably need to practice: using a sharp handsaw, line up the saw with the line and the teeth just resting on the line on the edge of the board away from you. Start sawing down, matching the line marked vertically on the face of the board away from you. Once the saw is sunk a bit into a groove, drop your hand holding the saw blade down, gradually cutting a groove across the end of the board that is facing up. Once the saw edge is approximately parallel to the floor, your saw blade should be in a nice groove. Keep sawing down, and keep an eye on your marked lines. At some point, you'll reach the place where the board is still clamped into the vise. Remove the board from the vise and clamp it to your work surface in such a way that you can keep following your groove and finish the cut.

If the exact dimensions are important, you can saw a little away from the line and then sand or hand plane the surface down to the line. If you don't have a sharp handsaw and don't know how to sharpen them, you can buy an inexpensive hardened-tooth handsaw which will stay sharp enough for many such cuts, but won't be resharpenable.

Your Answer

By clicking “Post Your Answer”, you agree to our terms of service and acknowledge you have read our privacy policy.

Not the answer you're looking for? Browse other questions tagged or ask your own question.