4

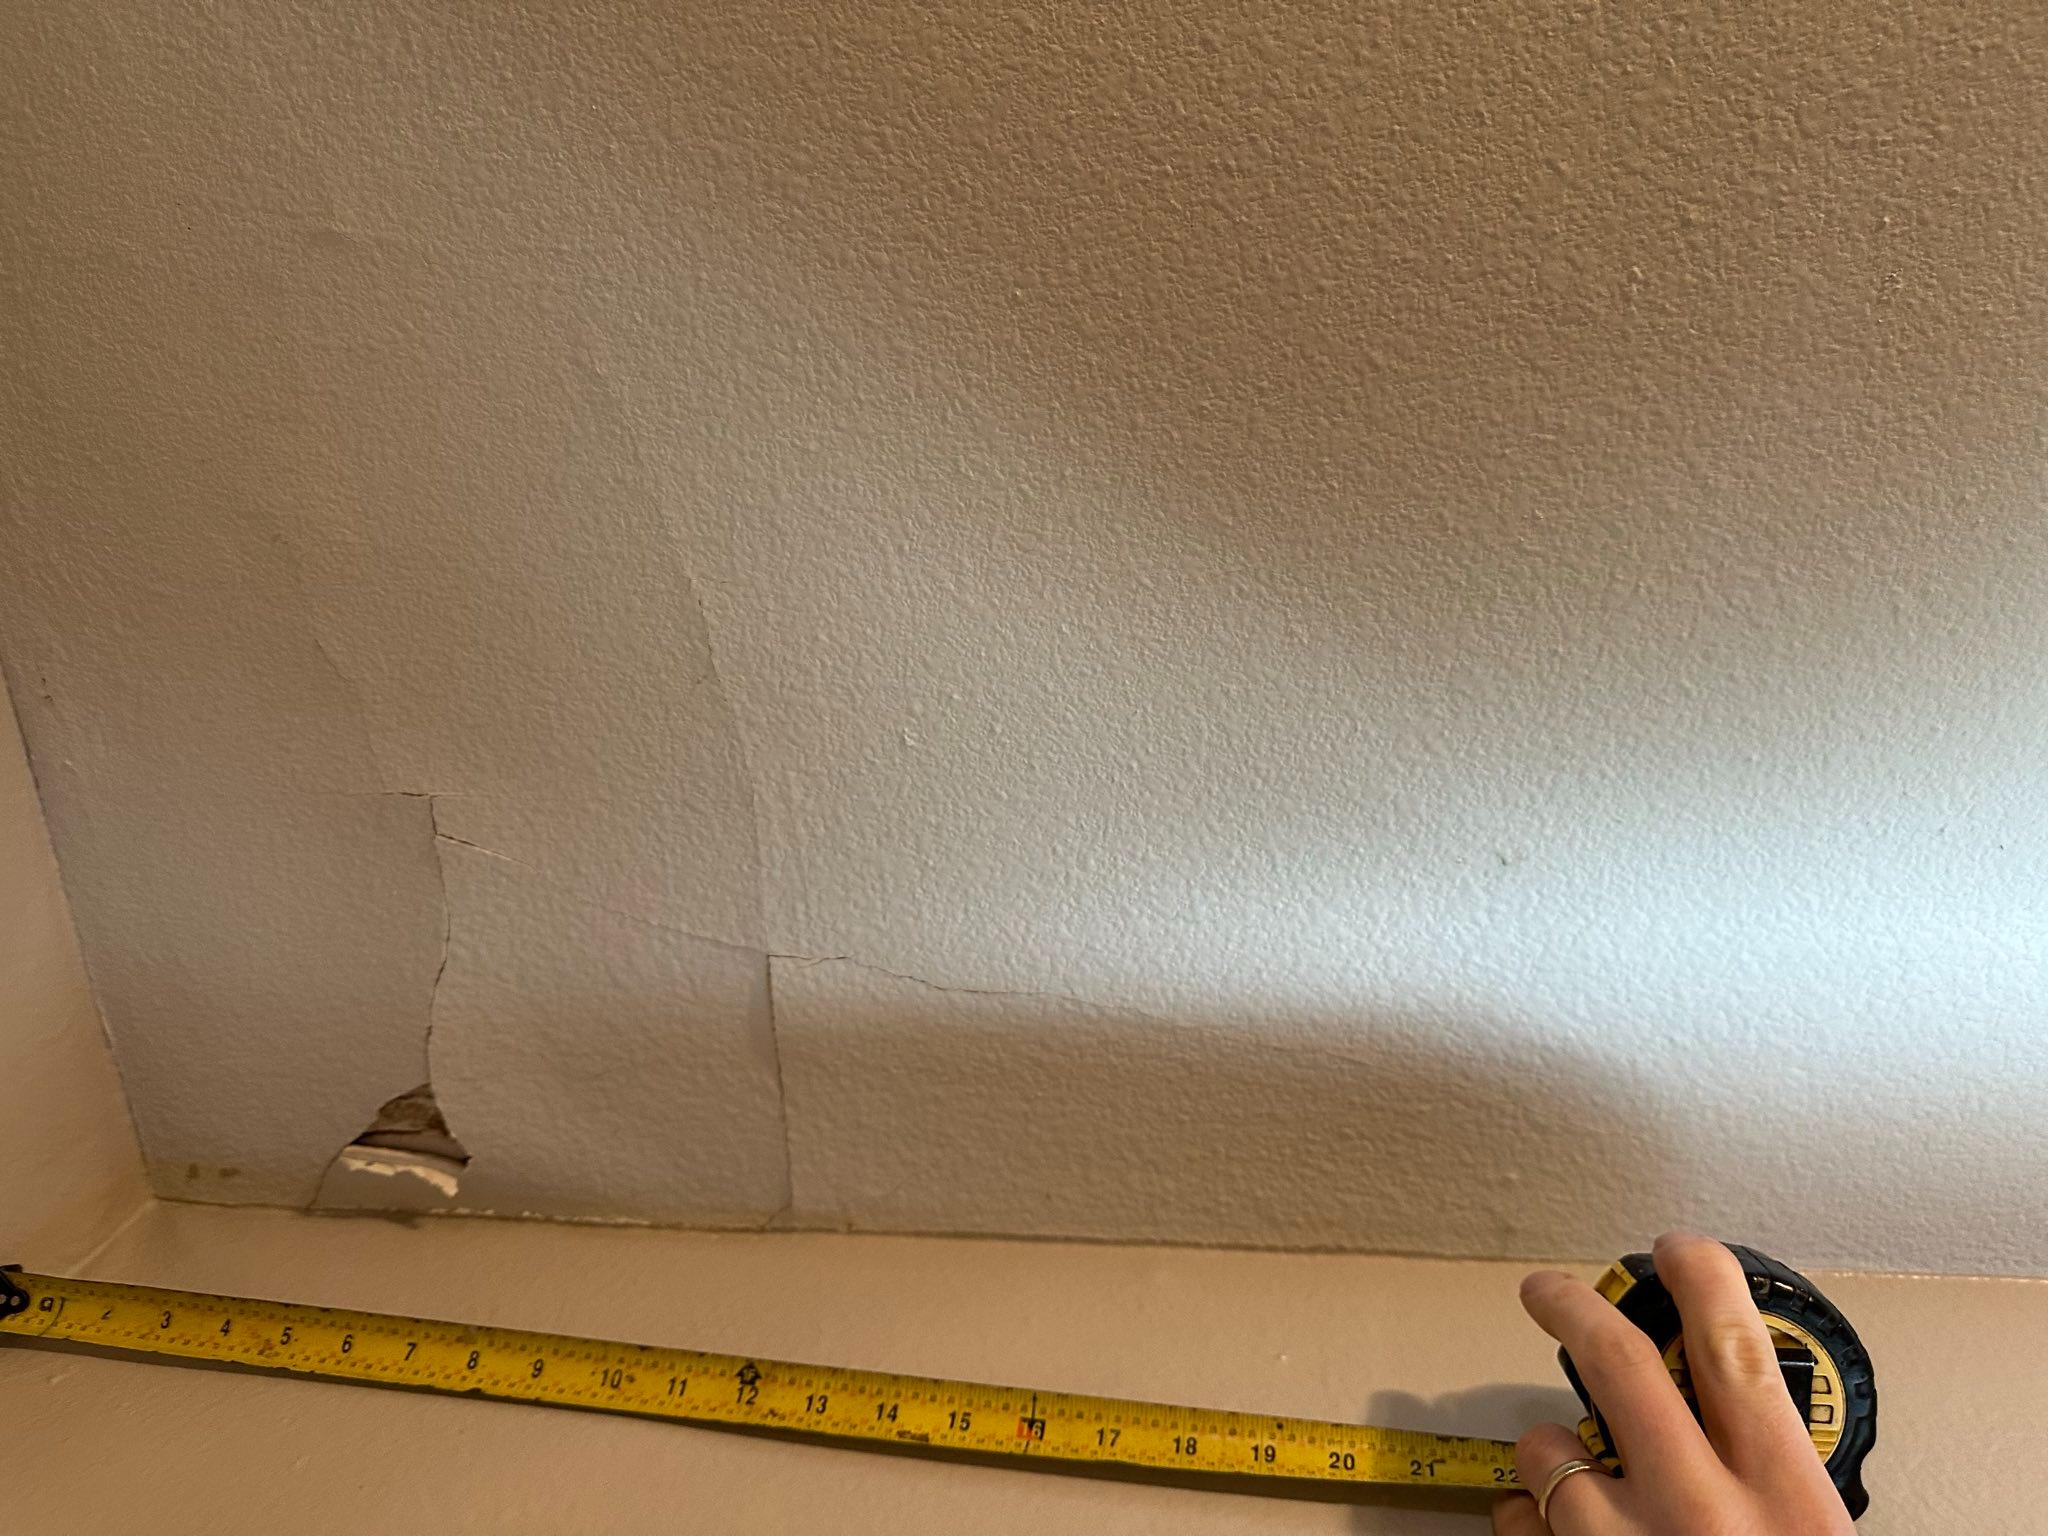
A small roof leak led (over time) to this damage in the corner of a drywall ceiling. Roof has been repaired, but I'm looking for guidance to repair the ceiling. I've done a handful of basic drywall patches before but never on a ceiling.

How should I handle:

  • It being in a corner
  • Working overhead
  • The textured surface

I'm hoping to achieve a decent result rather than absolute perfection.

There is no insulation in the attic above, but it is by an exterior wall with a sloped roof making it difficult to access that far into the attic, so hopefully everything can be done from below.

Ceiling damage from roof leak

1
  • 2
    I'd leave it as-is for a couple months. Be absolutely positive that the initial leak is fixed first.
    – Criggie
    Commented Jan 28 at 9:24

3 Answers 3

6

Your best bet is to cut away the damaged drywall and install a new patch.

After you have your new patch in you should tape the edges an apply a few coats of all purpose mud.

Overhead work can be tricky but your patch is relatively small, I suggest using a drop cloth or some floor paper to protect the floor from mud spills as well as paint.

For beginners I would recommend the Fibafuse tape over paper tape as it is a tight weave fiberglass which will allow air to escape and not cause the tape to bubble. You'll want to extend the mud out away from your patch and feather it in to the existing drywall.

You can get a cheap corner knife to help if you can't do it with a single knife. If you have the time and can't figure out how to mud both sides of the corner at the same time then do the ceiling first, let it dry and then do the wall.

After you've got everything sanded and cleaned up you can use a spray can of orange peel texture to blend the texture. Start on a piece of cardboard or something to dial it in and get the correct match.

After that you'll just need to prime and paint.

1

Remove loose drywall/plaster. Cut a sheet of metal lath the size of the damage. Wedge the lath, or fasten it in place around the edge of the damage. Fasten it to any wood, with screws. There are 4 basic drywall finishing compounds, 20, 60, 90, +3. The numbers are minutes until it's hard, except +3, which is purely air cure, and it is the final coat. Using a 6" drywall knife, make a joint between the metal lath and the sound area of the ceiling using 20. Just use the ceiling to scrape the compound off the knife into the lath. Wetting the edge of the good part of the ceiling will help the 20 adhere. When working with drywall compound, use a metal mud bucket. The bucket lets you clean the knife every time you load it. Don't mix more finishing compound than you can use in about 1/2 the cure time. Using more 20, cover the rest of the lath with as thick a coat as will not start falling off, but not past the surface of the good ceiling. If there's still quite a bit of difference, > 1/4", use some 60 to get things evened out, more flat, and closer to the level you need. For corners you use a corner knife/tool. It's a drywall knife on a 90-degree angle. Start forming nice corners now with 60. For flattening the patch, use a 10" knife. It has a camber, so be aware, and look down the blade to see which way it curves. 20, 60, and 90 are not nearly as sandable as +3. But +3 must be applied thin. So, when your shape is pretty close, get out your drywall tape. Fiberglass mesh is thick, so it takes a few coats to cover it. I use paper, because it covers in one coat. But you have to wet the paper tape. Put +3 where the tape is going on the wall/ceiling. Press the tape on the +3. Even out the +3 with a knife, 6" and corner knives work well. Put +3 over the tape, and even it out. Make sure you can't see any tape. Let it dry overnight. Coat it again, going for the finish coat. But if you're not going to get it, just get closer. Try the next day. Now you should be able to get a nice finish coat. Let it dry. Wet-sand where necessary. For texture, you need an air compressor and hopper, or roller texture, which is very fine. The last step is paint.

If you can work with plaster, this is a one day job. But most people can't.

1
  • 1
    You most definitely do not need a compressor and a hopper to do that orange peel. There are plenty of spray can options at the local home improvement stores that work excellent for this, especially being a small patch. Also, Fibafuse is a mesh fiberglass tape that is no thicker than paper tape.
    – matt.
    Commented Jan 28 at 2:45
0

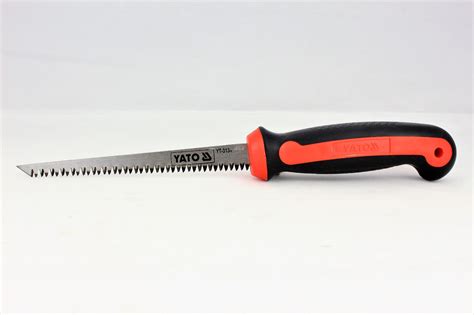
Get your jigsaw and a knive to cut after the cutout a 45°angle for new putty. first drill a hole to insert the blade of your jigsaw. A ruler and a pen are usefull to cut on line and not wobble around. then cut as far as you can go on the side of the wall . for the wall side you need a gipssaw or take your bread knive

-no joke enter image description here

then take a new gipsn board and measure the open space cut out with a knive and break it. put it in and fix it with some screws and paste some putty and all is like new.

ciao

1
  • As it’s currently written, your answer is unclear. Please edit to add additional details that will help others understand how this addresses the question asked. You can find more information on how to write good answers in the help center.
    – Community Bot
    Commented Jan 29 at 0:02

Your Answer

By clicking “Post Your Answer”, you agree to our terms of service and acknowledge you have read our privacy policy.

Not the answer you're looking for? Browse other questions tagged or ask your own question.