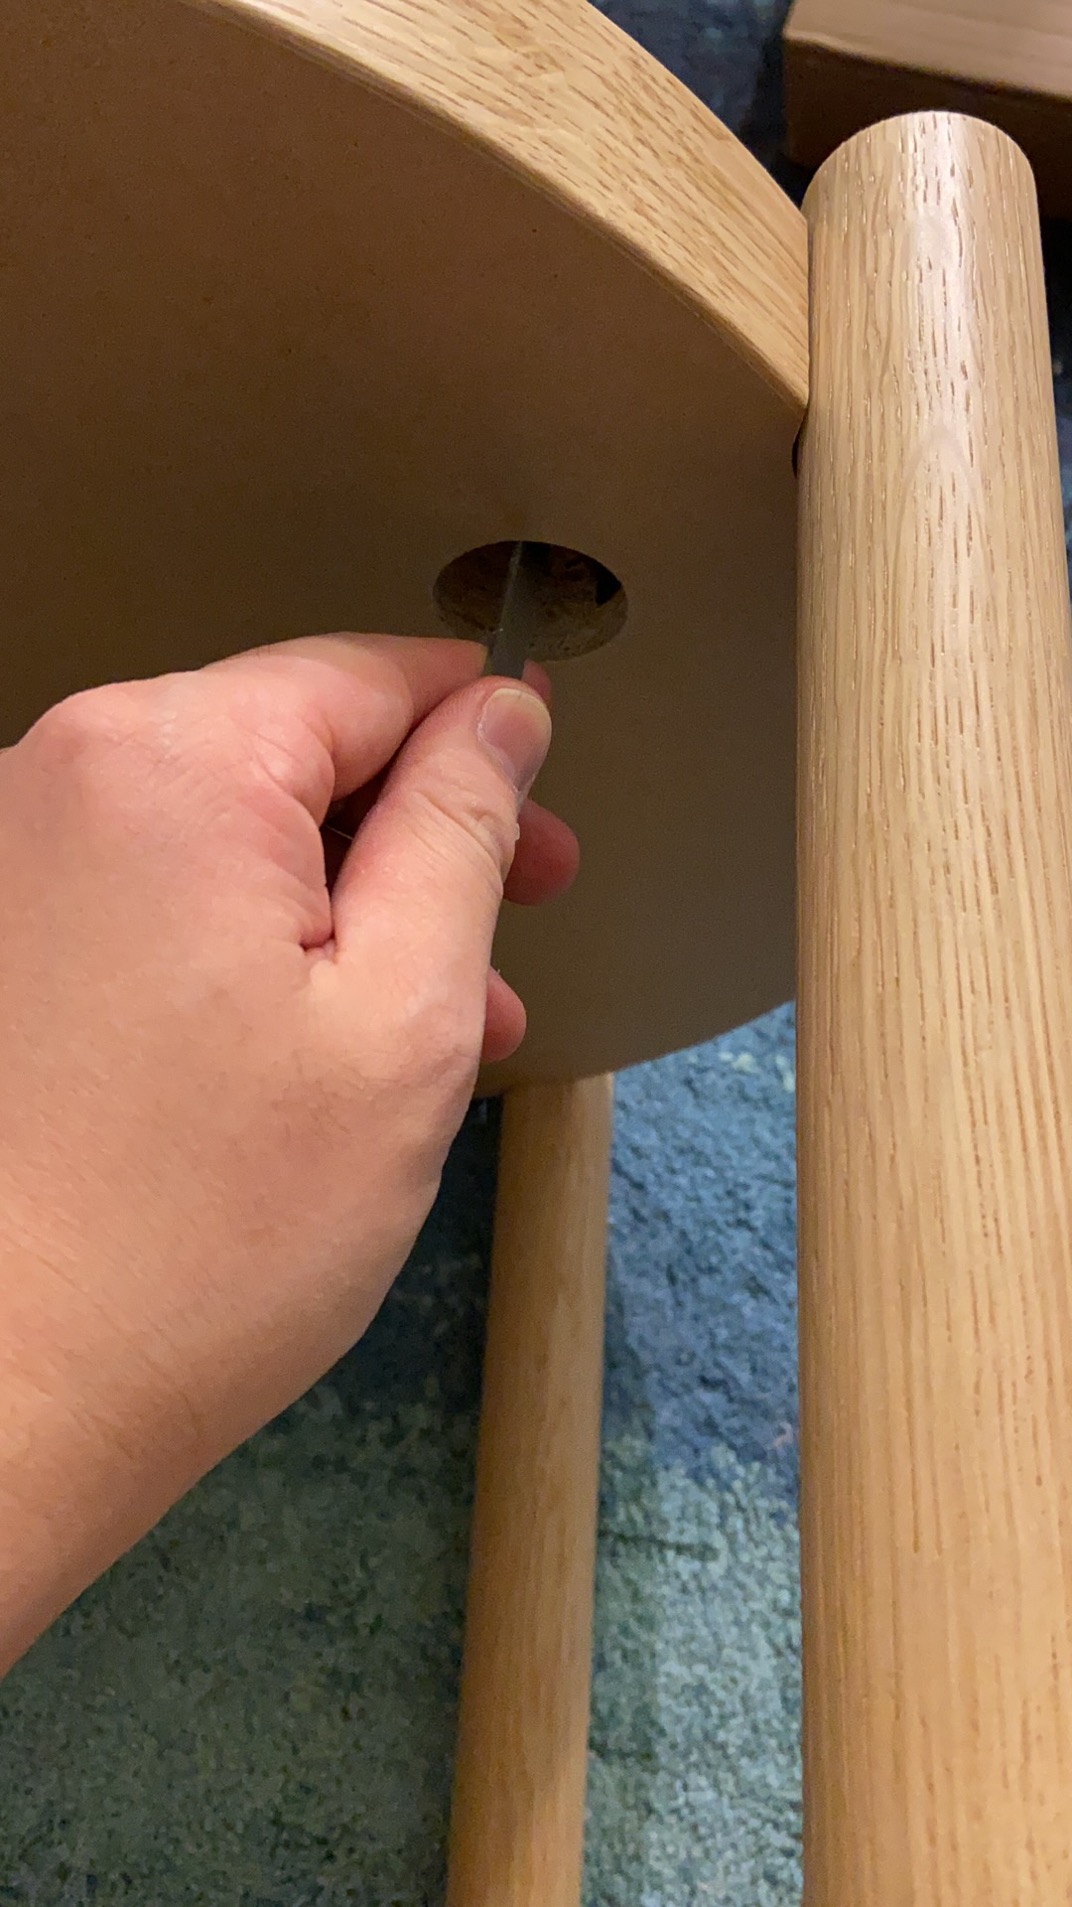
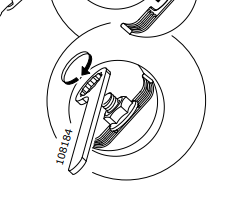
Bought an IKEA side table(listerby) today but it was impossible to install.Here is the installation instruction. If you look at the fifth step, one is supposed to use the tool IKEA provides to fasten the screw. However, the tool is tool long which makes it impossible to be rotated since the screw is sitting in a shallow hole as you can see. Any idea how I can solve this?
-
1Step 5 shows nut 104875 threaded down bolt 100061, compressing (what I assume is plastic) shim 128605. I would hand tighten nut against shim, then slip the circular opening of tool 108184 over the bolt, down the shaft, and around the nut. I would expect you could then lever the tool in a short arc to just tighten the nut down.– bishopCommented Dec 20, 2019 at 4:57
-
2By the way, I have a hard time seeing the arrangement inside the hole and feel a photo, taken closer to the opening, would better establish what's going on inside.– bishopCommented Dec 20, 2019 at 4:59
-
6Remove the tool and start in a different position - never had an impossible to assemble ikea product, but met a few people who can’t follow instructions...– Solar MikeCommented Dec 20, 2019 at 5:27
-
Hello, and welcome to Home Improvement. Have you tried IKEA customer support? And, you should probably take our tour so you'll know how best to participate here.– Daniel GriscomCommented Dec 20, 2019 at 13:13
-
Screw? You should not be turning a screw. You should be putting a nut on a -- well OK, you geta free pass for not knowing that thing is technically a stud, because it might as well be a bolt for all practical purposes. But yes, you should be fitting a nut.– Harper - Reinstate MonicaCommented Dec 20, 2019 at 17:35
2 Answers
I recently purchased and assembled two of that exact same product (except mine are the dark brown color) and had no problem with the step 5.
If you look closely at the small IKEA tool it has more than 6 lobes in the tool opening so it can engage the hex nut in multiple positions. I also noticed that since the handle of the tool is offset to one side of the wrench end it is possible to remove and flip the tool over on each stroke of securing the legs onto the Listerby end table.
In the end I am very happy with the end tables. I also assembled the companion coffee table as well.
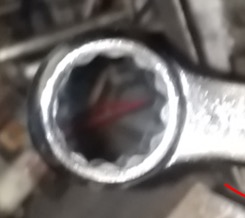
Yes, you are turning a 6-sided nut, but your wrench is 12-sided. That is a standard trick done with wrenches, so you don't need 60 degrees of swing, only 30 degrees.
 This is a box wrench end. 6 of the 12 points engage a hex nut.
However, it helps to physically compress the things going together (to remove all slack) and finger-spin the nut down as far as possible. That way you need to reach in for fewer turns.
If you have stripped the supplied wrench somehow, take a nut to the hardware store and get a box style wrench that fits it snug. Expect metric.
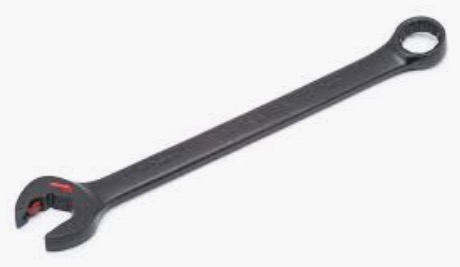
This is an open-box wrench, red dingbat on the open end optional.
Only the box end is useful here, due to clearances.
And make sure you are sticking that semi-circular spacer in there before it's tightened all the way. Do Not bottom out the nut without that spacer, or you'll need serious skills to rectify it!


