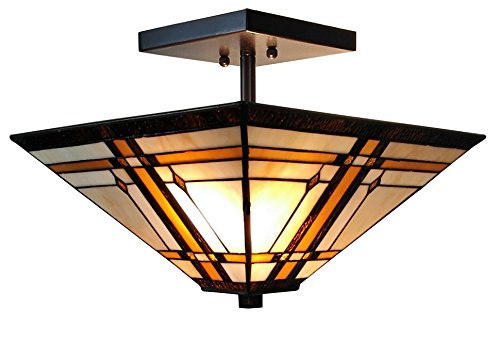
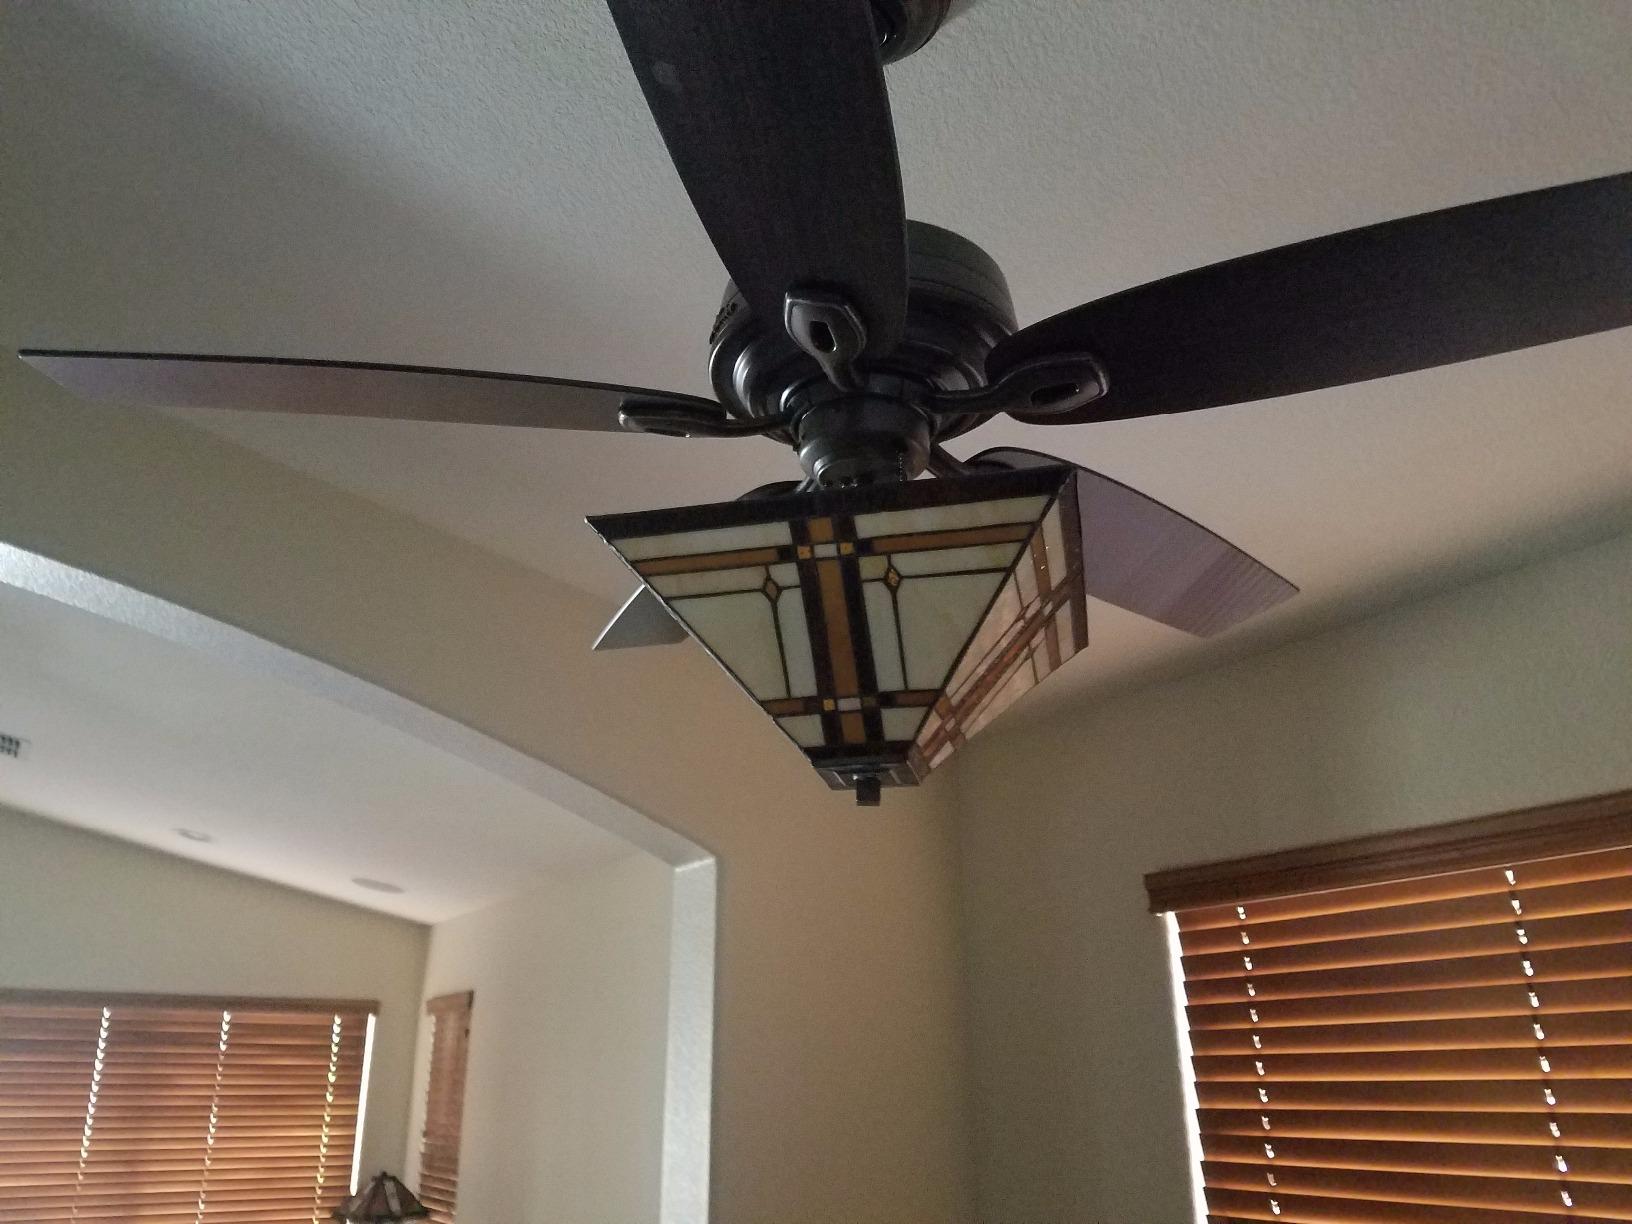
Good questions, and it sounds like a viable and fun project. Some things you'll need to consider are: how do you want to turn the light on and off? If you currently have a fan that turns on with a wall switch, do you want the light to come on at the same time? Always? Typically, ceiling fans are pre-wired for a light kit, so you wouldn't have to worry about getting the wires all the way through the ceiling fan to the ceiling box. They're already up there. However, if you look at the instructions at Lowes.com (https://www.lowes.com/projects/build-and-remodel/install-a-ceiling-fan/project), you'll see there are a black, a blue, and a white wire at the top of the fan motor unit where these conductors are to be tied into the house wiring. The black is for the fan, the blue is for the light and the white is the return path (AKA "neutral") for both. 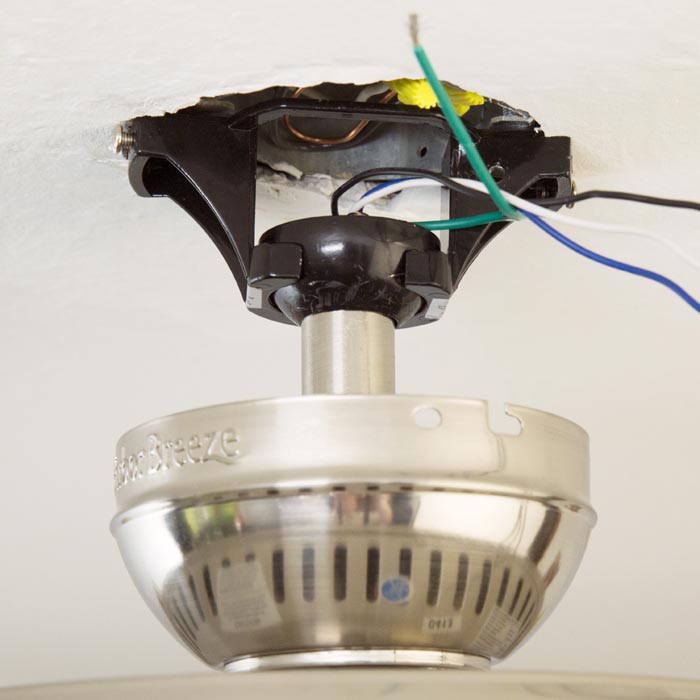 Usually when we install fans, if there is only to be one wall switch, we tie the blue and black together with the hot switchleg from the wall switch. But then we would use pull chains to control each load independently. It sounds like you might want to stay away from pull chains, that is, if you do not think you'd be able to modify your shade to allow a couple of pull chains to drop down through the bottom.
In another scenario, if there are two separate switches to control fan and light we keep the black and blue conductors separated from each other at the ceiling j-box, tying each to its own switchleg. This would be closer to ideal for you, but you'd have to ensure you have the third insulated wire up there in the j-box or else you'll need to fish another cable in and down to the location where you want to install the extra switch. One more thing to consider is the fan pull chain is normally where you control the speed of the blades. I'm wondering if the set-up in the picture from the customer review included a remote control kit option--something that would eliminate the need for pull chains as well as a third conductor. A remote unit can select fan speeds as well as turn the light on and off independently, although they are usually a pain to install and you'll need to make sure you get one that is compatible with your particular fan.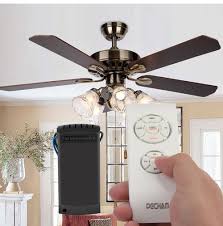
Now onto the installation of your light on the fan. The lowes.com article I mentioned above walks you through the steps of attaching a light kit to a fan with no previous light kit, but it doesn't explain modifications. When you get to step one, loosen and/or remove the screws around the very bottom of the fan to pull out the switch housing cover plate.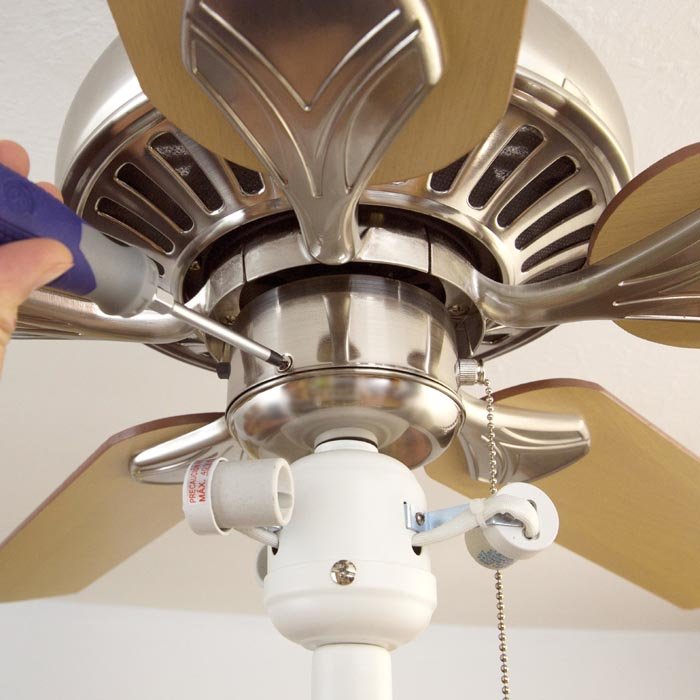 The picture above shows the light kit already attached but indicates the correct screws. In the following picture, they've removed the plate and already attached the light kit. It attaches by removing a small plastic plug and screwing the all-thread pipe into the bottom of the plate and securing it with a lock nut.
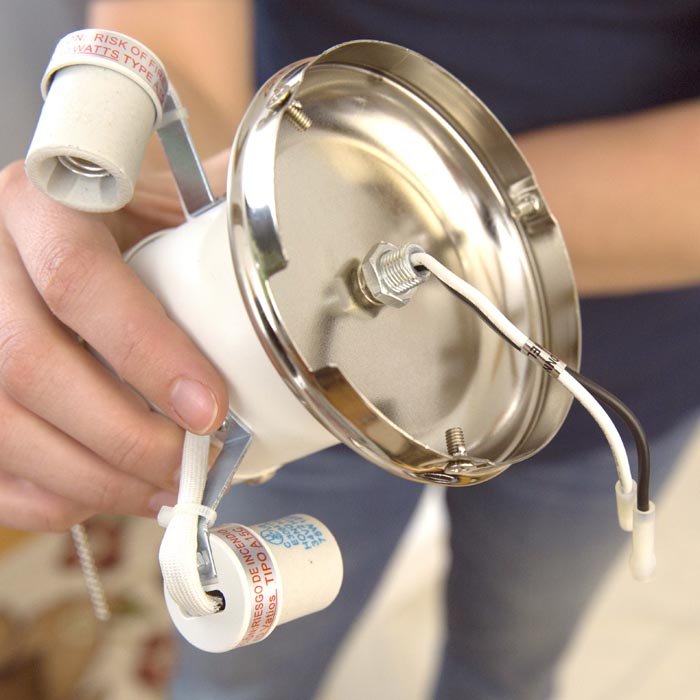 For your project, you'll just have to adapt the stem of the lamp to this plate, and I'm guessing it might just fit without any further modifications, but if it doesn't and you have to drill the hole out larger to accommodate the stem, just be sure to secure it so that it will not wiggle as the fan vibrates. You may have to use an extra lock nut on the bottom. From there, you may have to clip off the connectors from the blue and white wires inside the fan and wire nut them to your lamp cord conductors.
By the way, speaking of lamp cords, I don't know if your light fixture will have an actual lamp cord (the kind that has to be pulled apart to separate the two conductors) but if it does, be careful: lamp cords are designed to be polarized for safety. There is a smooth side and a rough or ridged side.
 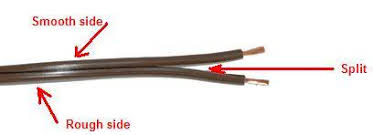 The hot conductor is always wired to the smooth side of the lamp cord. The neutral (white) wire should be spliced together with the ridged side of the lamp cord. If you just have a black and a white wire, just wire nut the black to the blue wire and the white to the white.
