1

I live in a 115 year old house where none of the walls are straight and corners aren't 90 degrees.

After putting in new flooring in my kitchen, I'm trying to reinstall baseboard, but there's a weird section (a bump-out hiding pipes and electrical) with lots of angles and tiny cuts that need to be made as well as a transition from the higher wood floor to the lower tile floor. I was able to do that ok on the other side, but that was when it was a straight piece across.

I've been working on this for a few days and not making much progress. At this point, I'm thinking about just trying to install the baseboard straight across, but will need to deal with about a ¾" gap between the wall. Any suggestions on how to fill this gap? Will layering joint compound work or is that too much of a gap? Any other ideas that could work?

I can't tear the bump out down to redo it correctly because that would involve taking down kitchen cabinets.

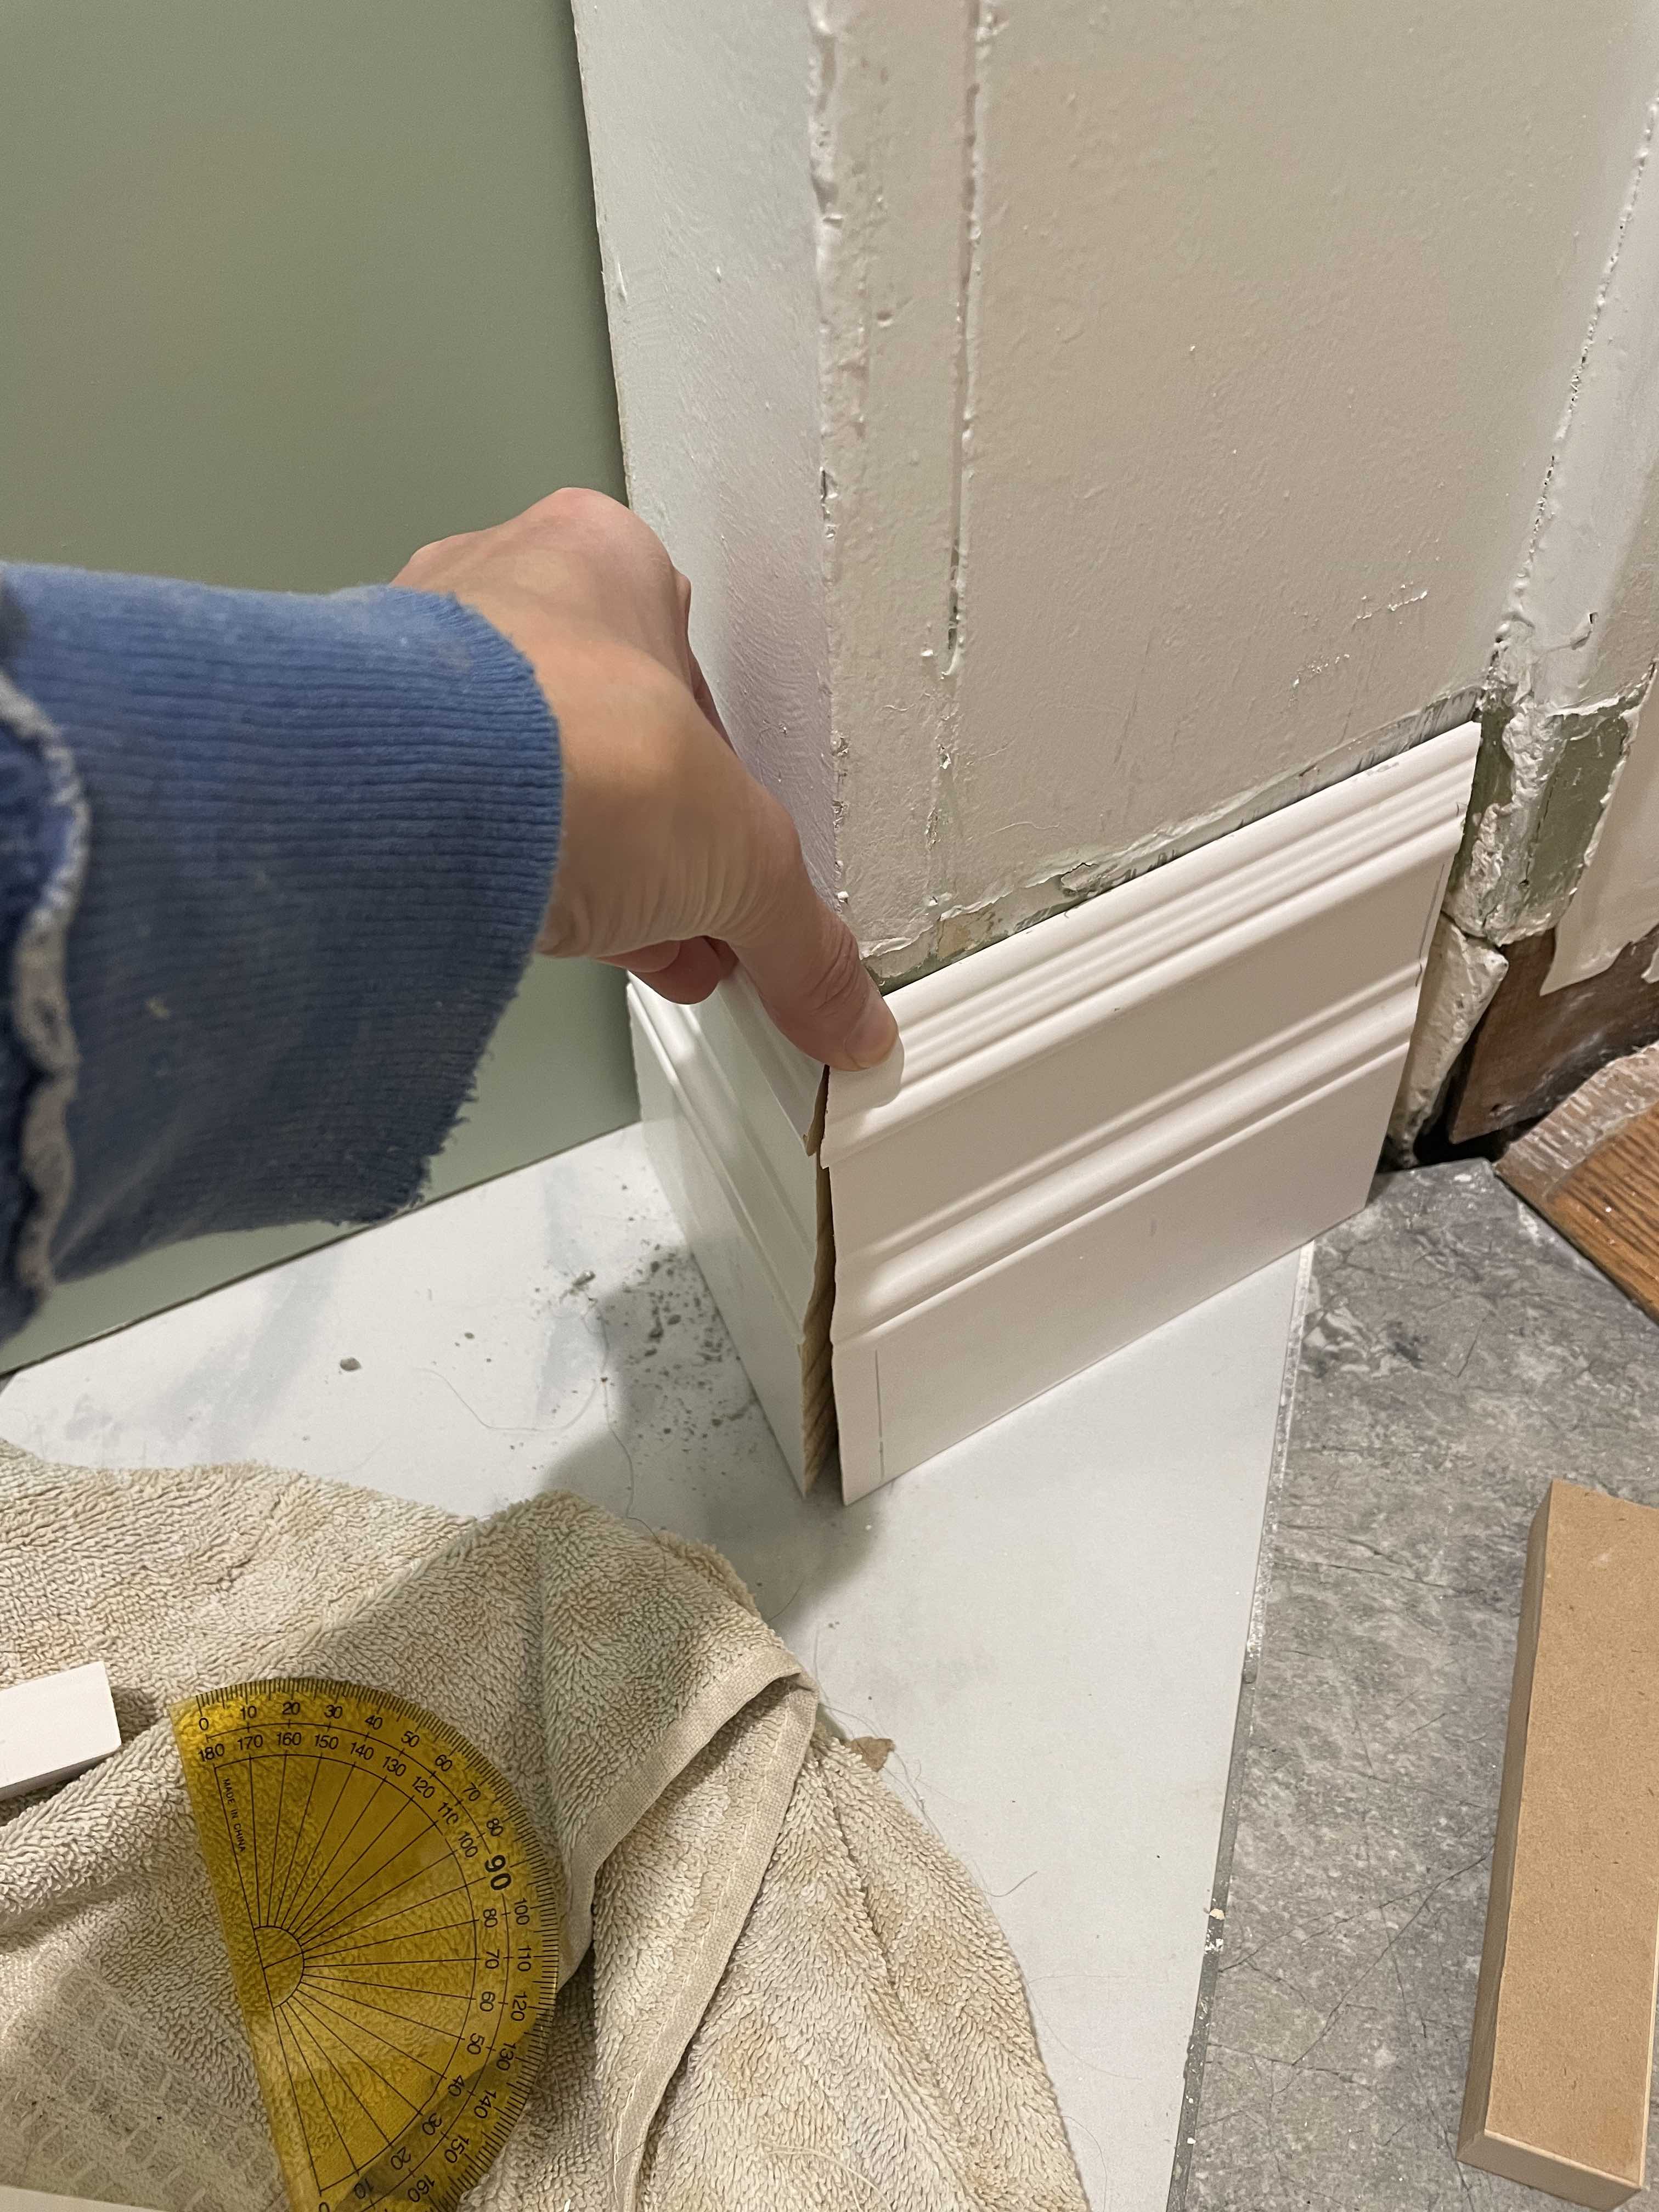
  1. This is the section I'm dealing with:

enter image description here

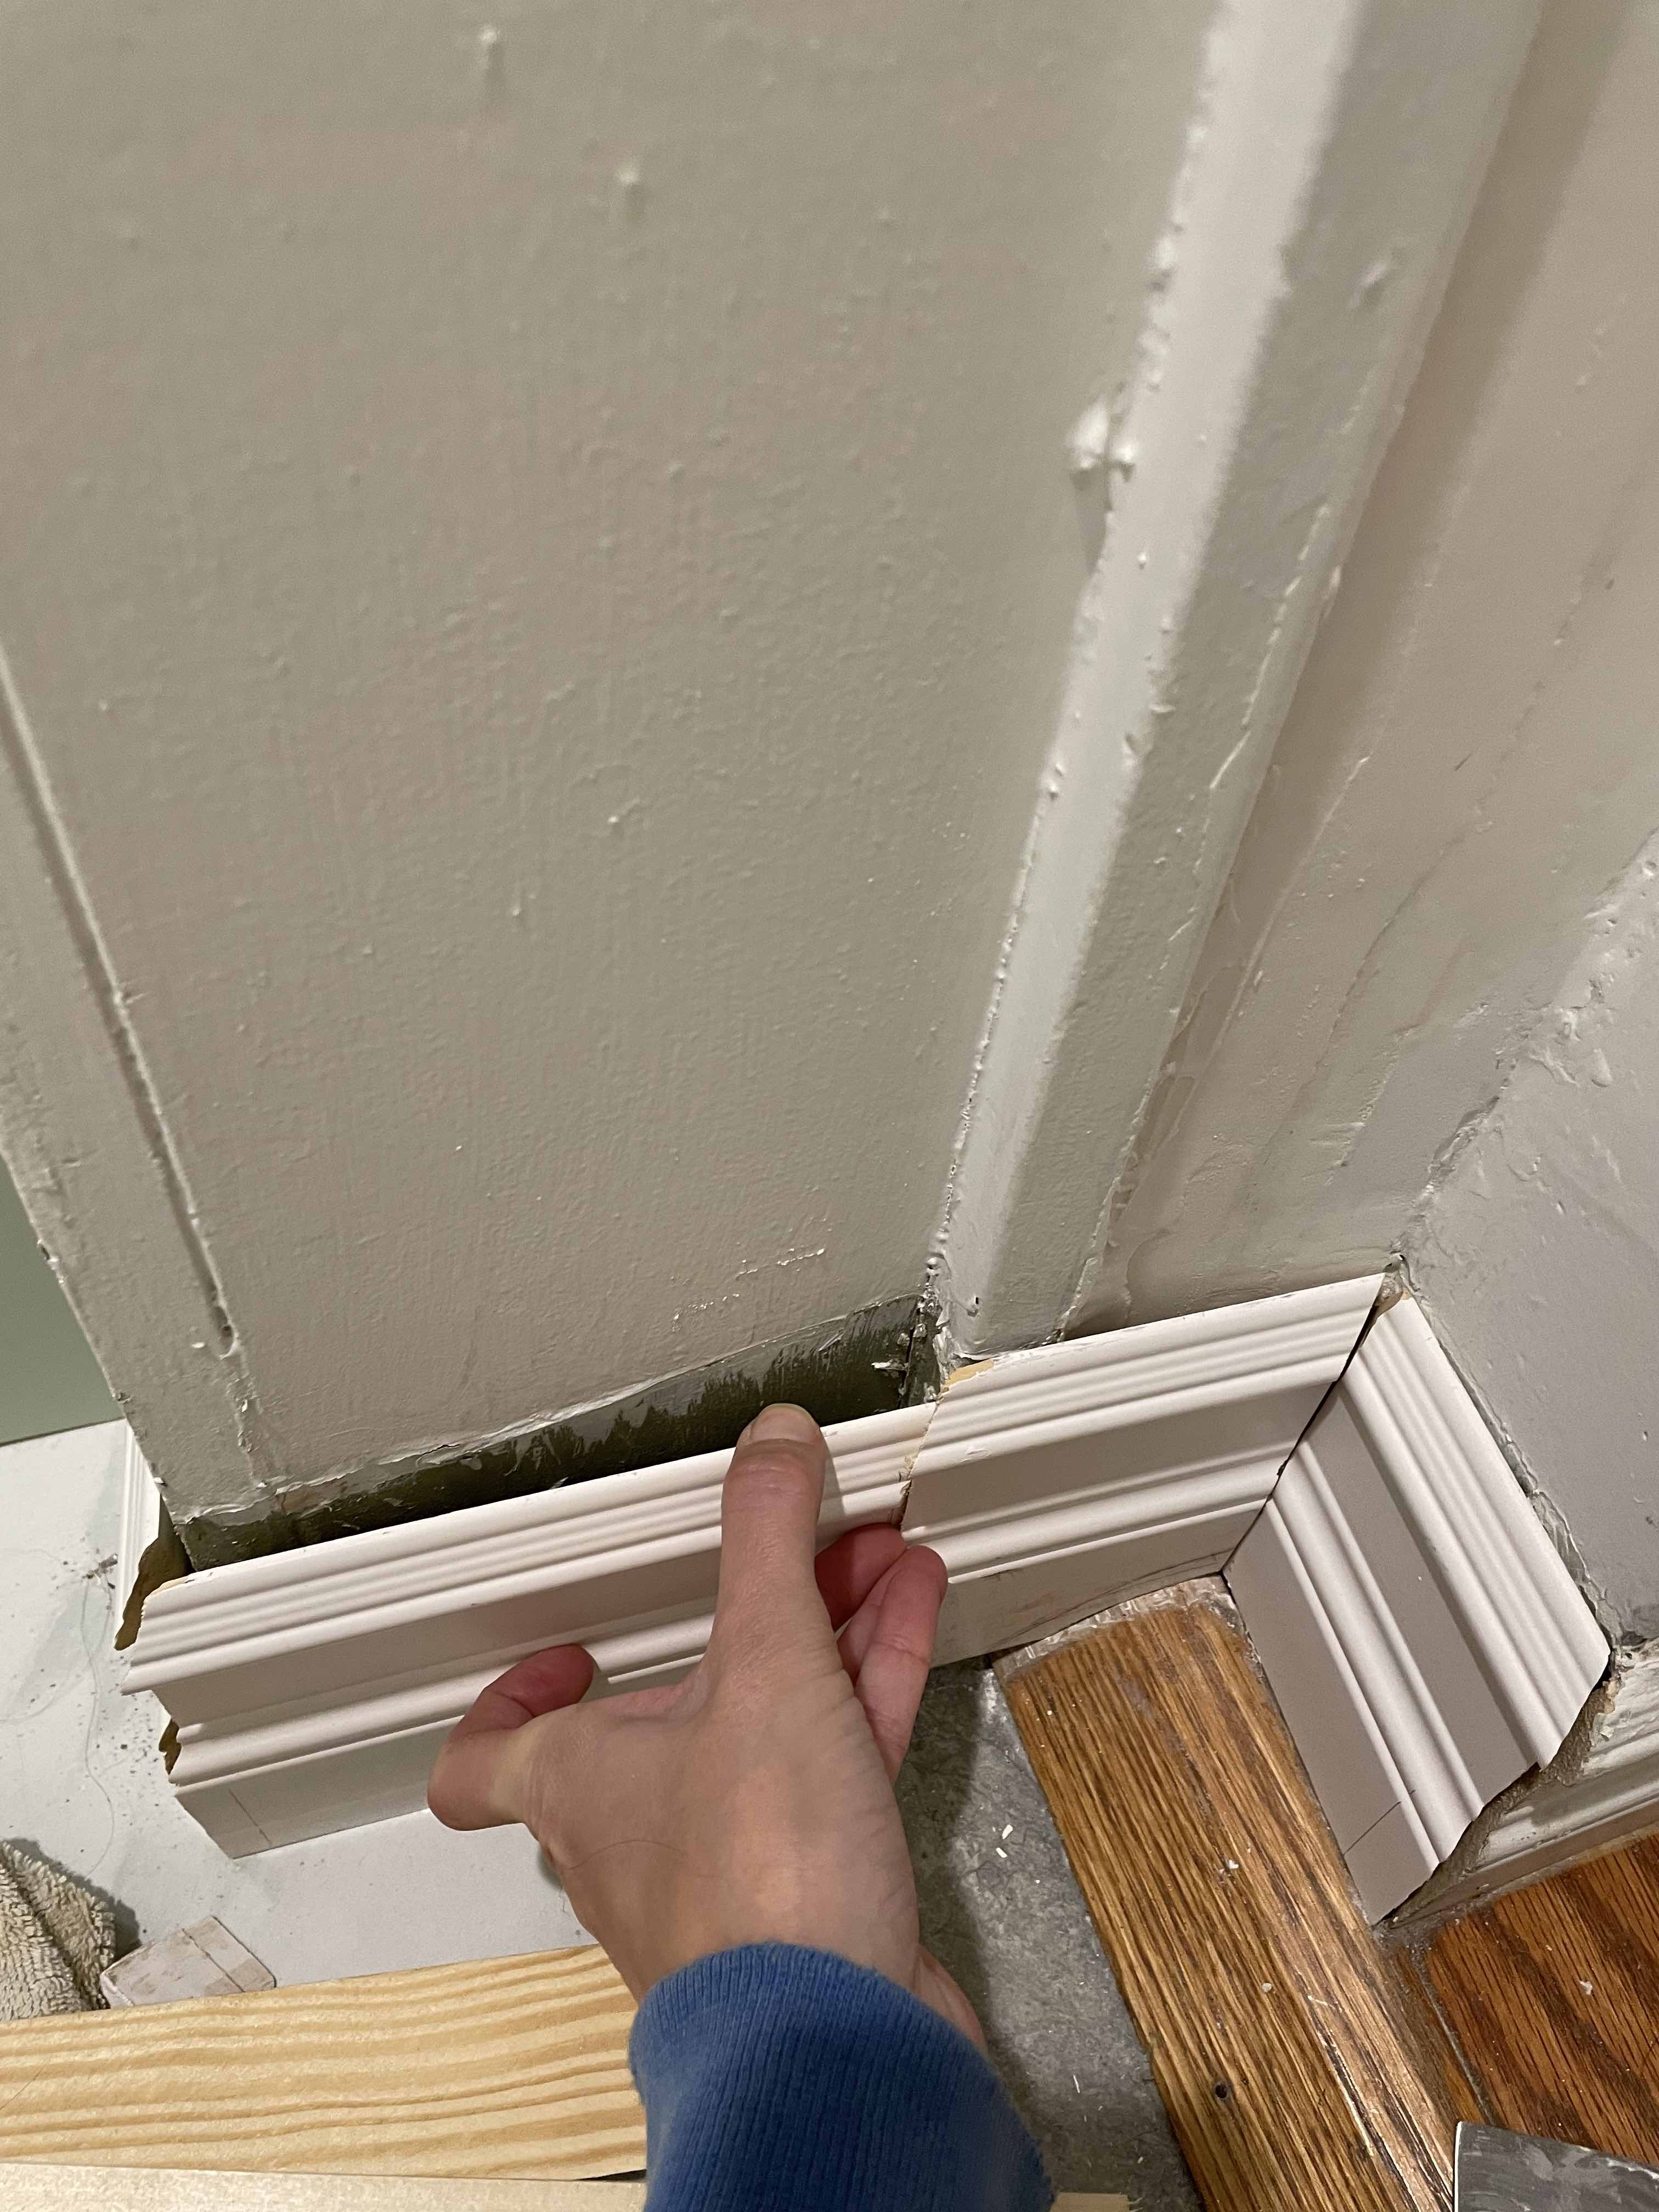
  1. You can kind of see how off it is when I try to meet two 45 degree miters together

enter image description here

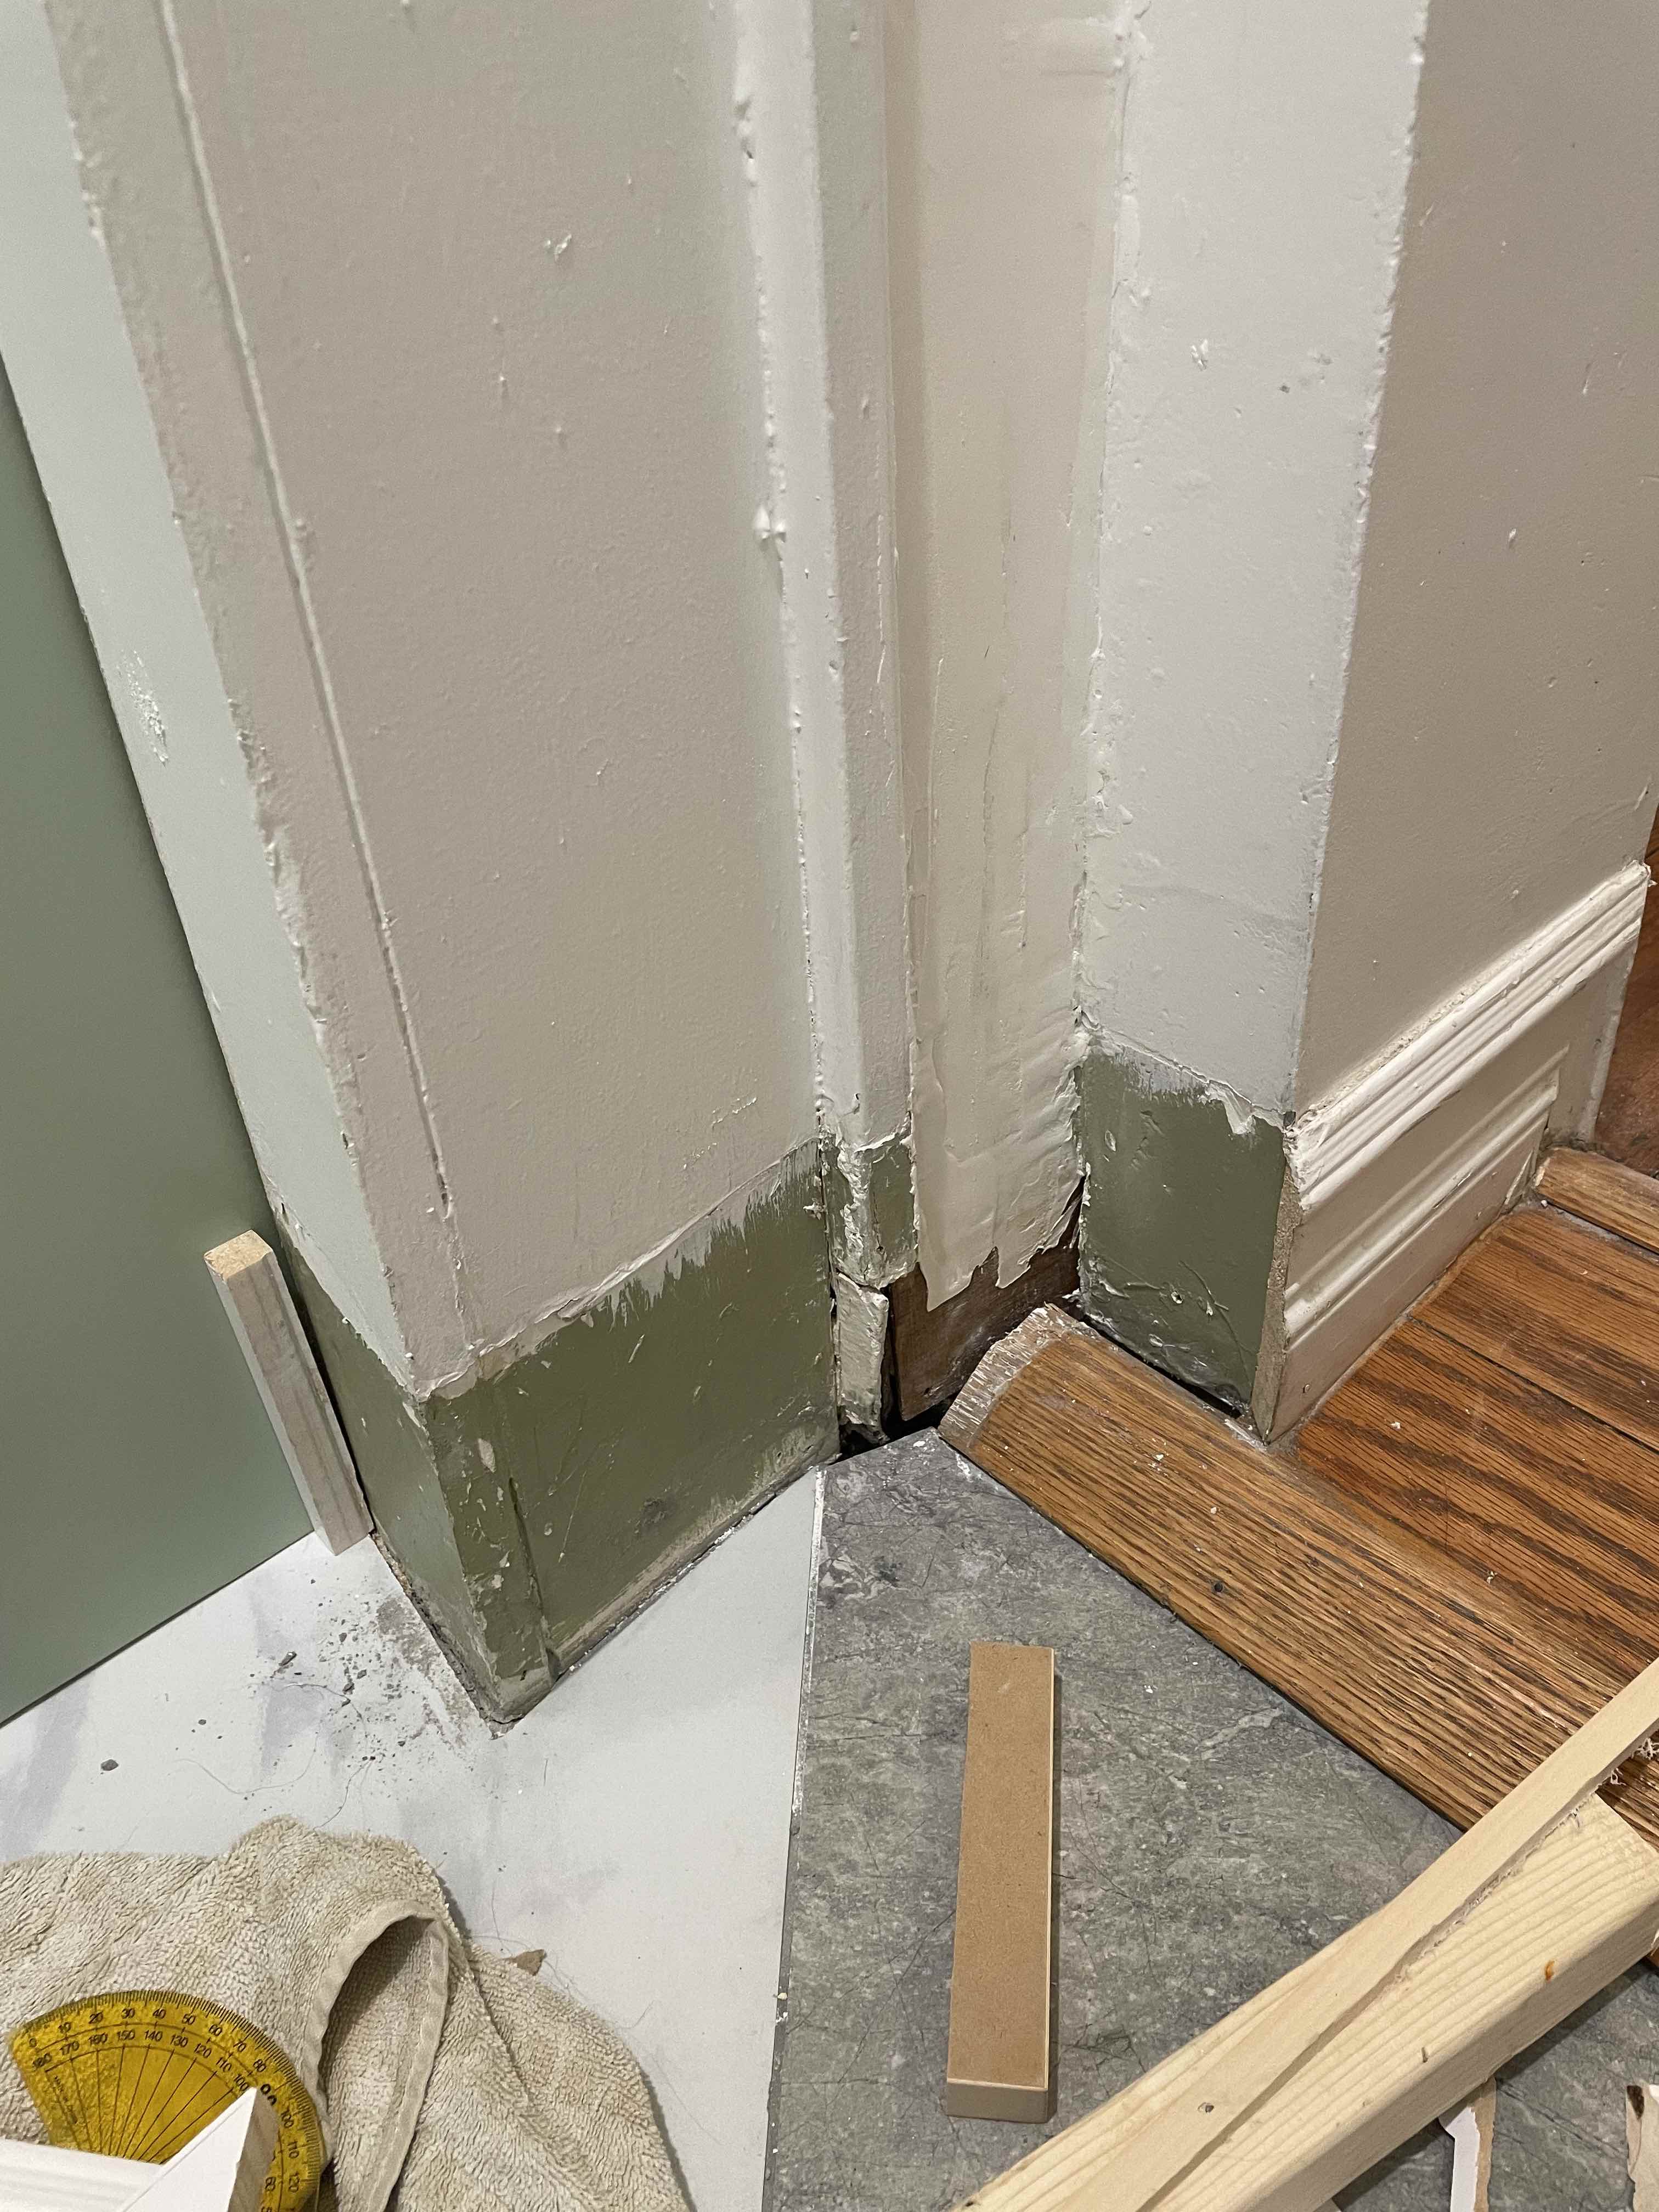
  1. If I were to cut a longer piece that goes straight across to avoid all the little cuts and angles, there is a significant gap between the baseboard and the wall

enter image description here

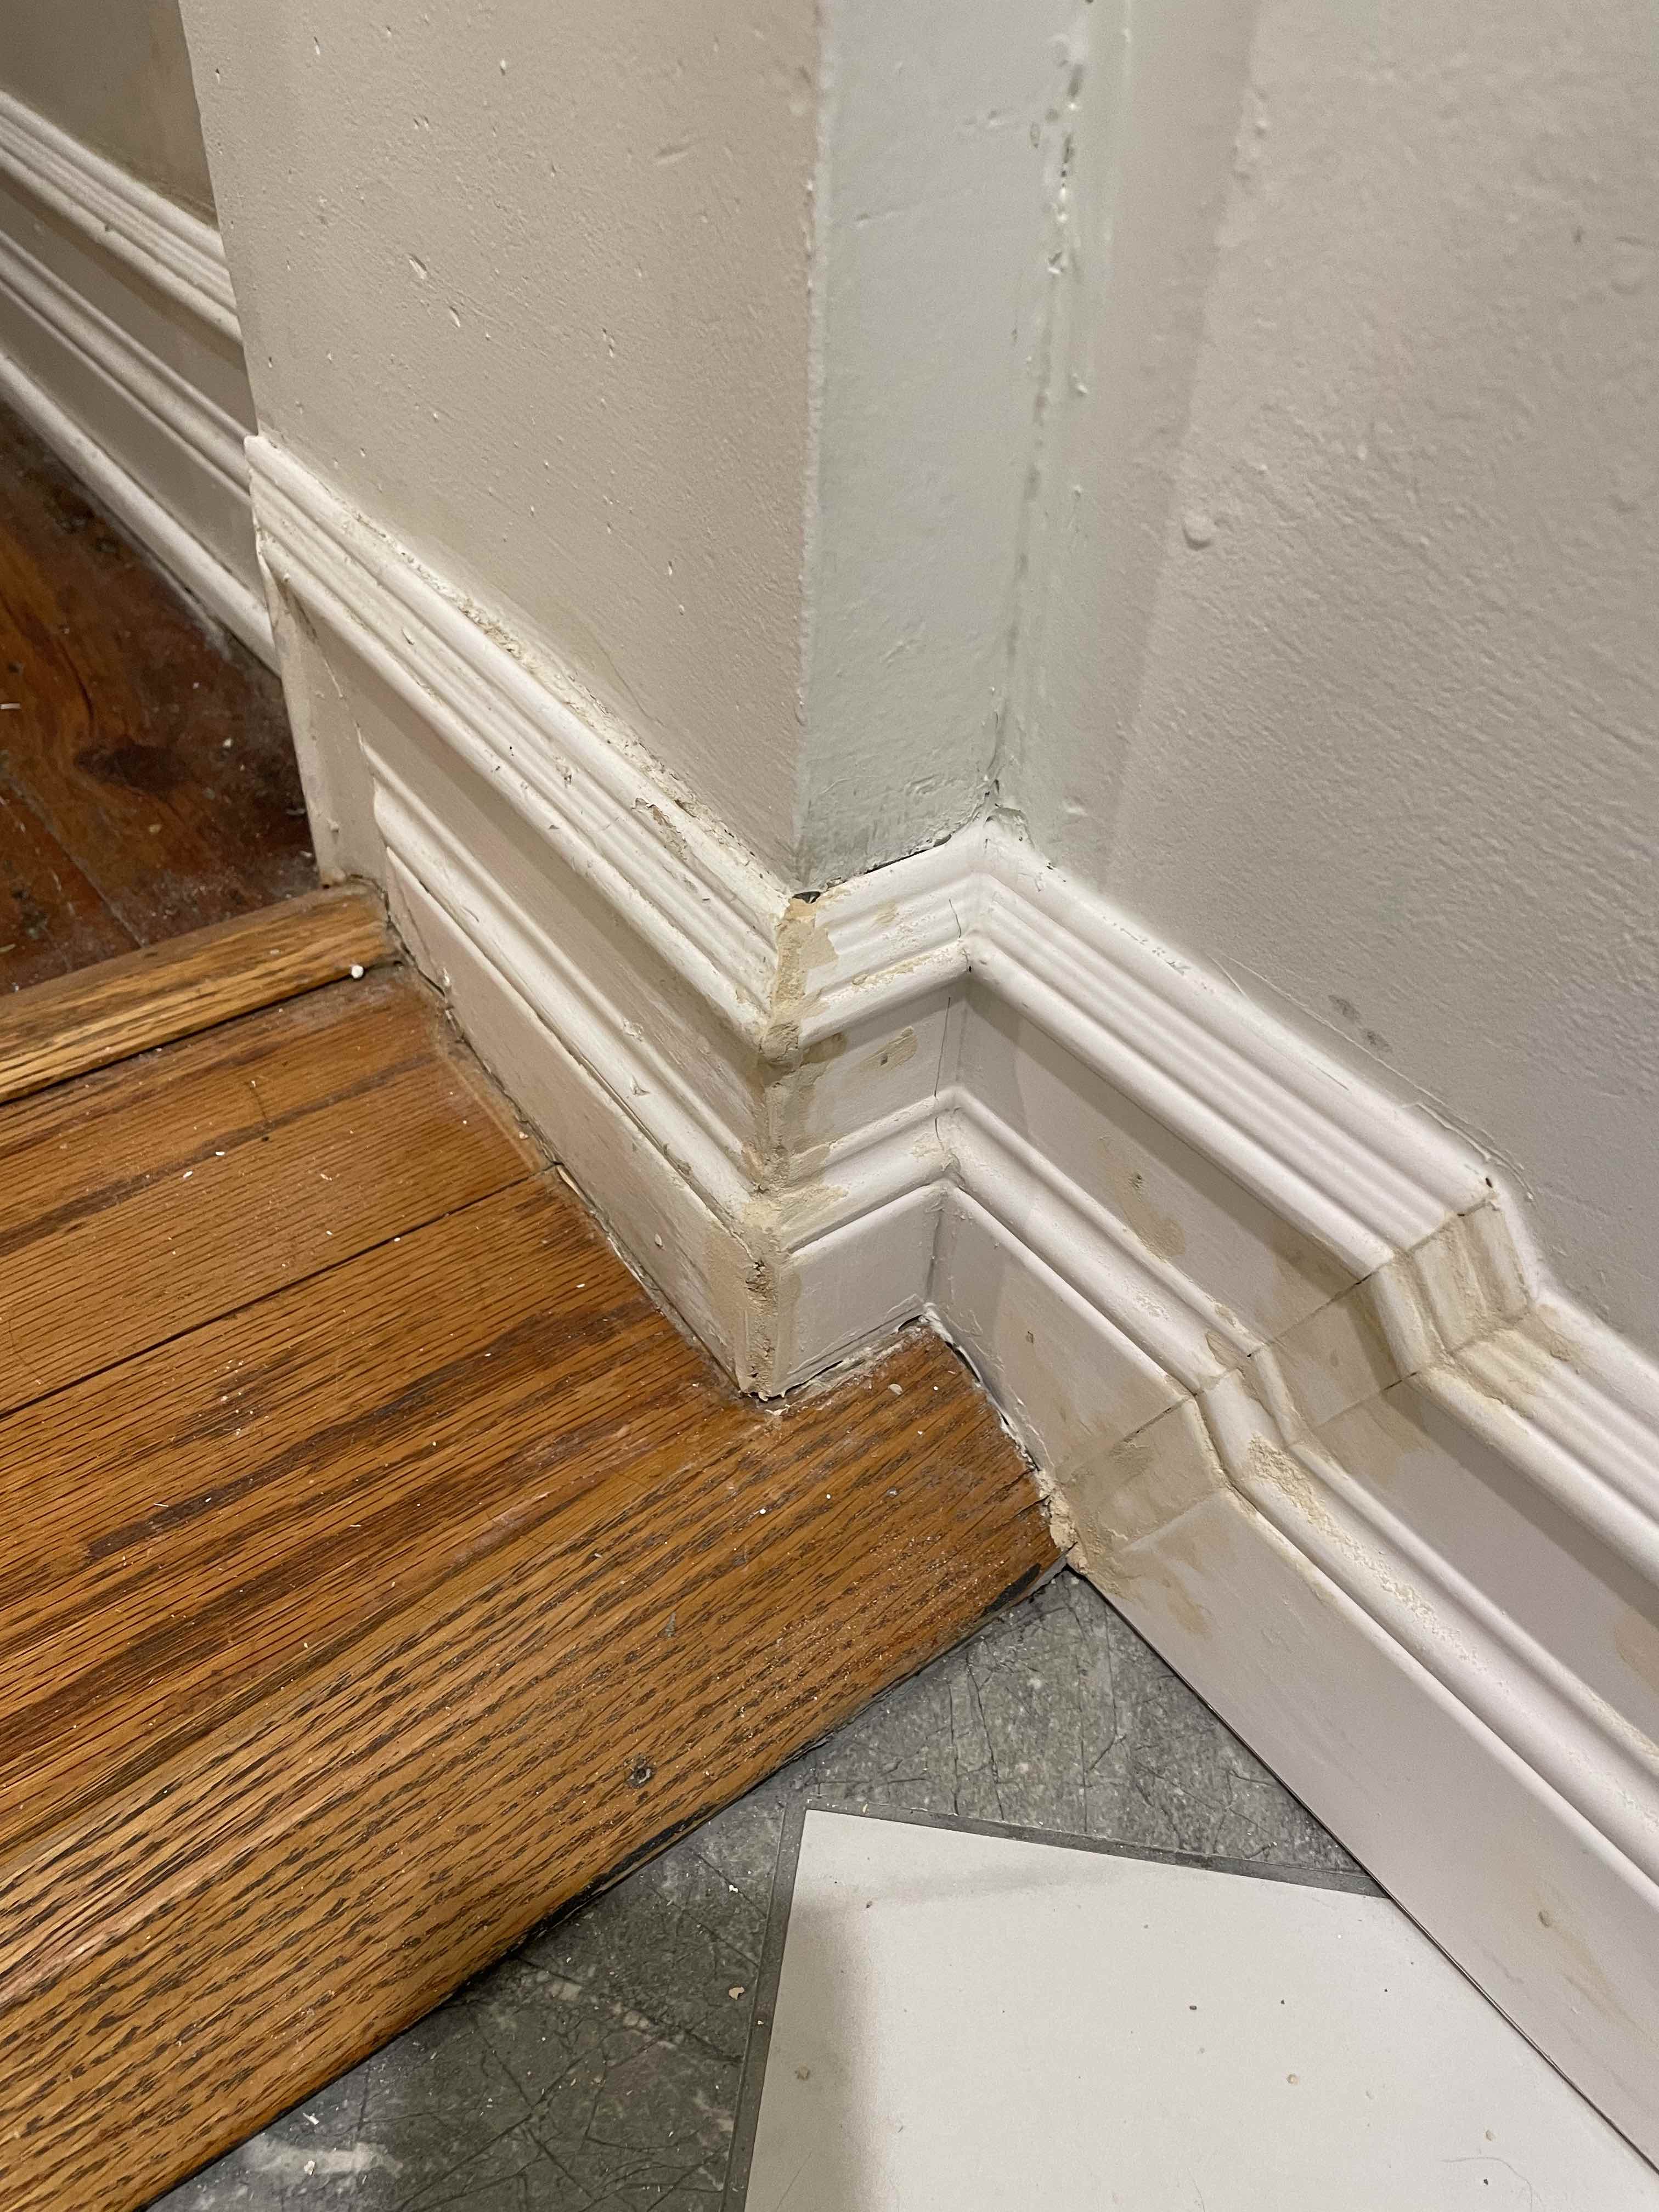
  1. This is what I did on the other side to deal with the flooring transition (I know it's not pretty now). Not sure how I would do that on this side with all the tiny cuts.

enter image description here

3
  • you can scarf out the trim for that fat corner, then sand the leading edge back until both pieces are snug, then easily fill any remaining gaps or chips.
    – dandavis
    Commented Dec 2, 2023 at 6:34
  • 2
    "none of the walls are straight and corners aren't 90 degrees." ...so, a perfectly normal house, then. ;^)
    – Ecnerwal
    Commented Dec 2, 2023 at 13:32
  • Other than the sloppy-ish filler, I like the last pic.
    – Huesmann
    Commented Dec 4, 2023 at 14:22

3 Answers 3

1

On the places where the threshold or transitions are and the floor goes higher than the rest of the floor on either side, I would simply run the base through and notch out the bottom of the base to go over the high spot. And if the floors are a little off from one side to the other of the threshold then rip a tapered amont off of the base by scribing and cutting the difference.

Where the miter is gapped open a huge amount, because the corner is larger than 90 degrees, it should be a matter of cutting the miter more than a 45 degree angle. It may need to be 46, 47 or as much as 48 degrees, or more for example. If you can't adjust the angle that far, I add a block under the base to change the angle that the base lays on the bed of the miter box. This will work on both inside and outside corners.

If your miter saw is big enough to stand the base while it is being cut, it is much simpler to change the angle to more than 45 degrees

1

That gap if you go straight and avoid fiddly cuts is similar to something I had in my last house. I glued another piece of wood on the back (probably 20x20mm, or planed 1"x1") flush with the top, planed that to the right thickness and filled the gap that way. Of course I needed a spacer lower down as well.

It looked pretty decent, better than I would have achieved with far more effort and silly little mitred corners.

0

One option is to switch to a different baseboard profile.

A modern flat stock that matches the thickness with the depth of the first bump where the transition ends would make it easier and still look good. Do two pieces of that and then did your craftmany stuff over the wood transition and finished it with a return on top of the front face of your modern base.

Search for how to make a baseboard return if you aren't familiar with it.

Your Answer

By clicking “Post Your Answer”, you agree to our terms of service and acknowledge you have read our privacy policy.

Not the answer you're looking for? Browse other questions tagged or ask your own question.