We bought a freestanding tub and did not realize it did not have an overflow drain. We need to add one to meet code. Does anyone have experience with this they can share?
-
1Before you drill the tub, you might consider putting in the correct type of overflow for a free-standing tub (which requires no extra holes): diy.stackexchange.com/a/47340/18078– EcnerwalCommented Feb 13, 2018 at 19:53
-
Is it really acrylic ? Most that I have seen are polyester or epoxy + fiberglass.– blacksmith37Commented Feb 13, 2018 at 21:48
3 Answers
I would buy a piece of acrylic plastic to test with (you can sometimes find that with window glass in home improvement stores, or at a arts & crafts store). Then place some masking tape on the front and back of the test piece, and use a ceramic drill bit.
Then if that goes well, hopefully it will go well on the real tub; but if there is an inconspicuous place to try a small hole (maybe the back foot if it is a footed tub), try there first.
Plastics drill in a similar way to brass, i.e. regular HSS drill bits will pull too quickly into the material, grabbing and possibly snatching. But, for an overflow you're probably going to be drilling a larger hole than regular HSS bits.
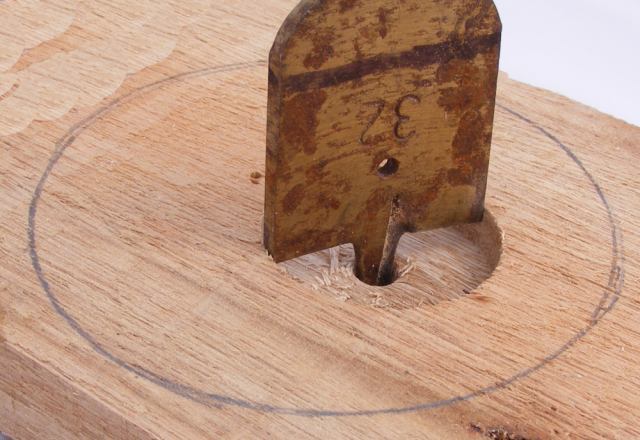
I often drill sheet plastic with a sharp flat bit. These drill plastic perfectly as their cutting face is 90 degrees to the material. I agree totally with Mark above, practice a few times because plastic can grab the bit and stop dead, often cracking the workpiece. You want a reasonable speed but not much feed (opposite to the way you drill metal for example). Use a light pressure and if you can have a block of wood at the back, it will help. Be especially careful as the bit gets close to going all the way through, slow down and ease back to a minimal pressure.
You would need a hole saw the proper size.
Layout the hole placement on the inside of the tub, or if it is easier on the outside, lay it out there. With the pilot bit of the hole saw start your drill, gently on the outside of the tub, if that is where you laid it out. If you did the layout on the inside, start drilling there, still gently. What will happen, the drill will drop more rapidly through faster than you can react and dash the cutting teeth against the finish tub. Too aggressive and you may tear out a chunk of acrylic. The idea is at least from the inside, drill the 1/4" pilot hole. Again if you choose to do this from the inside, move to the outside and using the 1/4" hole you just drilled, start the drill bit back in the hole and start the hole saw turning before you engage the larger part of the bit to the tub and lightly score a ring on the back side, taking care not to go all the way through. After that is accomplished, go to the inside and do the same but this time allow the cut to pass all the way through, to finish the cut.
All that said, be certain you are square with the face of the tub wall you are drilling. Be certain you stay square while you are drilling. There is a chance that if you go too far off square the bit will jam and crack the tub.
To be certain you are, before you start the drilling of the larger hole, set the pilot bit in the hole and set the larger part of the bit to the wall of the tub without pulling the trigger. Draw back a little, to get the bit away a little and start the drill without shifting around, just a clean back move and a clean forward move to start drilling. You could do a variation of this...
If you place the drill into the pilot and bring the hole saw to the tub wall as mentioned above, instead of drawing back, BE CERTAIN you are not applying pressure to the tub wall after you square the bit up with the wall of the tub and ease the trigger, This only works if you have a variable speed drill. If you don't, do not try this technique. After the bit starts turning slowly, you can get a "feel for the cut". Score again as mentioned above, and do the same for the inside, but cut it all the way through as mentioned before.
I recommend the first method, because if you press to hard against the tub too hard before you pull the trigger using the second method, the grip of the teeth into the tub side will wrench the drill out of your hand and crack the acrylic.
The bit pictured may not be the size you need, confirm the size. It should be somewhere around 2"

