Any tips for adding an outdoor receptacle box onto a house with vinyl siding? Shouldn't the box be attached to a stud? How do I seal around it? J Channel? How can I accomplish this without tearing off large chunks of siding? I can handle the electrical.
4 Answers
You can probably get away with a weather proof box on top of the siding, but here's the full procedure to make it look nice.
Vinyl siding can be pulled off and later reattached. To remove it, you need a siding removal tool that has a flat blade with a small hook on the end. You shove it up the gap between two pieces of siding and then pull to separate them. Start with the top edge that you want to remove, expose the entire piece, and then unscrew it from the wall.
There should be tyvek or similar weather proofing material under the siding. Repair the screw holes and any tears with tyvek tape.
Locate your new outlet installation location. More than likely, you'll need to remove the drywall inside to feed the lines to this outlet, so find your stud there and drill a small test hole. Make sure the hole is near where you want to place the electrical box, cut back the tyvek in an X shape with the, and then cut your opening with a drill in the corners and a reciprocating saw.
Install the new junction box to the stud. You may find it easier to screw it in since hammering requires space to swing the hammer and the vibration could cause damage to the surrounding drywall. Caulk all gaps around the box and the outside sheathing. Cut back any excess tyvek and tape around all 4 sides to make it weather tight.
Run your wiring. Don't forget to staple it to the center of the stud. Install your outlet, making sure it's GFCI protected since your outside. Use a weather protective cover over the outlet.
Install J-channel around the outlet. Install from the bottom up and overlap the joints so any drips go outside of the J-channel. Begin reinstalling your siding from the bottom piece working your way up. Measure twice around the outlet and cut your siding with tin snips (it will go through like butter and leaves the best edge for small cuts). Remember to measure so the cut is inside of the J-channel and you have a 1/4" of play to each side (siding moves with temperature changes). Don't forget to account for the overlap with the adjacent pieces when measuring, and when reinstalling, the overlap should be such that you aren't looking into a gap from the predominant view of your home. When reinstalling the siding, give it a good shove against the track on the piece below until you hear or feel it click in all the way across.
When screwing back in, I'd use different screw holes and new screws. The screws should have a flange so the siding can't slip over the head, wide threads to bite the wood, and be relatively shallow so you aren't going completely through your sheathing (1/2", maybe 5/8"). When screwing in, put your screw in the middle of the slot at the top of the siding so the siding can move from side to side. And leave the gap of a fingernail under the screw head, don't tighten it all the way down. For the last piece, after you've screwed it in, pull down the siding above into the track, and snap it in with a firm shove. The siding removal tool can help you line this up.
-
Thanks for the detailed steps. I bought a box from Lowes that mounts under the siding and then has a trim ring that snaps over it. It looks similiar to what Vebjorn Ljosa posted below except that the outlet is more surface mounted. If I have time tomorrow, I will add a picture to this thread. Thanks to all.– BrianKCommented Jun 25, 2012 at 4:23
-
3Don't forget NEC 406.8 Receptacles in Damp or Wet Locations., which says "A receptacle installed outdoors in a location protected from the weather or in other damp locations shall have an enclosure for the receptacle that is weatherproof when the receptacle is covered (attachment plug cap not inserted and receptacle covers closed).". And "receptacles installed in a wet location shall have an enclosure that is weatherproof whether or not the attachment plug cap is inserted.". So make sure you use an "In-use" cover in locations subjected to weather. Commented Jun 25, 2012 at 12:33
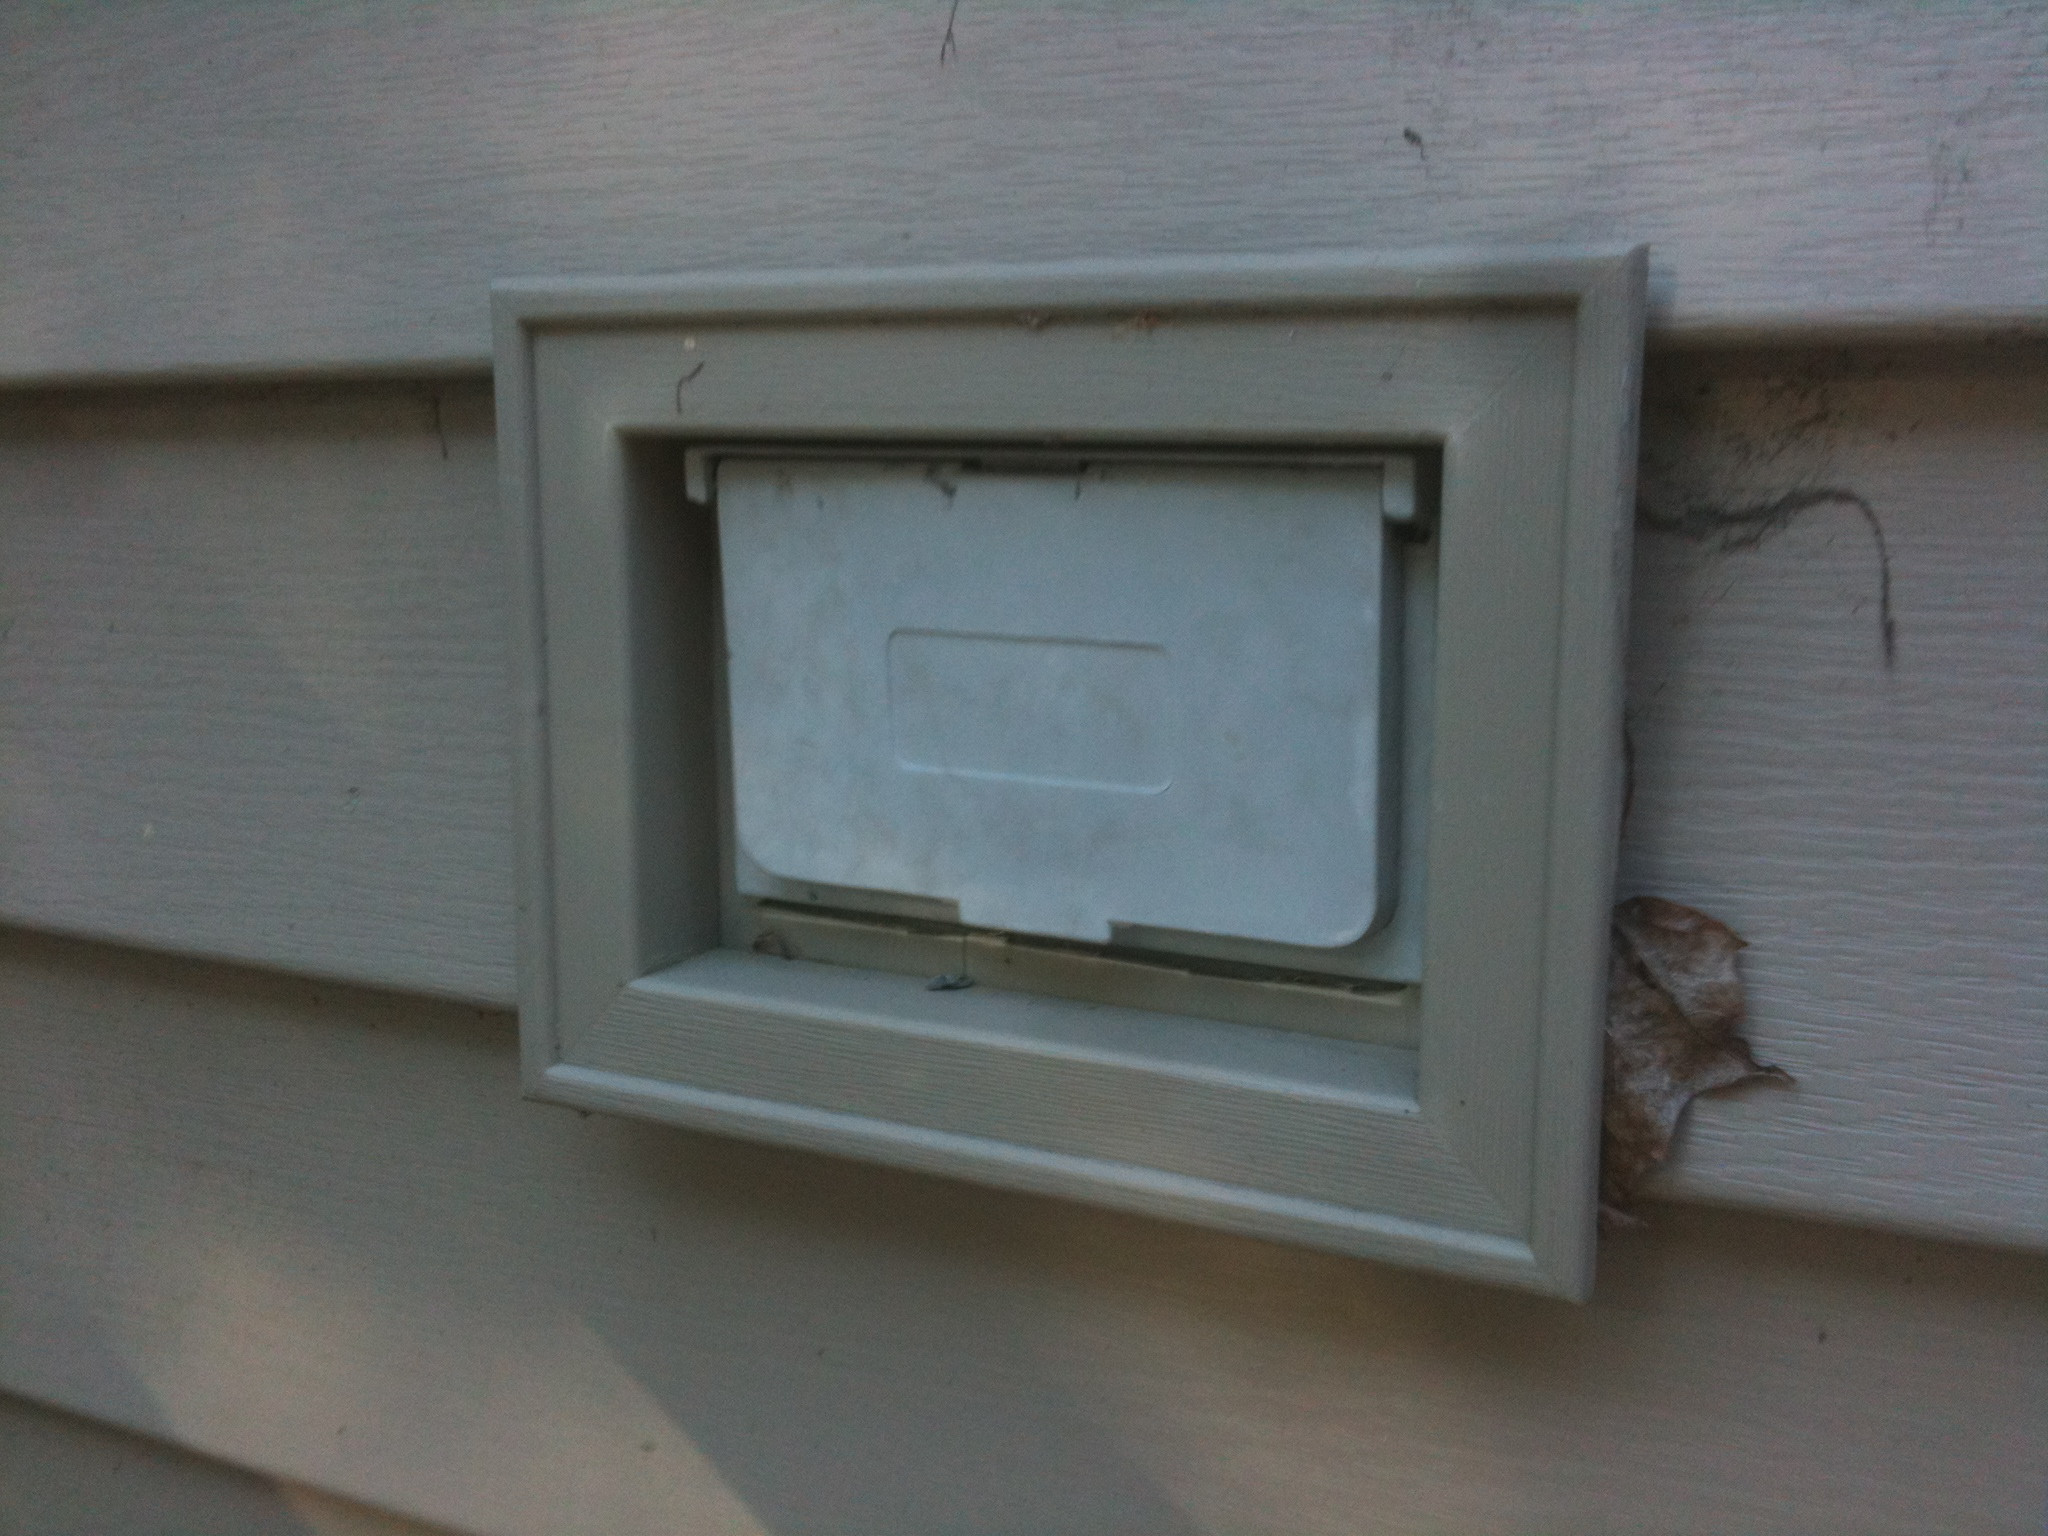
The vinyl-siding manufacturers make special attachments for mounting receptacle boxes, with trim rings to seal against the siding. The attachments are the same or similar to what is used for railings and faucets:
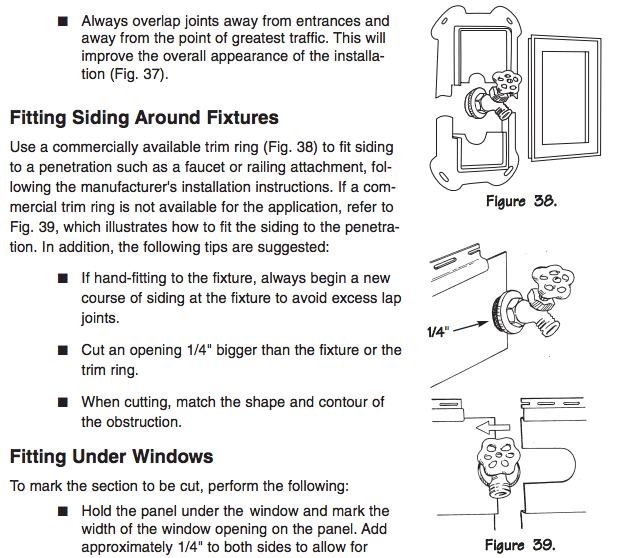
For small fixtures, it is also possible to just cut a hole for it in the regular siding (and presumably seal with silicone), as shown in the following facsimile from the Vinyl Siding Installation Manual:
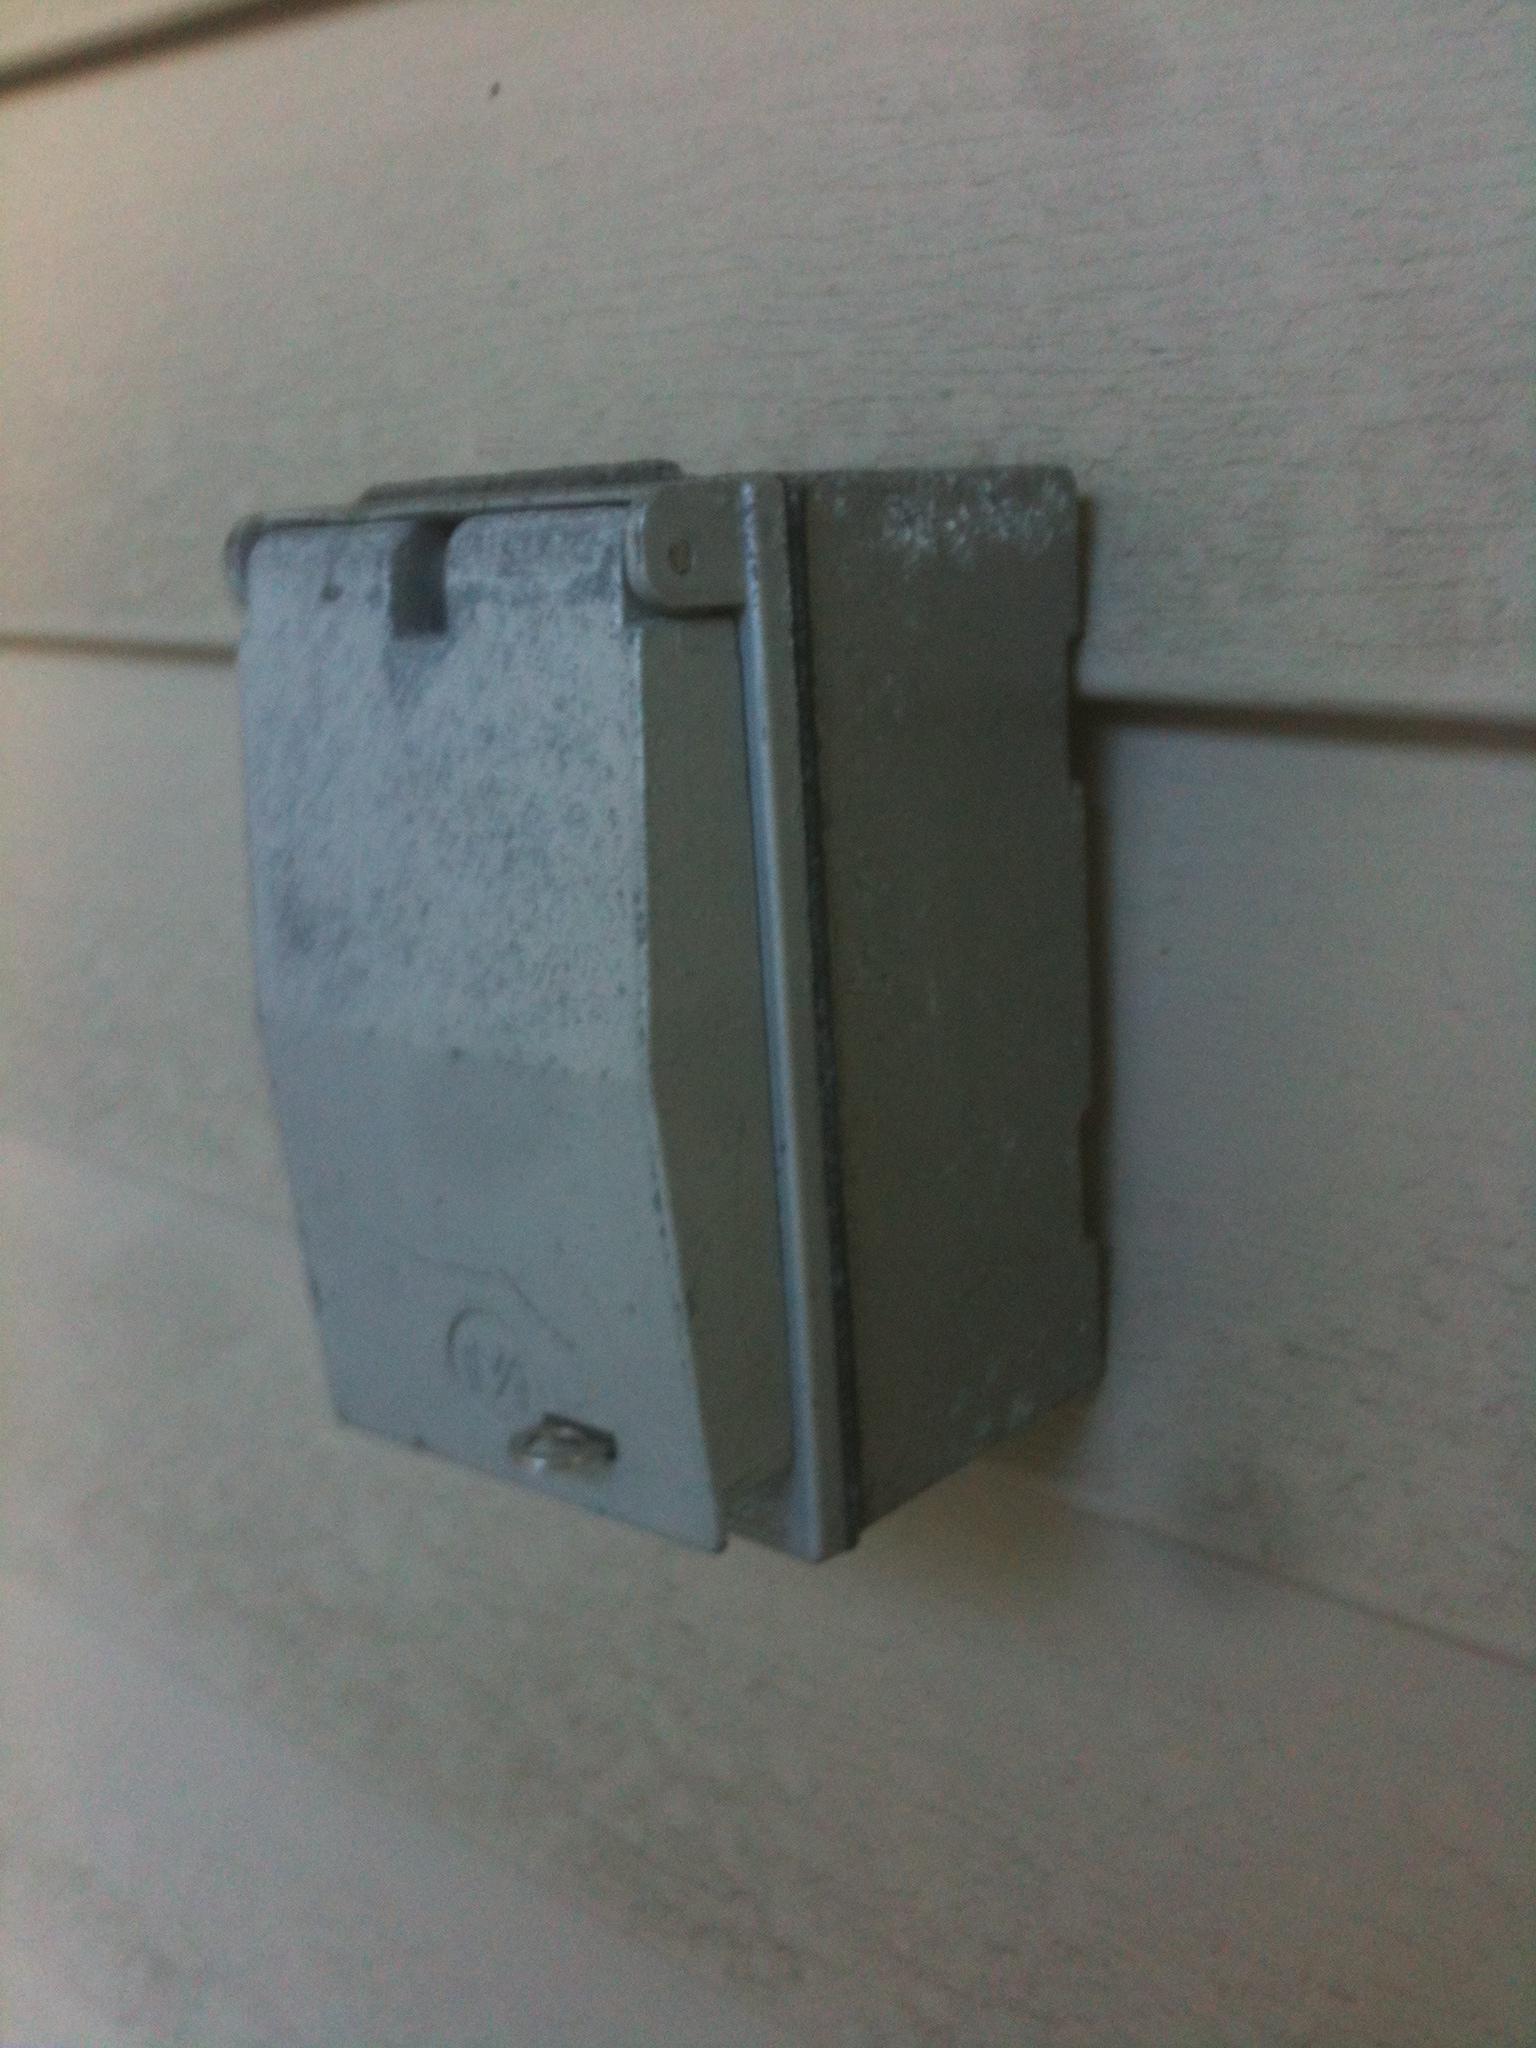
Do not simply screw the box through the siding as below; it will be very flimsy.
-
1Minor addendum: Regarding the special attachments for mounting receptacle boxes, the actual term is J-block (which I suppose is a terrible name and explains why it's seldom used)... "vinyl siding mounting block (or box)" is better for searching and finding J-blocks. +Vebjorn because this would be better (for a few reasons) than fitting J-channel around the outlet-hole. Commented Jul 22, 2016 at 13:55
They sell outdoor boxes that you could use
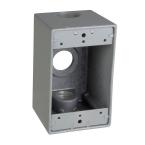
Which you could add different waterproof covers to
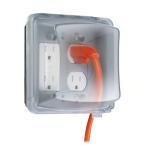
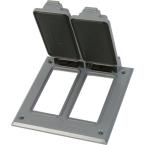
I would add silicon or some other sealant to the back of the box when you mount it. These can be secured right to the sheeting behind the siding.
-
4The second cover you show (the one with flip down covers), is only for damp locations. If you are installing a receptacle cover in a wet location, you have to use the first type (In-use cover). See NEC 406.8. Commented Jun 25, 2012 at 12:35
Arlington Fittings makes an electrical box and or special adapter for siding.
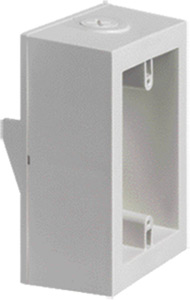
While the box picture makes the mounting self evident, here's a specification sheet and here's an installation video. I think to purchase you would have to get through an electrical wholesaler. Usually we are supposed to give you a good description of how to use the suggested products, but I think the links supplied does a better job.
