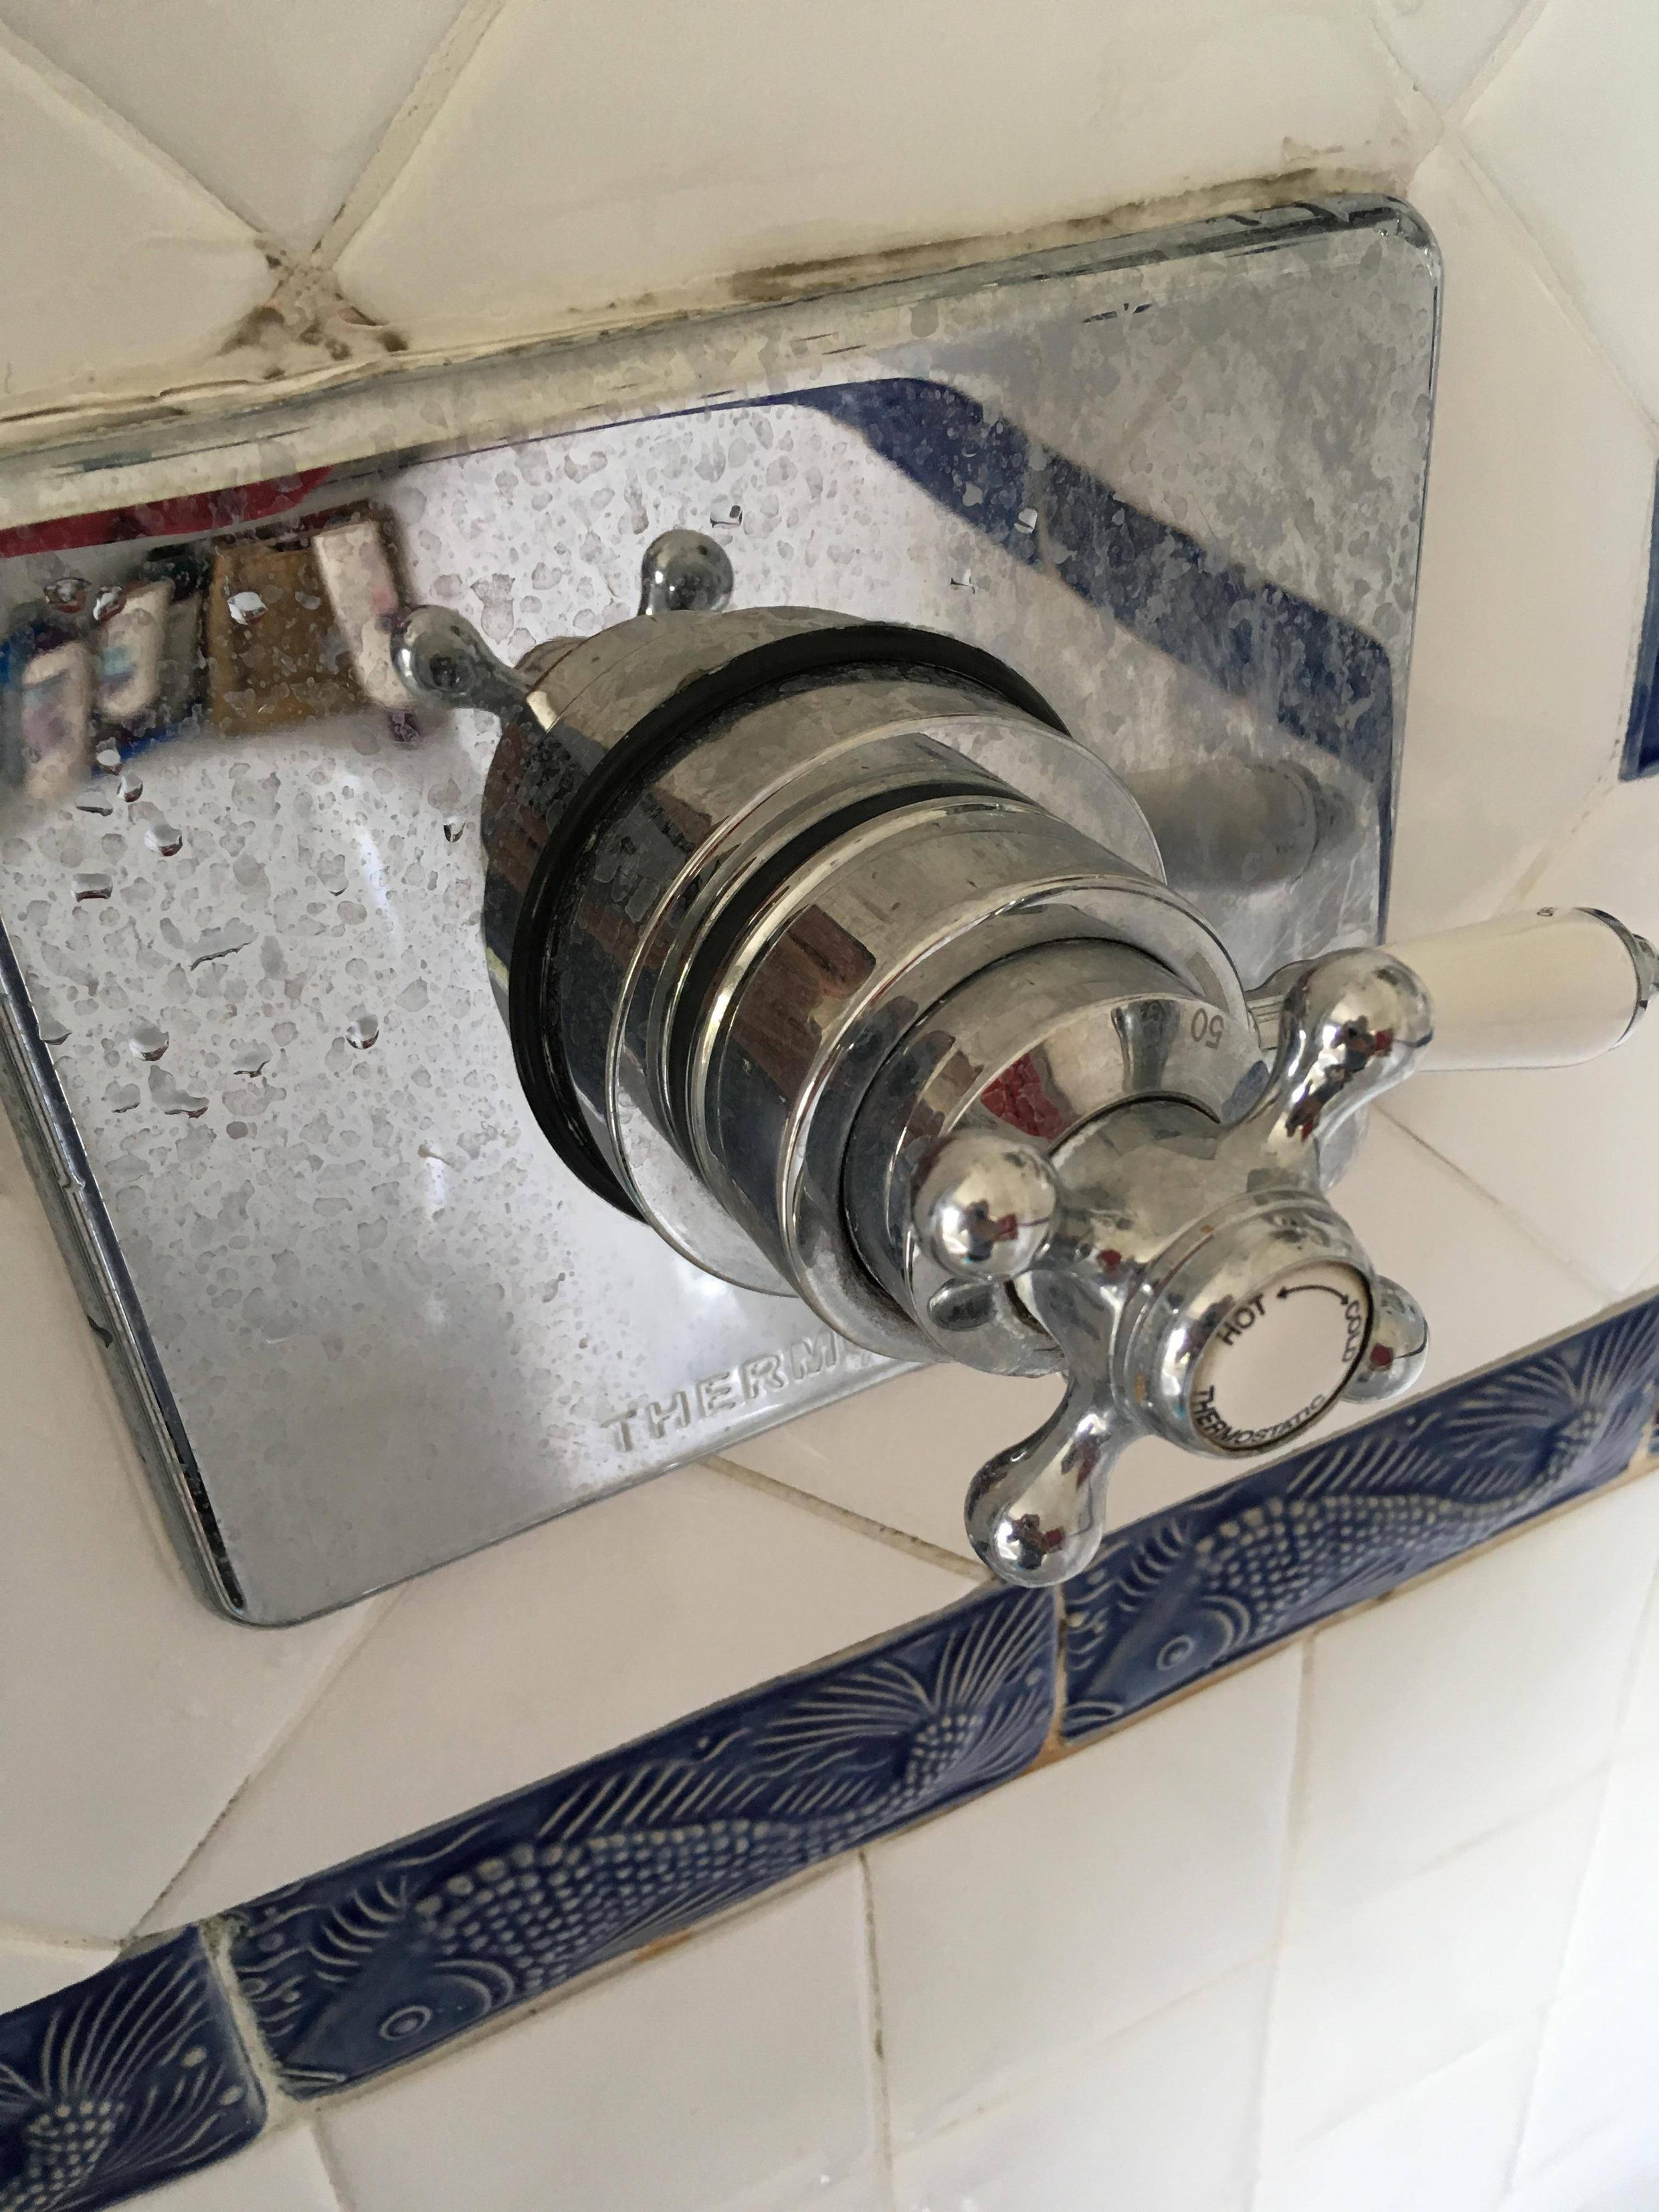
Eventually, with more force applied, the front cap did unscrew (standard right hand thread) to reveal a 16mm hex insert.
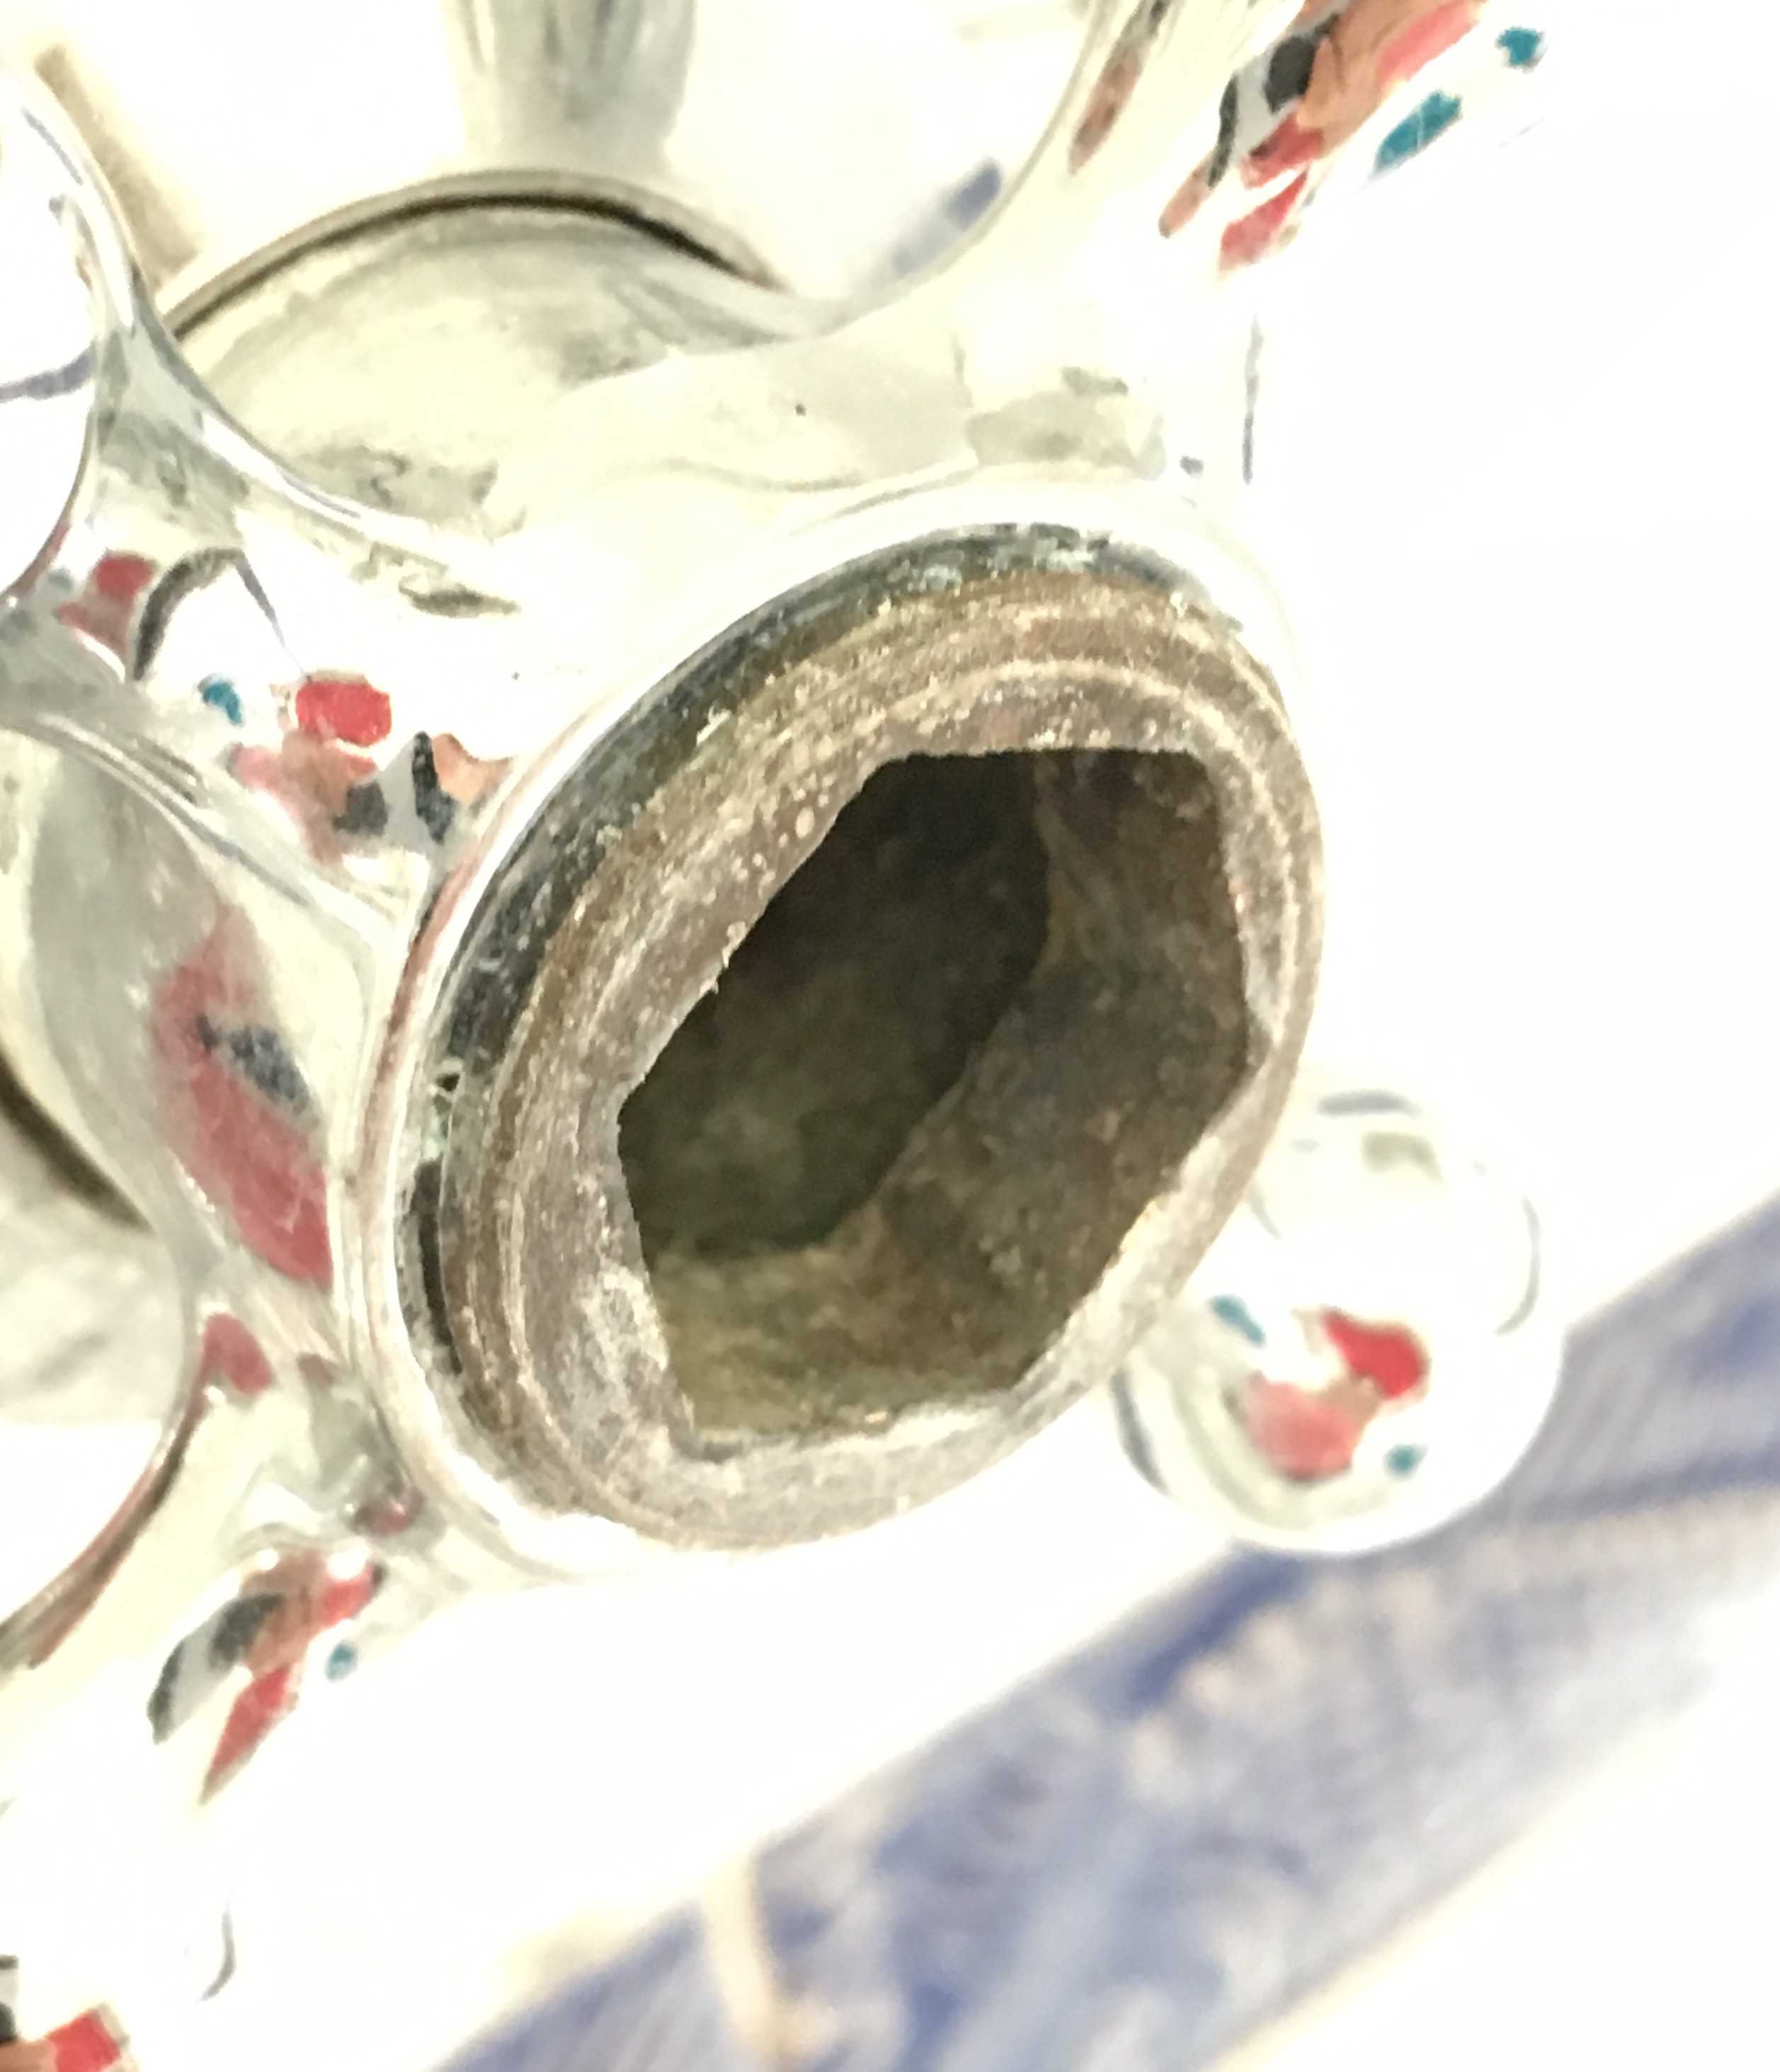
However, this was misleading, as inside the tap handle is a screw. Removing the screw allows the handle to be pulled out.
Inside, the next stage is held on with a washer and C clip. They have already been removed in this picture - you will also notice the tap is no longer in the wall!
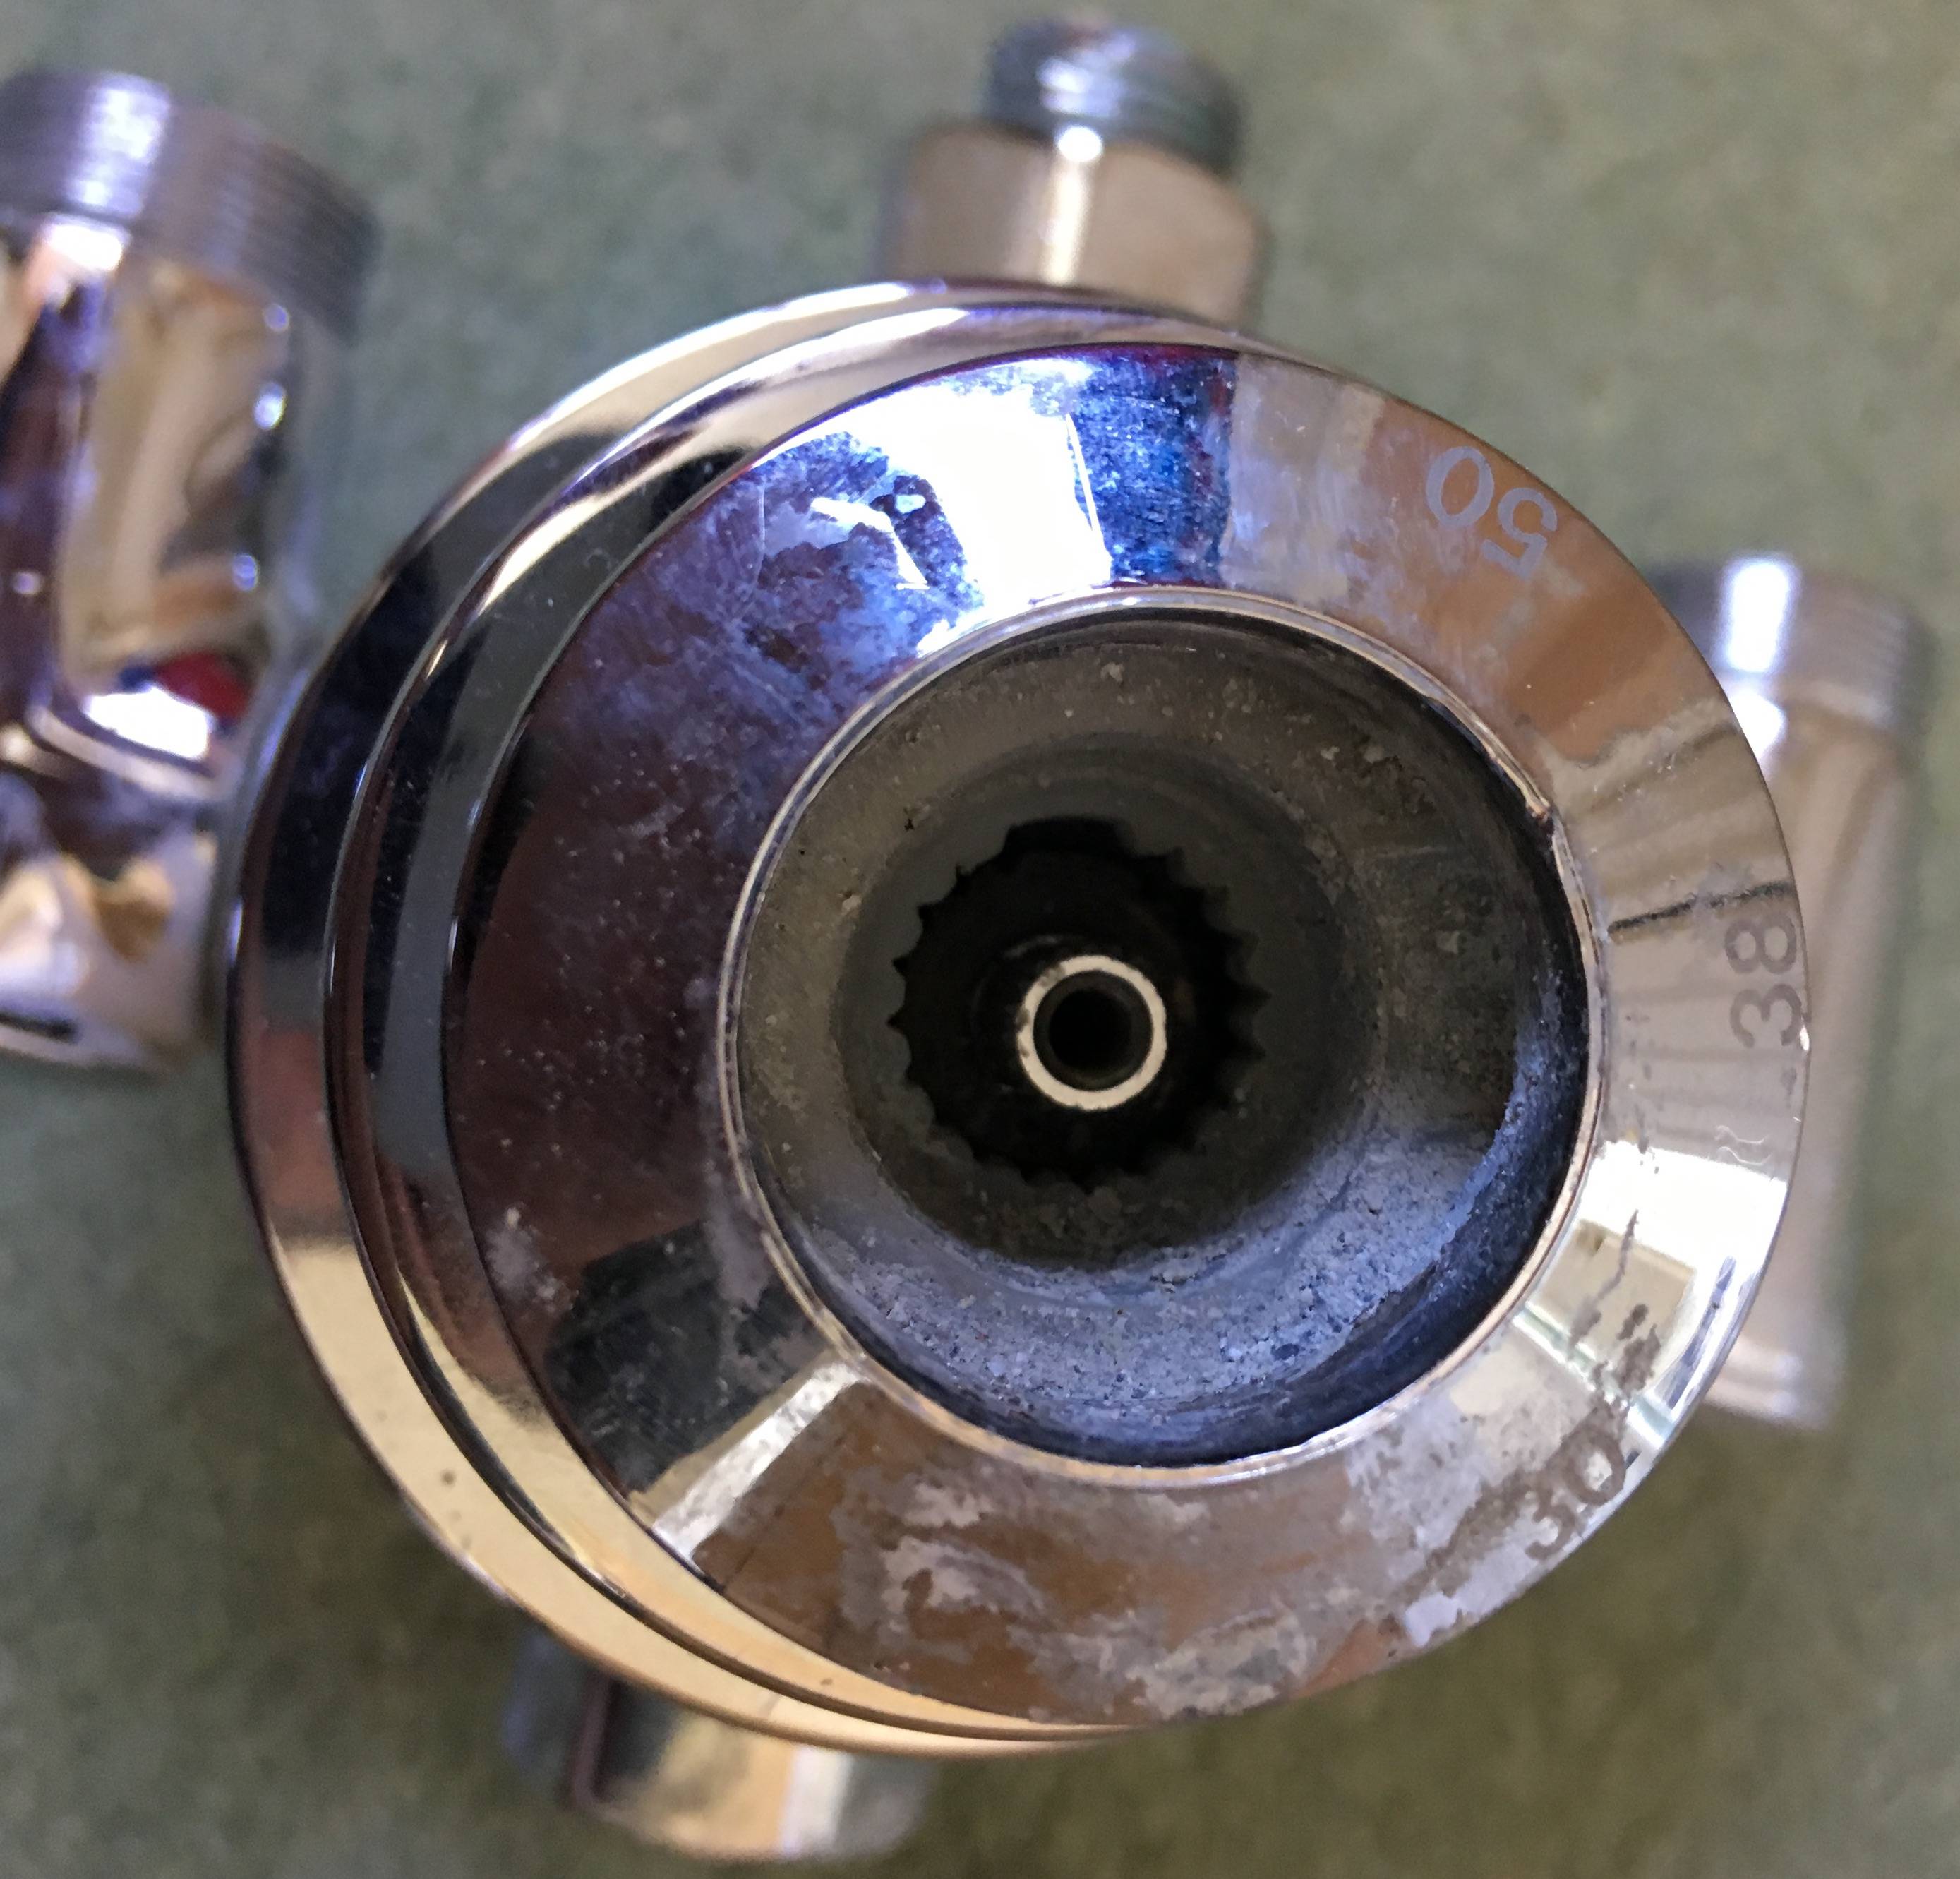
Removing the tiny C-clip, and the temperature limiting button, allows this section to be pulled out; it required some force to get it to move. The next stage had another C-clip behind the toothed wheels.
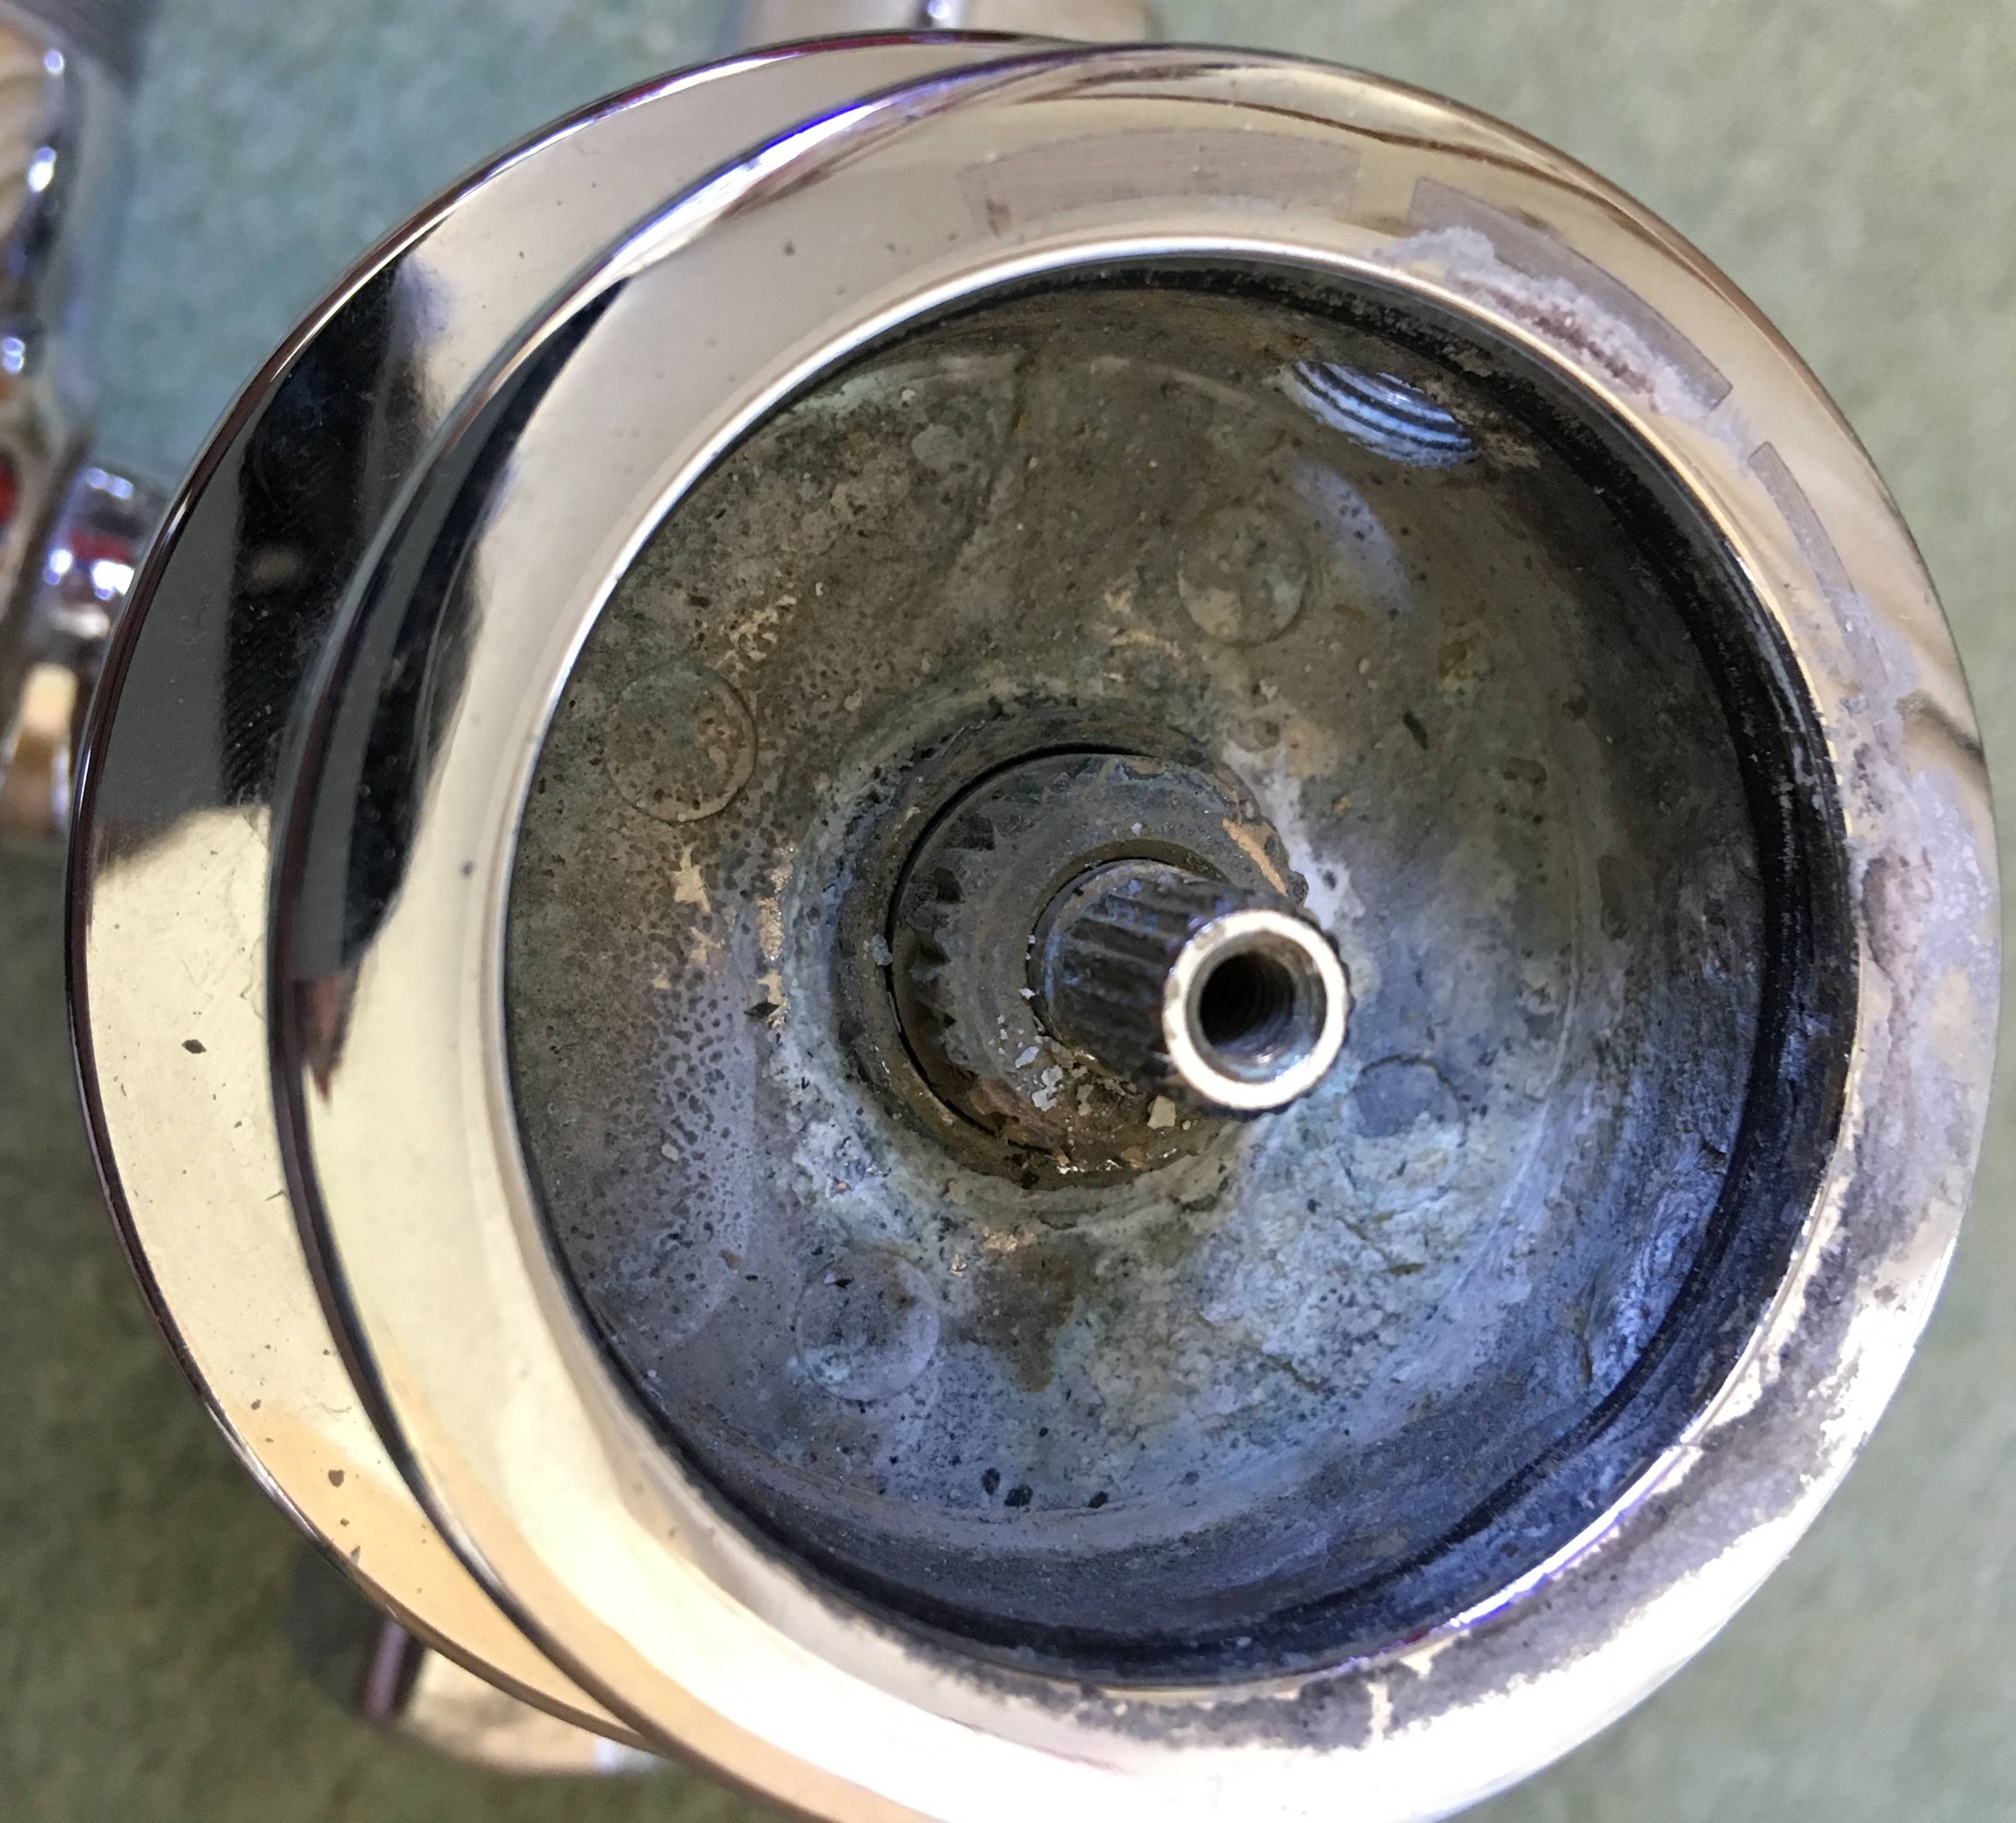
After removing the clip I could not get the final stage out of the valve. Here's a picture of all the clips (sorry they are not in the correct order!)
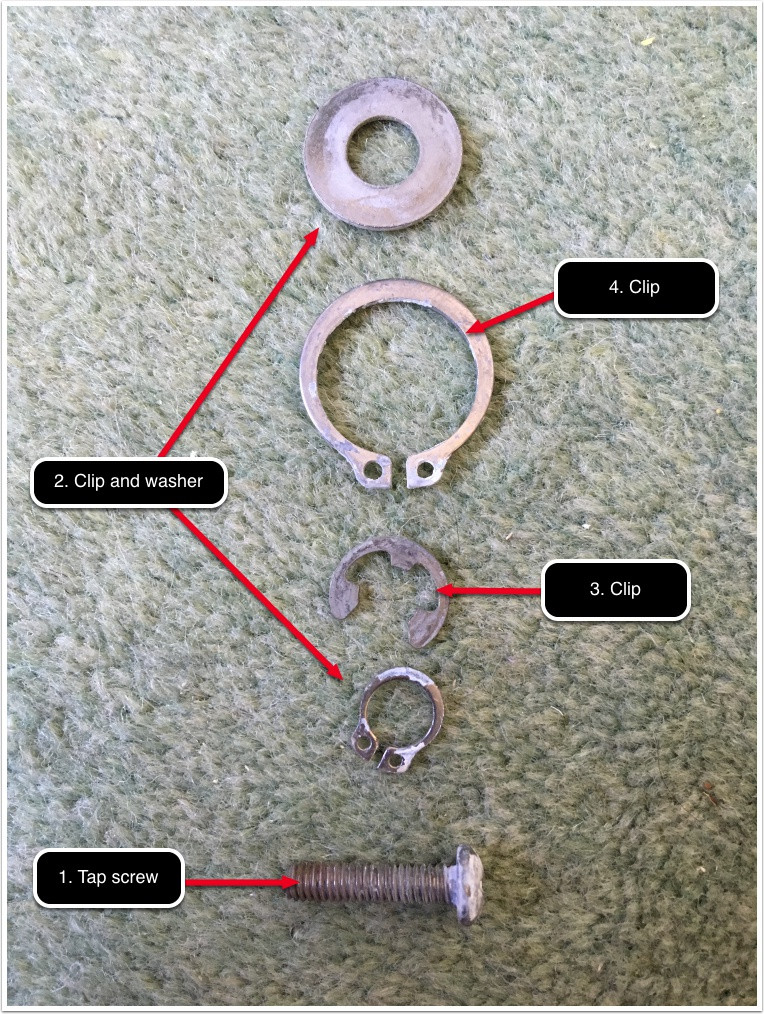
It was at this point I gave up trying and decided to extract it from the wall. This also proved difficult as it had been installed before the false wall was put in. This resulted in a number of tiles needing to be removed and the plywood "wall" chiselled to get access.
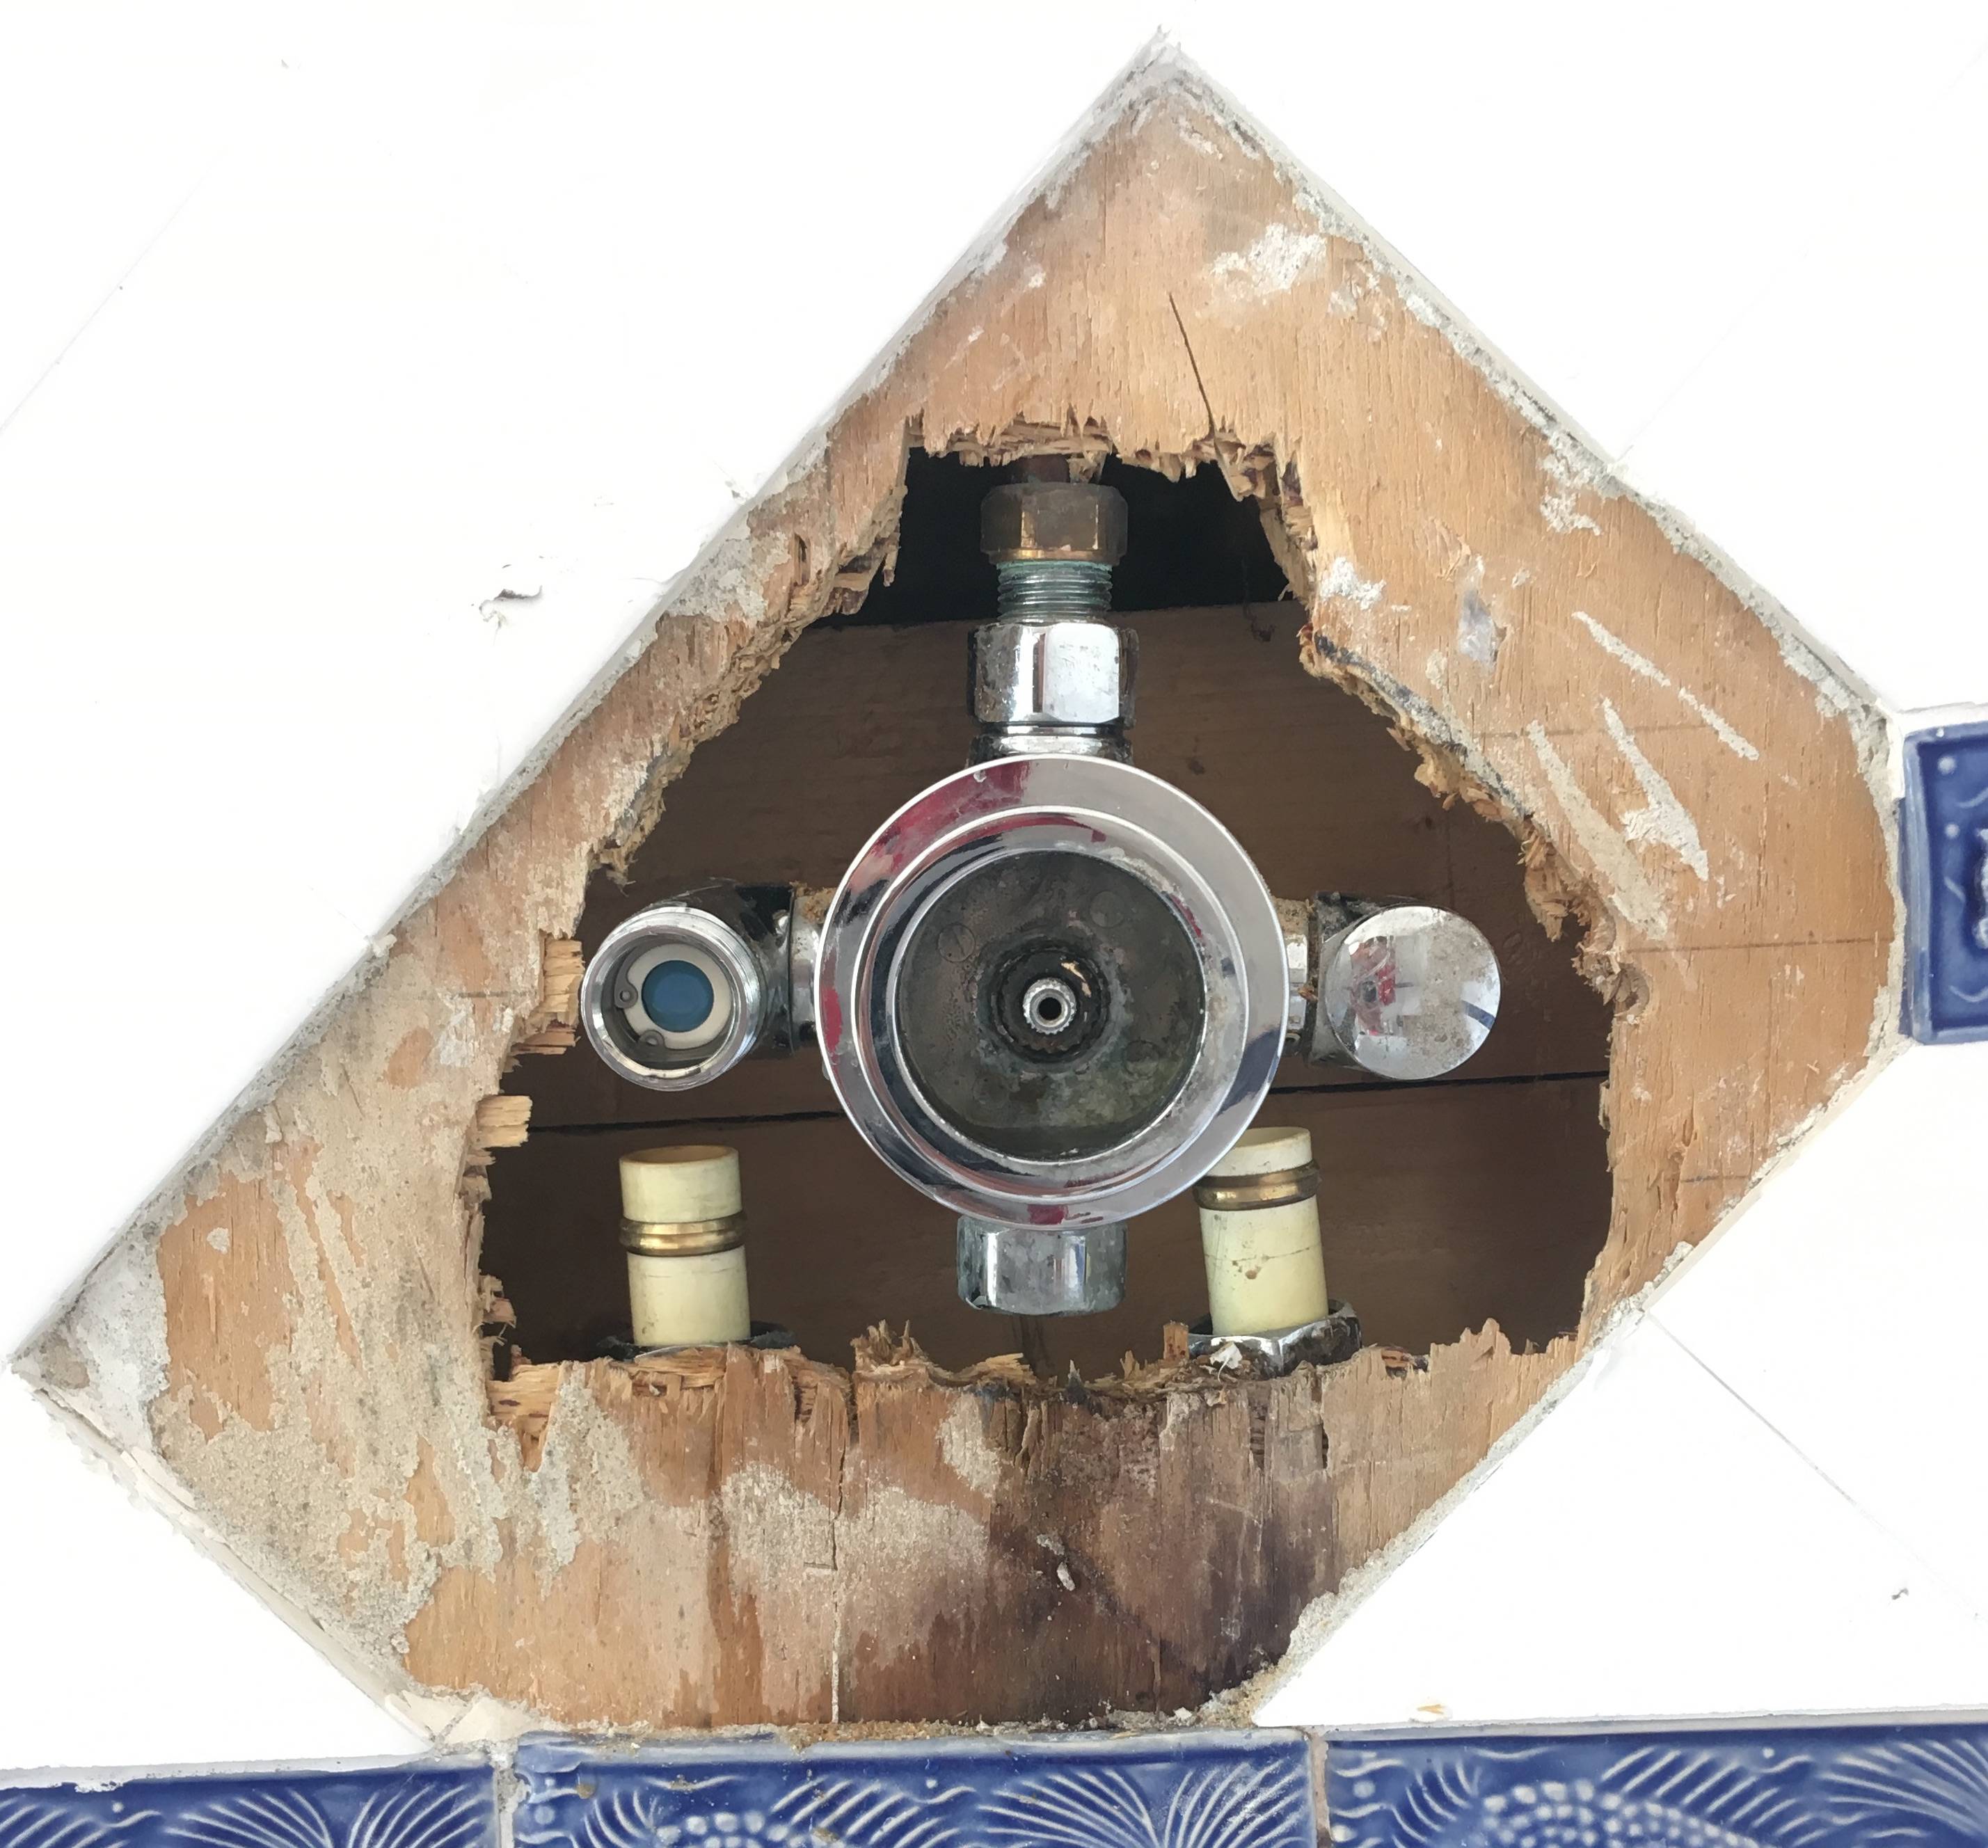
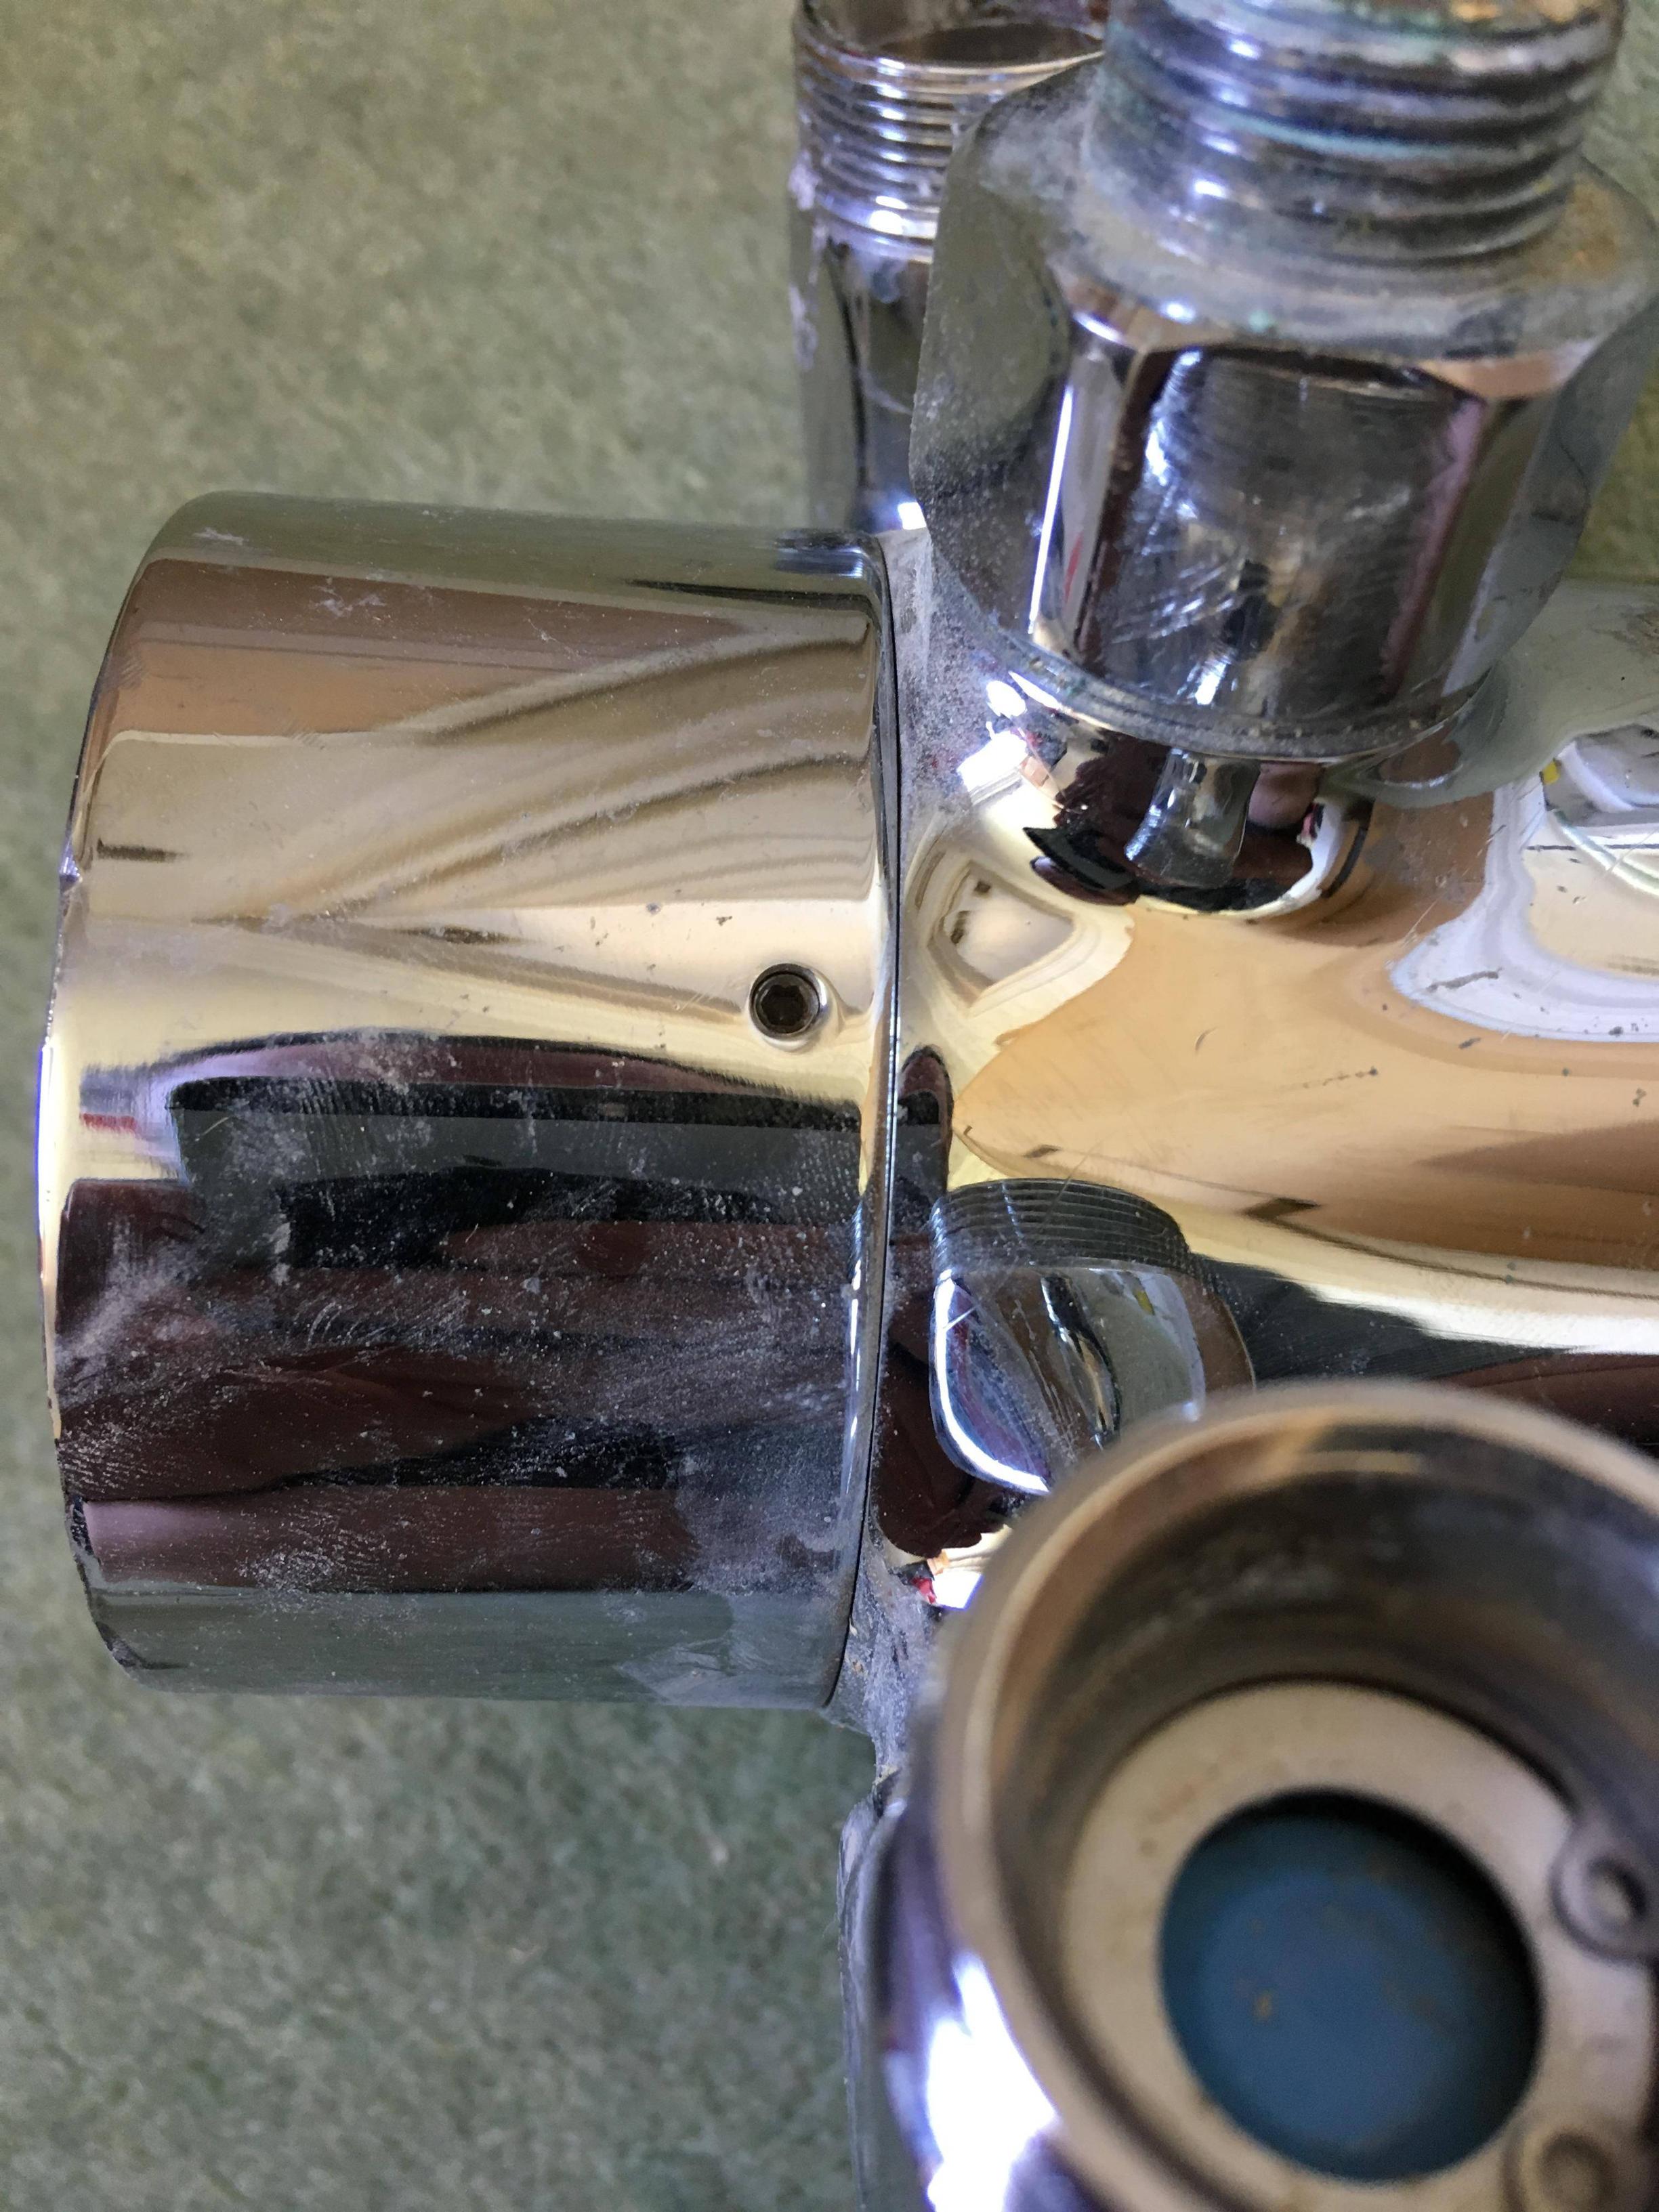
With no knowledge of how it was fixed to the wall I levered it off - not pretty. Once removed I noticed some small grub screws holding the two parts together. Even if I'd known about them I not sure I would have been able to get a hex key in there to take them out.
I then set about removing and capping the pipes, rebuilding the wall with a ply insert, and tiling. I did not have any of the original tiles but managed to find some in a local shop, even though they are a bit of a darker shade. Job done!
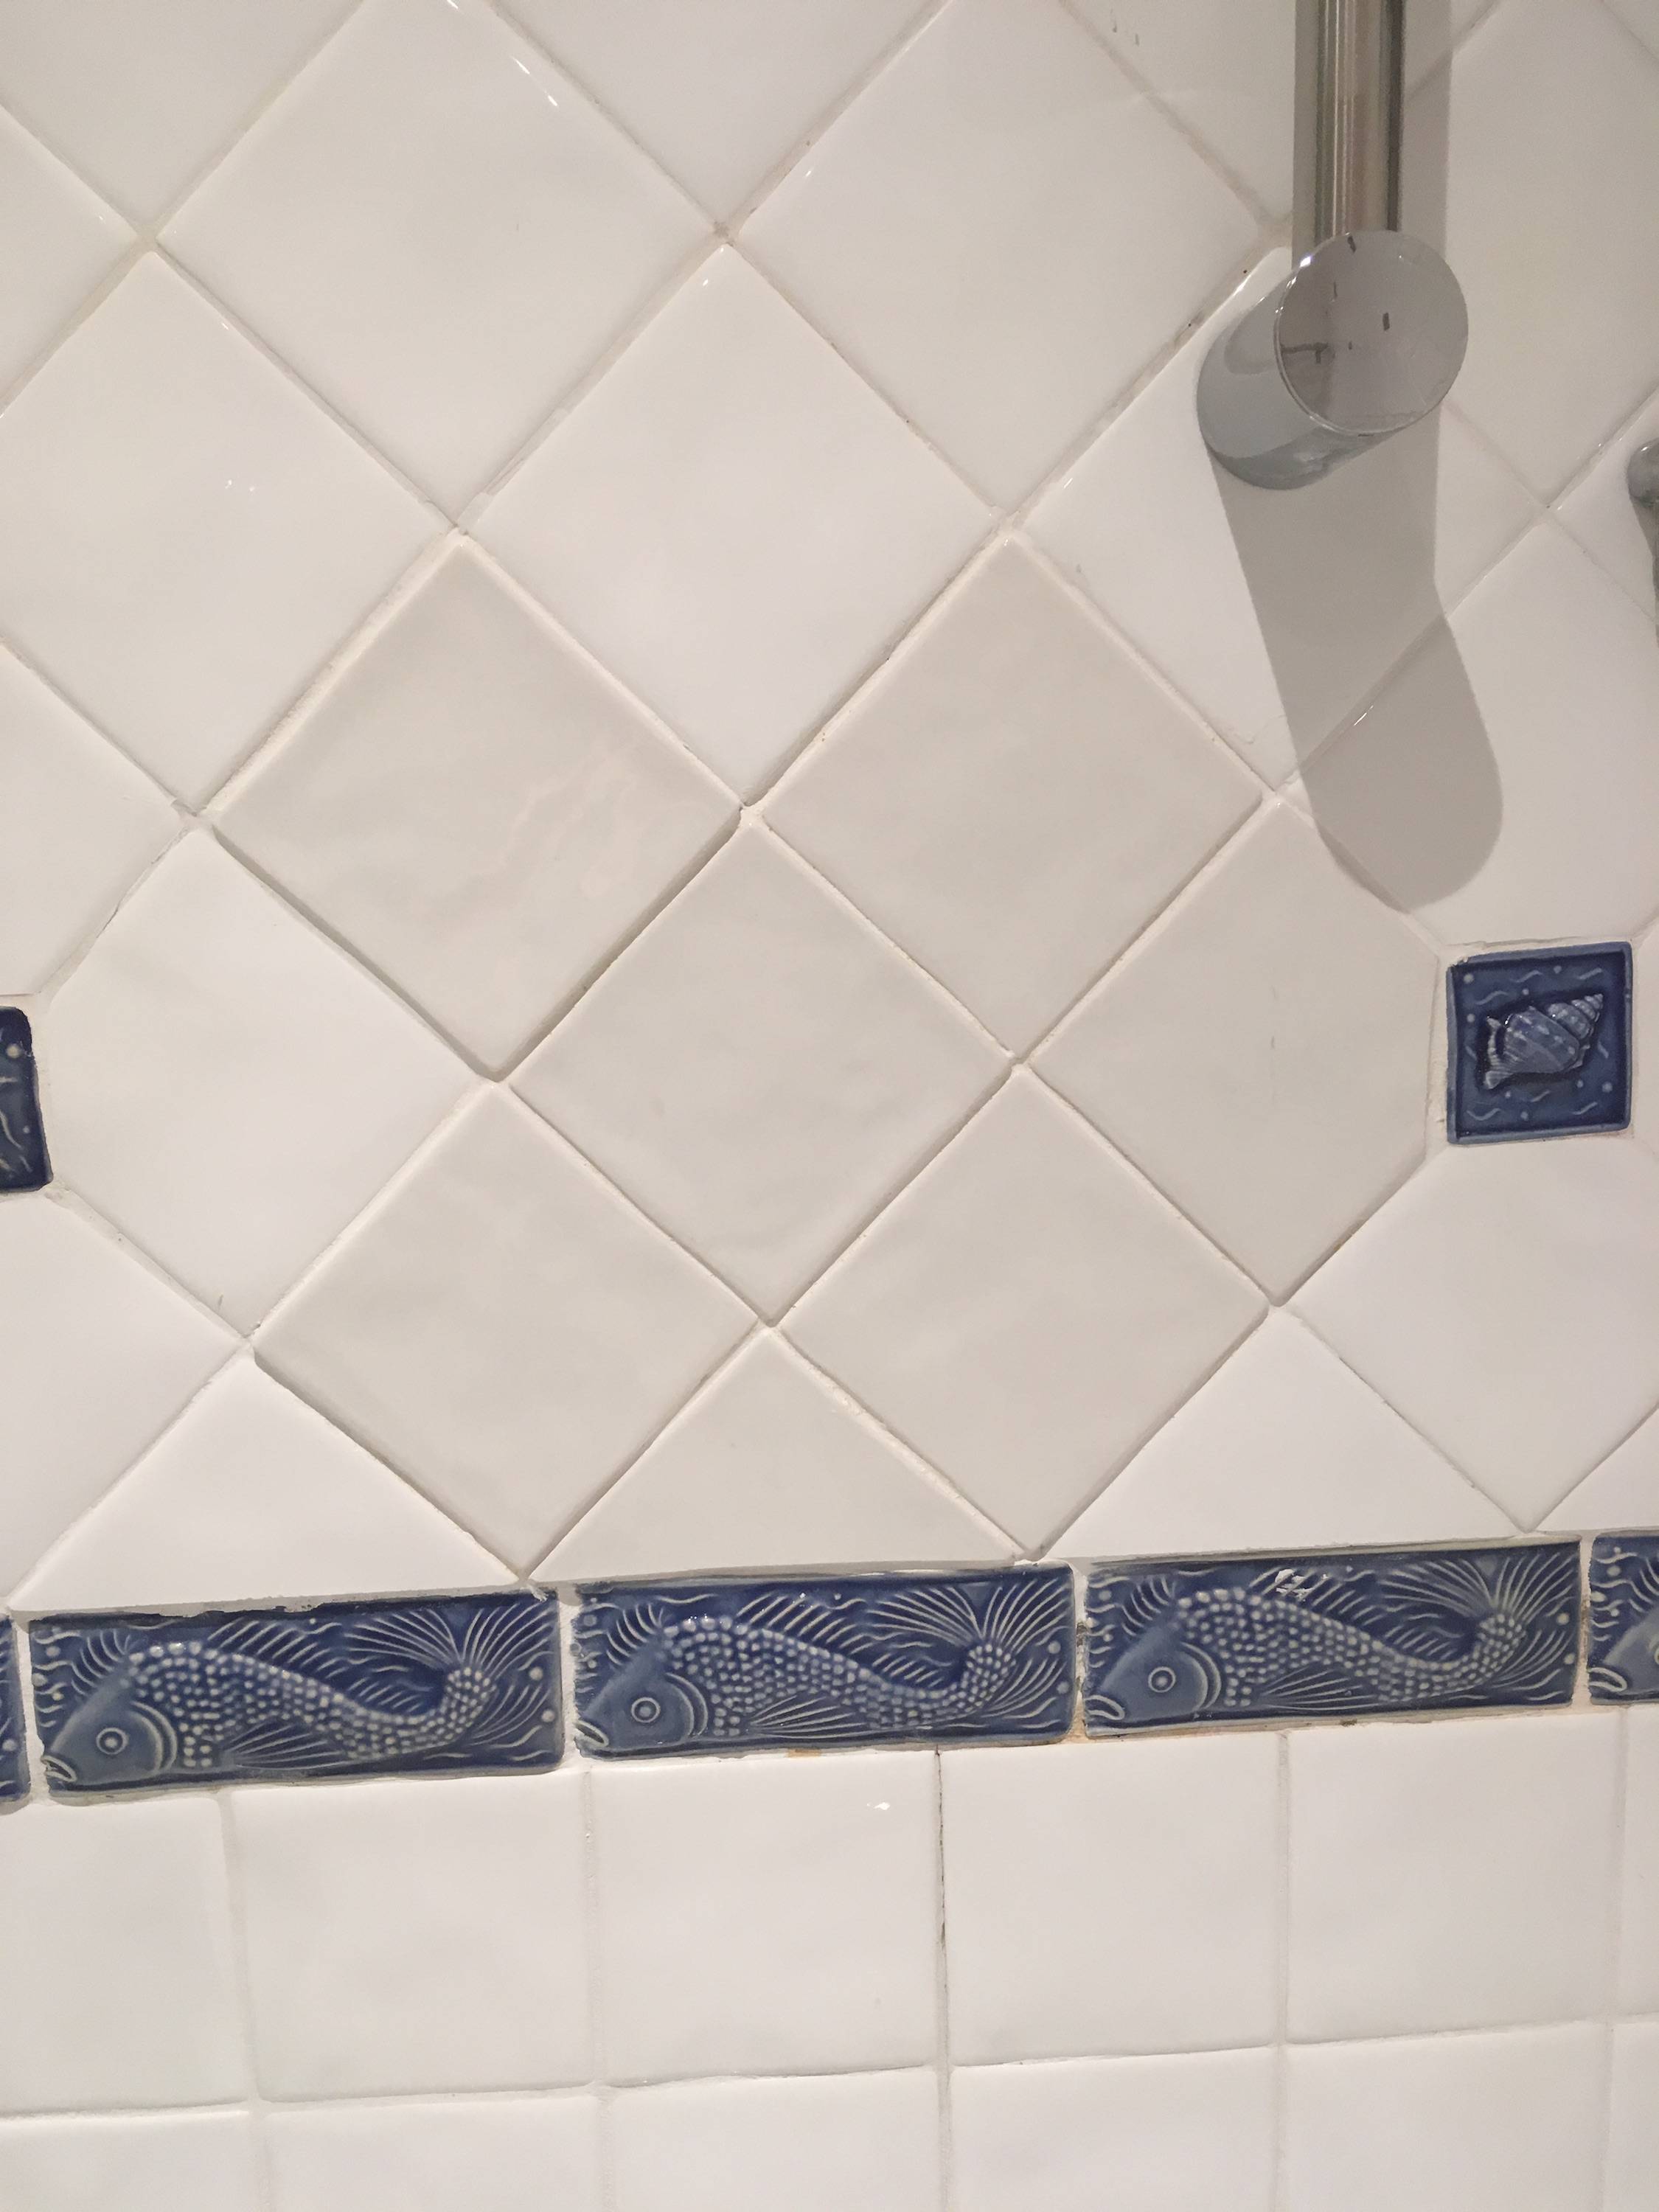
I hope some of this information helps others trying to remove old shower valves.
