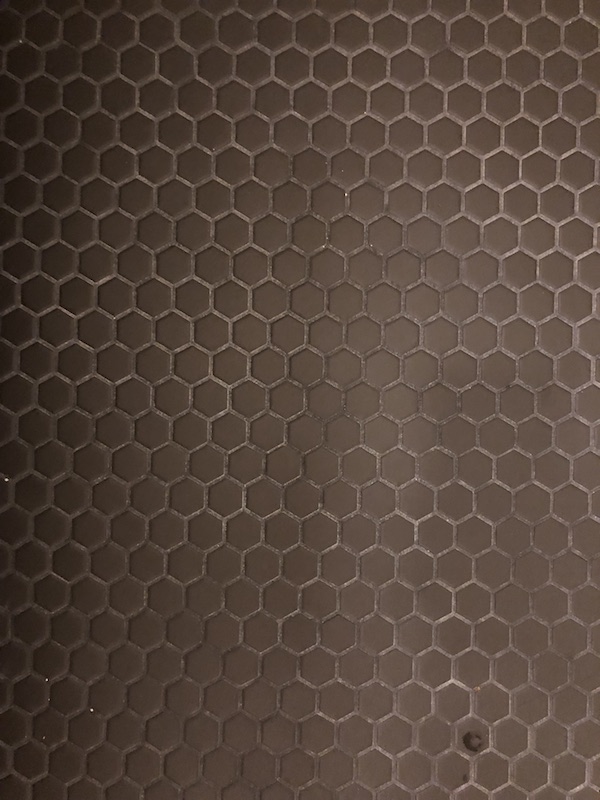
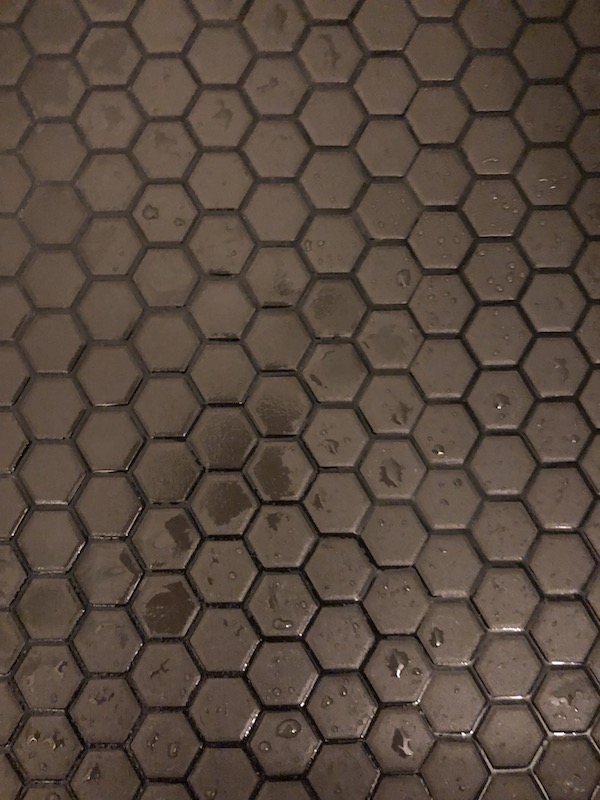
The issue is almost certainly, efflorescence from the grout being mixed with very hard water. While curing, the salts turn to a fine, light dust, causing the look from your photo.
The fix is a two-step process. First, clean the grout with a white, nylon bristled brush using a haze remover product like Custom Building Products Remover or Sulfamic Acid Crystals, depending on how noticeable the efflorescence. I have had much experience and successful results with these products as a bathroom renovation contractor. [I do not work for or am not sponsored by Custom Building Products or any of their affiliates]
FOLLOW LABEL INSTRUCTIONS. After you’ve scrubbed off the dusty residue “trapped” in the grout, rinse with cool, clean water to neutralize the acidic chemicals. Do a final rinse and wipe-down with a clean, dye-free cloth using distilled water. Let air dry. After complete drying of 1-2 hours, apply two coats of a quality penetrating sealer, (I can recommend 511 or Sealer’s Choice) following manufacturer’s directions.
NOTE: There is one other option if you are trying to achieve the “wet look” with your tile and grout. You can use a “surface sealer” with a gloss finish for the second or “topcoat.”
This is a little bit of work, but you only have to do it once to have a beautiful outcome that will last for years. Sealers should be reapplied to grout once a year. Resealing tile yearly is as easy as a five minute wipe-down.
Finally, and most importantly to preserve this or any new, sealed grout and tile installation, grout and tile should never be cleaned with harsh products like bleach or very strong cleaners, even when they’re advertised as “for bathroom tile, grout.”
The harsh chemicals break down the protective coat of the sealer and slowly will allow bacteria, fungi, dirt and oils to penetrate the grout and ultimately stain and ruin the install.
Clean tile and grout surfaces with a very mild soap solution and a clean, dye free cloth. I have a 100% success rate with this type of repair and maintenance routine.
If you have any follow-up questions or need additional information, feel free to ask. Good luck! Please post photos after you’ve finished your repair.


