The nailing flanges are never put under the sheathing. The window goes in after sheathing is installed, then usually the trim is applied then the siding ran to the trim with a head flashing over the window and head trim. These days that is forgotten, either the carpenters don't care, or don't know.
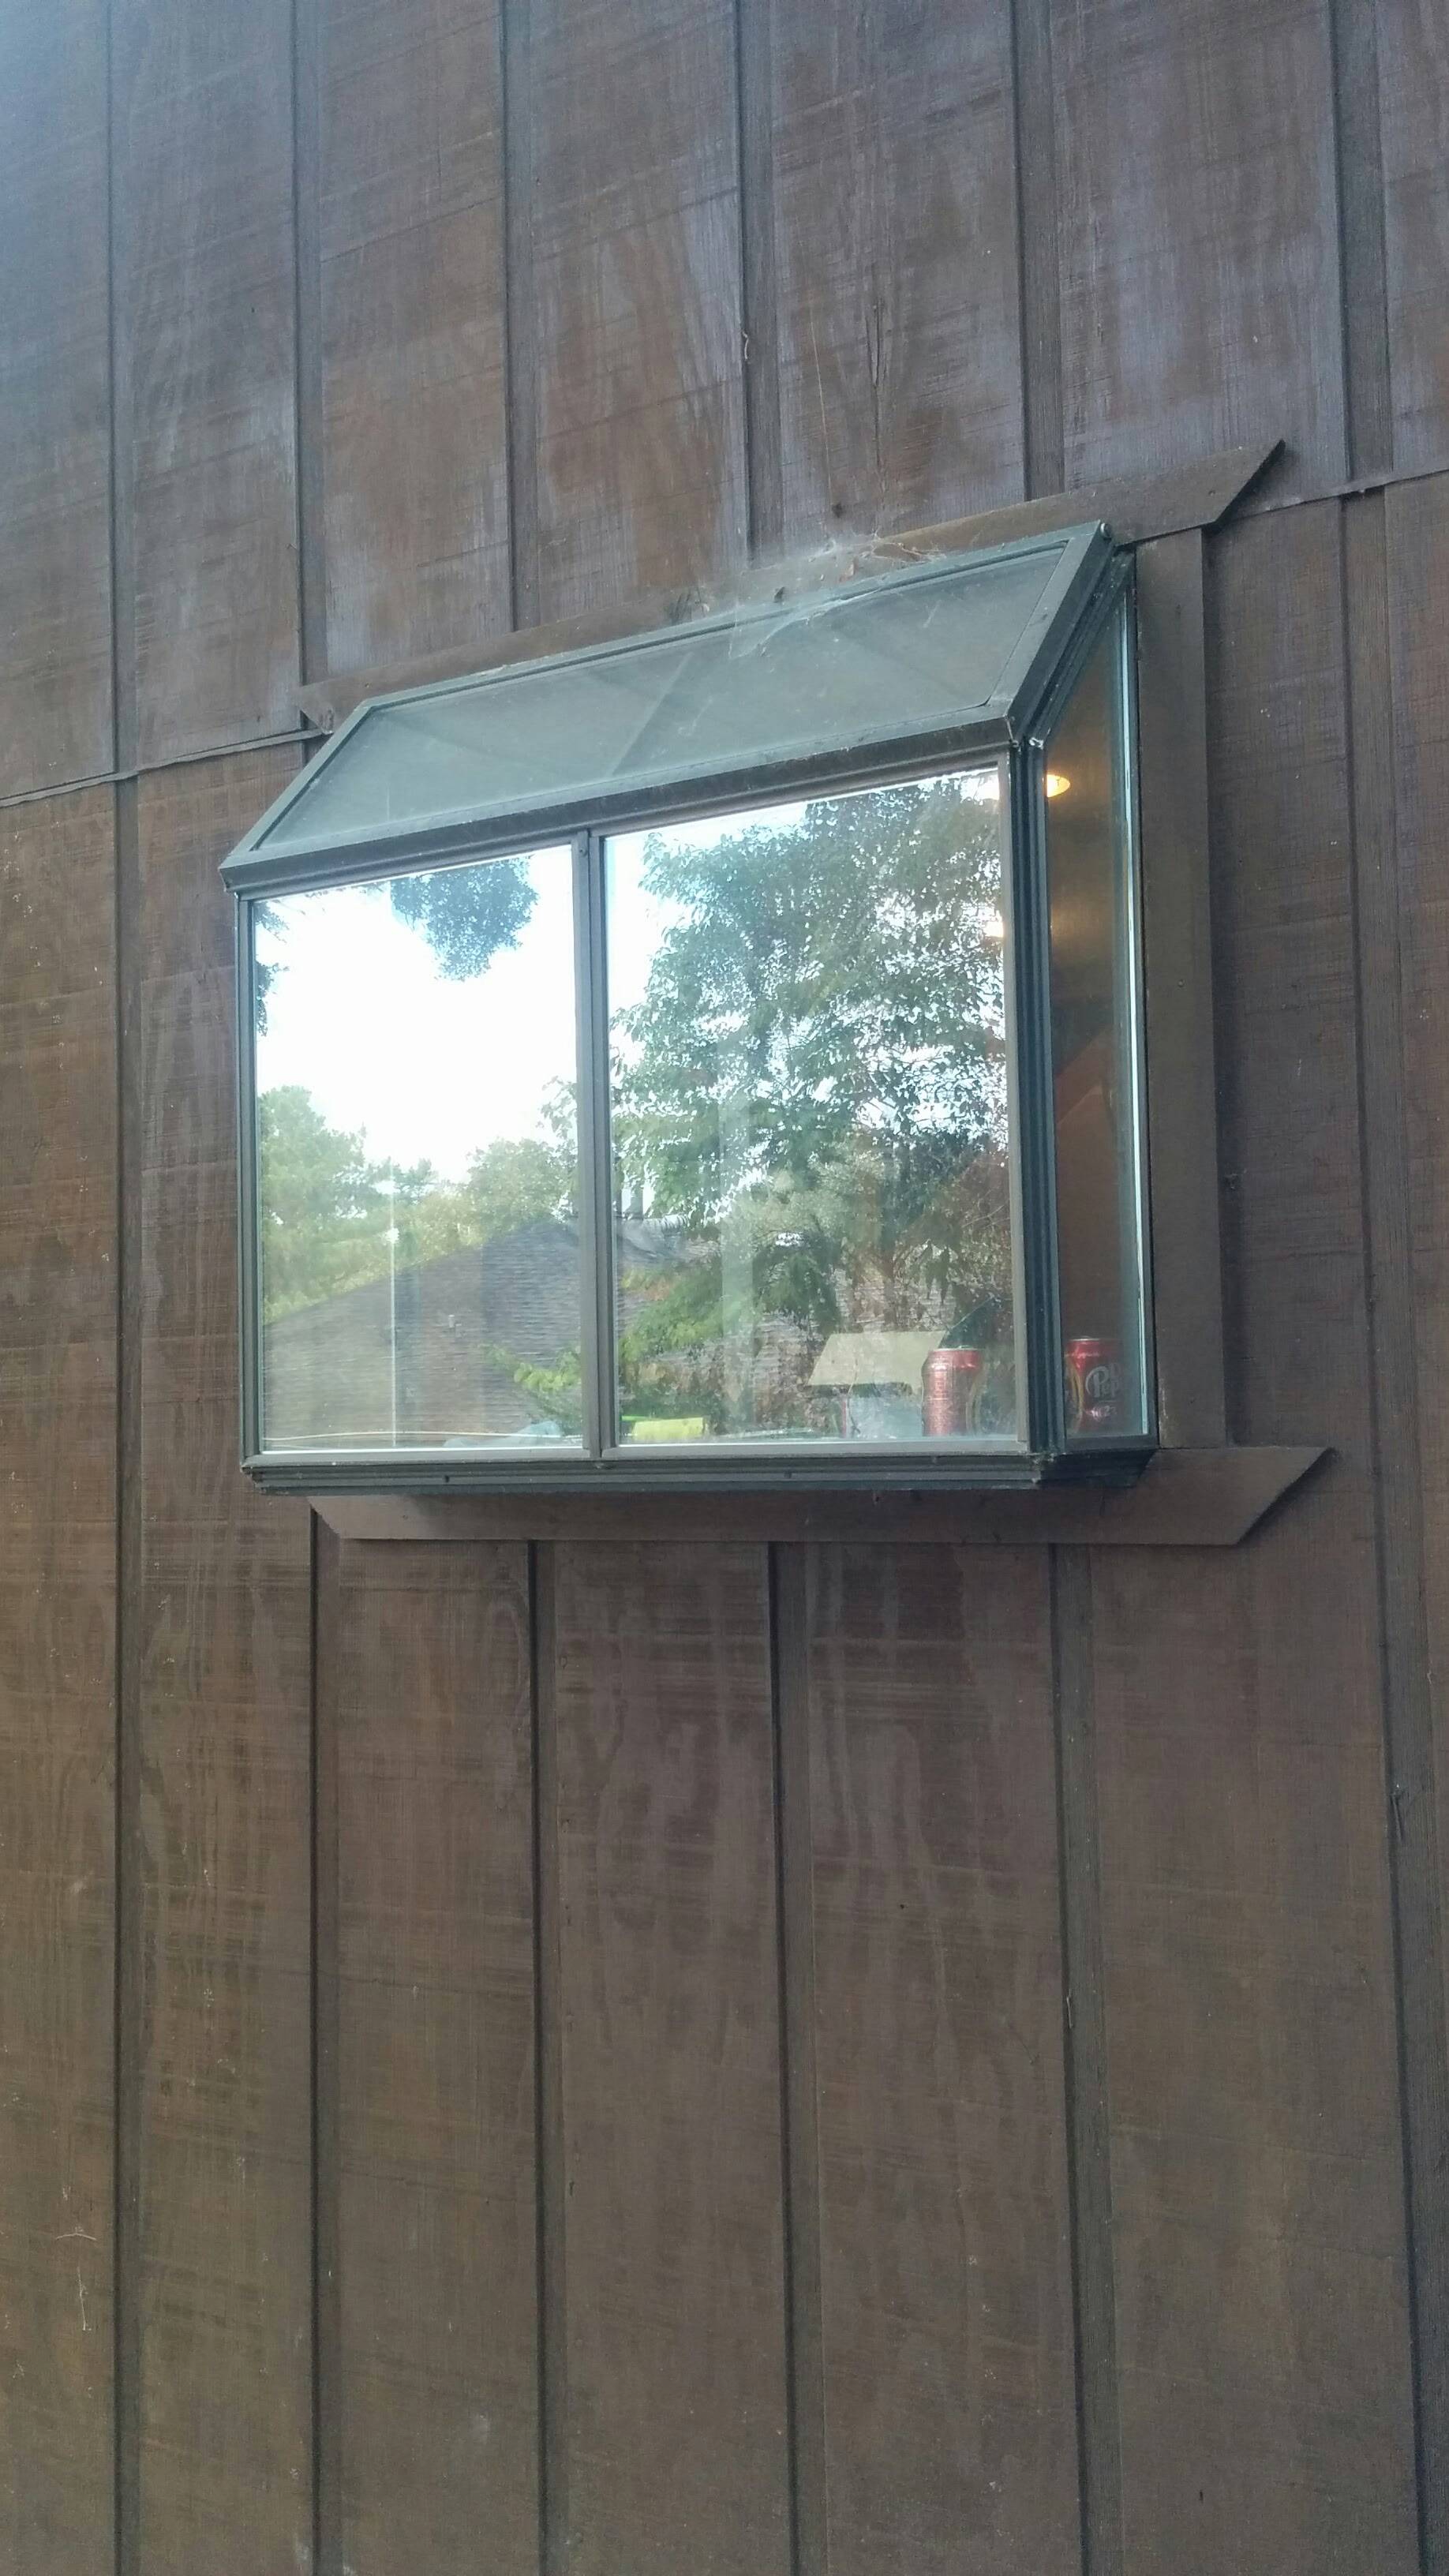
I have seen many windows trimmed out over the siding, as is your case with no flashing used at the top of the trim, which is also your case.
To replace your garden window would be doing your house a favor. Remove the window trim, salvage it if possible. You may find some decay under it when you remove it, no problem, the next steps automatically fix that.
The window should be secured in place by its nail flange which should be about 1 1/2" wide around the window. Set a circular saw to a 5/8", maybe 3/4" depth and cut all around the garden unit, you can over cut the corners by an inch or so, remove scrap siding. This will allow the garden unit to come out.
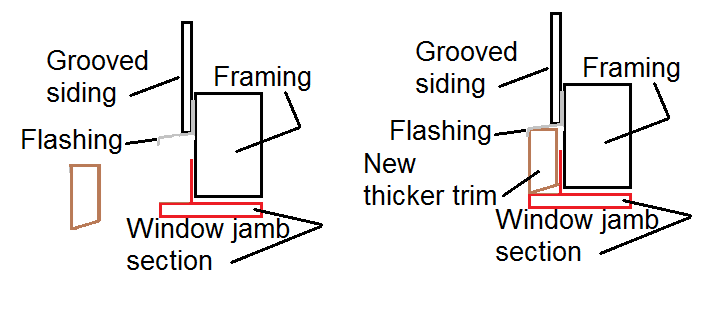
Set your new window in place and secure it as the maker of the window recommends. If the new window is the same width as the original, trace the outline of the original head trim on the siding above the new window EXACTLY where it will be fastened in place. The original trim will be a template to make a new thicker (5/4") head trim to use with a piece of flashing over it. If the new window is not the same size as the original, make a new one from the 5/4" material. You will need some filler material to get the trim in the right plane with the other side pieces.
Here is a sketch to show how it goes together, it is a section through the window head.

The idea is the head will finish the same thickness from the face of the siding as it did originally, so when the side trim is installed it all ends up on the same plane as before.


