I am planning to make a bunk bed from two regular kids' beds and looking for ideas how to connect two bed legs so that the result would be aesthetically pleasing, as well as constructionally sound.
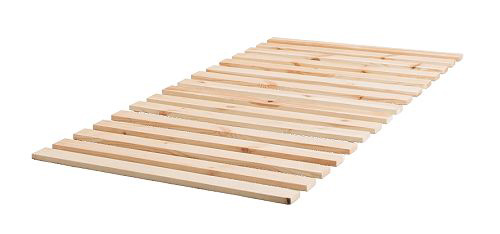
I'm planning to stack them one on top of another, and use slates from Sultan Lade base (cut to about 1.5' length) to extend height (the slates are the same size as the legs: 2-3/4" x 3/4"): 
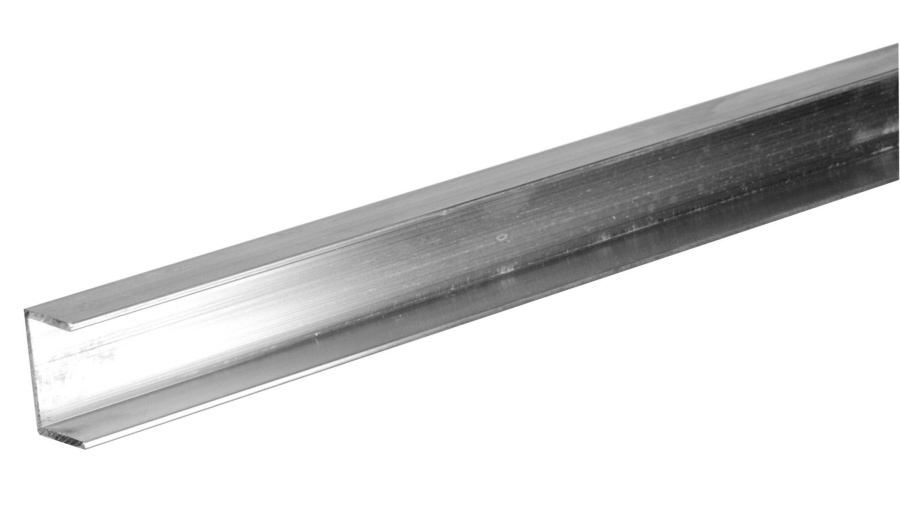
So, I'm trying to figure out how to connect the legs to slates without drilling too many holes and making it look nice. One option would be to attach aluminum C-channels (like The Hillman Group 4-ft L x 3/8-in W x 1/2-in H Aluminum Trim Channel) to the top and bottom of the slate extensions (screw them to the extensions and insert the channel into the bed legs; would also need to cut them to 2-3/4" size and drill holes for screws): 
I'd also use something (metal strip?) to connect the parts at the back of the bed.
Another option would be to use metal plates to connect the legs from the wide sides (have two plates on both sides of the leg with holes at top and bottom and use connector bolts to attach them together). I think this option would be safer (since the connector will cover a wider area), but I cannot figure out where I can buy or get 2-3/4" wide metal (aluminum or steel) plates.
Yet, another option would be to find some 2-3/4"-wide lumber pieces long enough for the height of the final bunk bed and attach them to the legs (would still need to use connector pieces) with the connector bolts. This would probably be more structurally sound, but I'm not sure where to get the lumber of this particular size (local Lowes only carries 2-1/2" which will not look nice) and how much it'd cost (don't want to spend over $20-$30 on this project, not counting paint cost).
Any idea or suggestions? Many thanks.
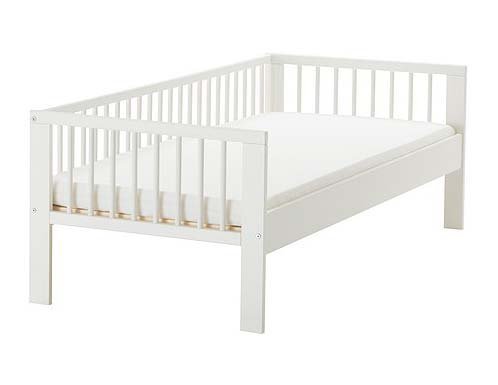
P.S. In case anyone wonders why do this in the first place: I'd buy a regular bunk bed, but every bunk bed I saw was a twin size and we do not have room to place it. This child Gulliver bed is smaller than twin, and it's ideal for the location where I'd like to place it.
UPDATE:
Okay, I finally finished the project. Here is the unpainted assembled version to show which parts I added:
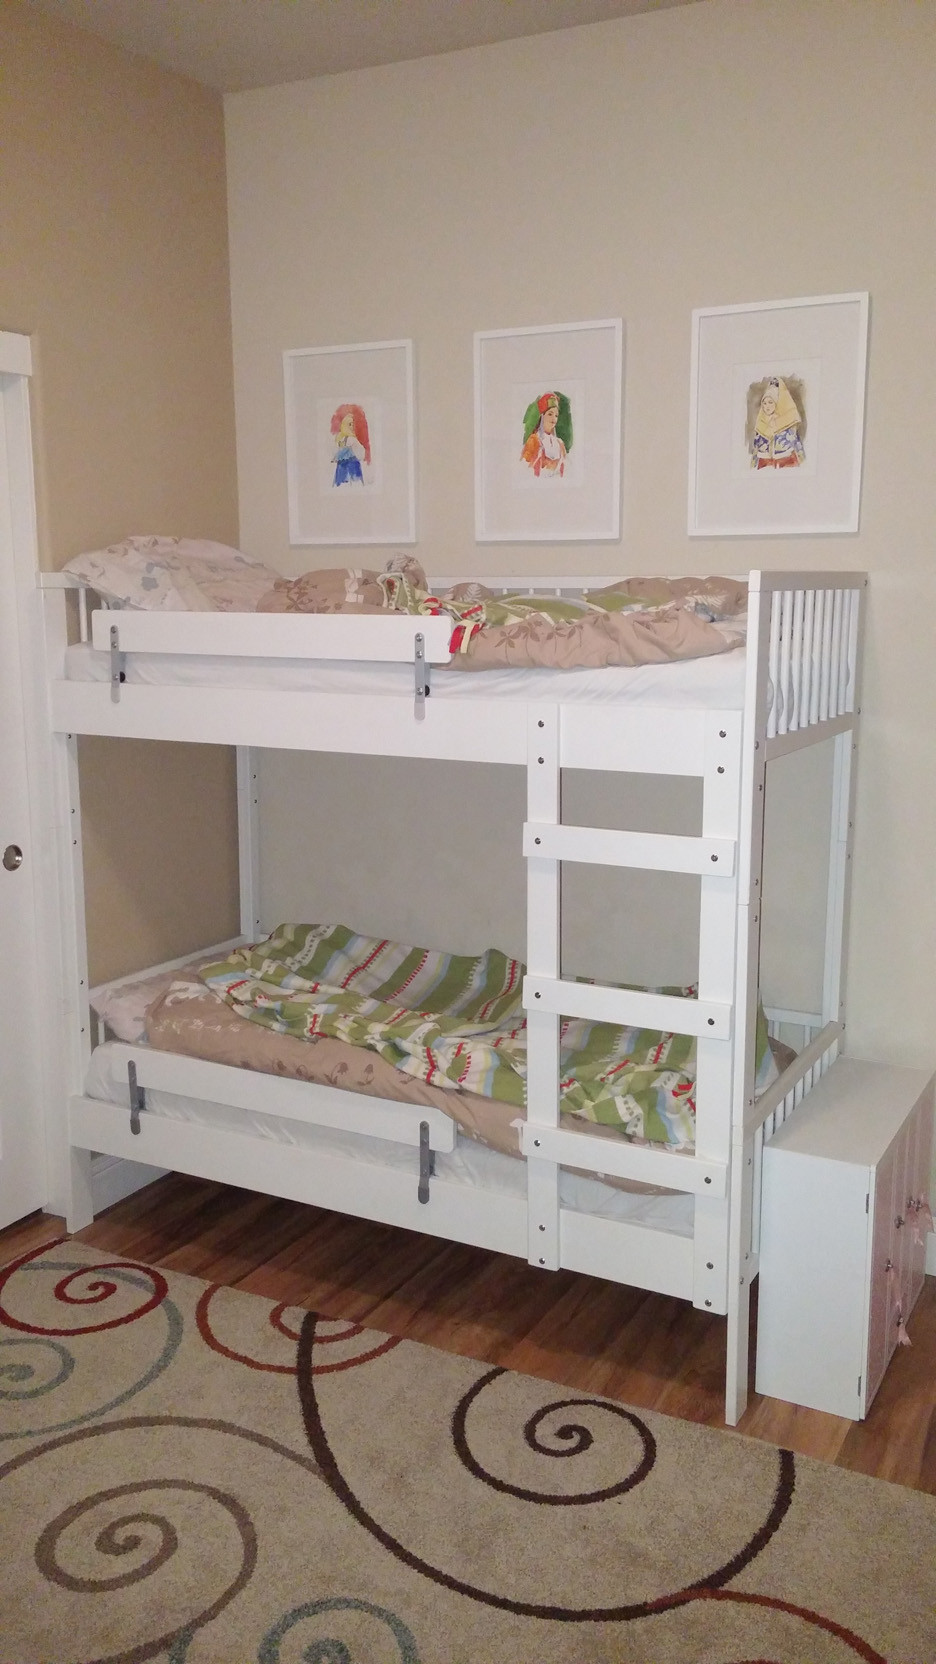
And here is the final result:
And a detailed post explaining how I did it.


