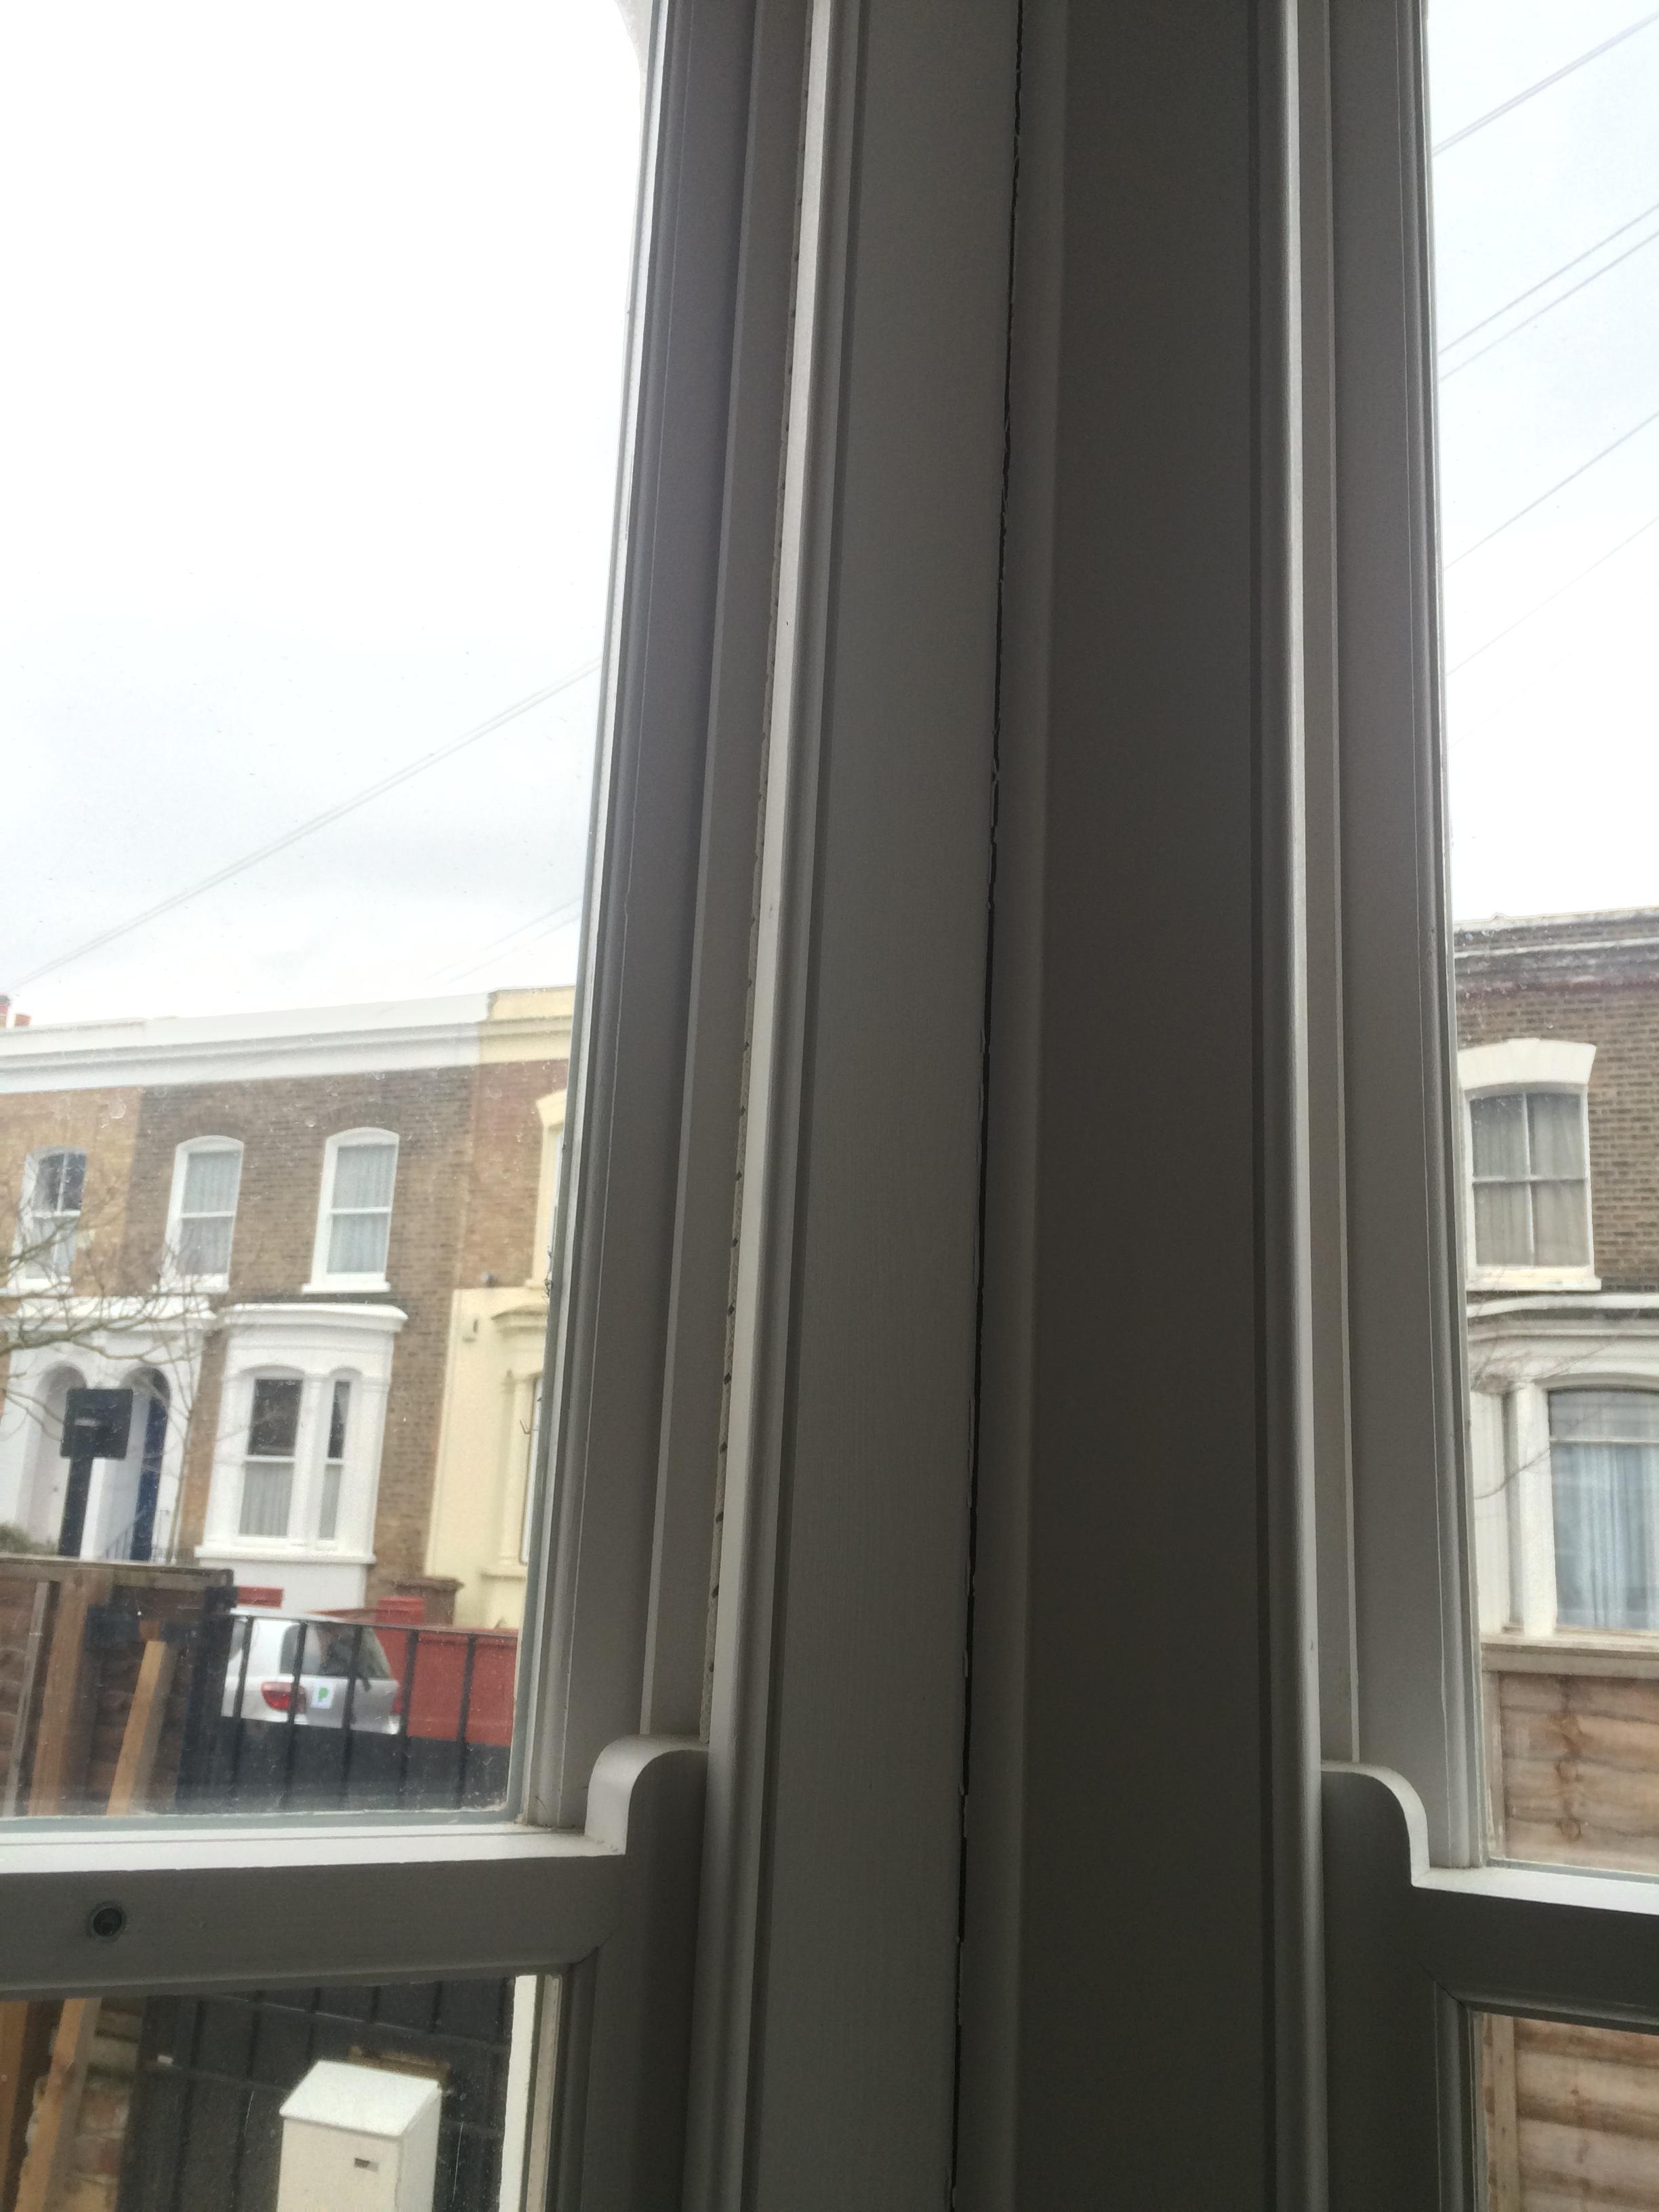
We've been renovating a Victoria house (~1875) in Hackney (London) and had new sash windows installed about a year ago. Across most of them, we've had these cracks/separations start to appear (see photos below). One builder has said this was because the wrong kind of silicone was used. Any thoughts?
-
The crack is there because wood changes size as it absorbs moisture. It always gets longer or shorter, not wider, ie it grows or shrinks in the direction of the grain. The guy who built the window did not understand how to put the wood together in the header so that the sill would not pull apart when the wood took on moisture. This is why cabinet makers charge $100 an hour and carpenters charge $25 an hour. Your window was built by a carpenter. If it had been built by a cabinet maker, no seam would have appeared.– Tyler DurdenCommented Mar 15, 2015 at 17:15
-
@tylerdurden, your quote, "... because wood changes size as it absorbs moisture. It always gets longer or shorter, not wider, ie it grows or shrinks in the direction of the grain" is exactly backwards.– Aloysius DefenestrateCommented Mar 15, 2015 at 22:11
-
@AloysiusDefenestrate ...and that is why I am not a cabinet maker– Tyler DurdenCommented Mar 15, 2015 at 23:08
-
@tylerdurden, no prob... none of us were born with this information... I learn something new every day.– Aloysius DefenestrateCommented Mar 15, 2015 at 23:11
-
May I clarify the construction process on this aspect of home building. Cabinet shops do make custom windows. (these look like custom units) Many windows that are stock sizes are built by specialty shops, like Marvin, Jeld-Wen, Hurd, Andersen and the like. Windows are always installed by carpenters, be it framers, or finish carpenters. Never the less carpenters. Gaps in the trim as it shown here happen when a carpenter just pulls the trigger on a nail gun and doesn't care if it stays over the long haul. Glue used by an experienced carpenter can prevent issues like this before they happen.– JackCommented Mar 15, 2015 at 23:17
2 Answers
Silicone should NEVER be used on painted trim.
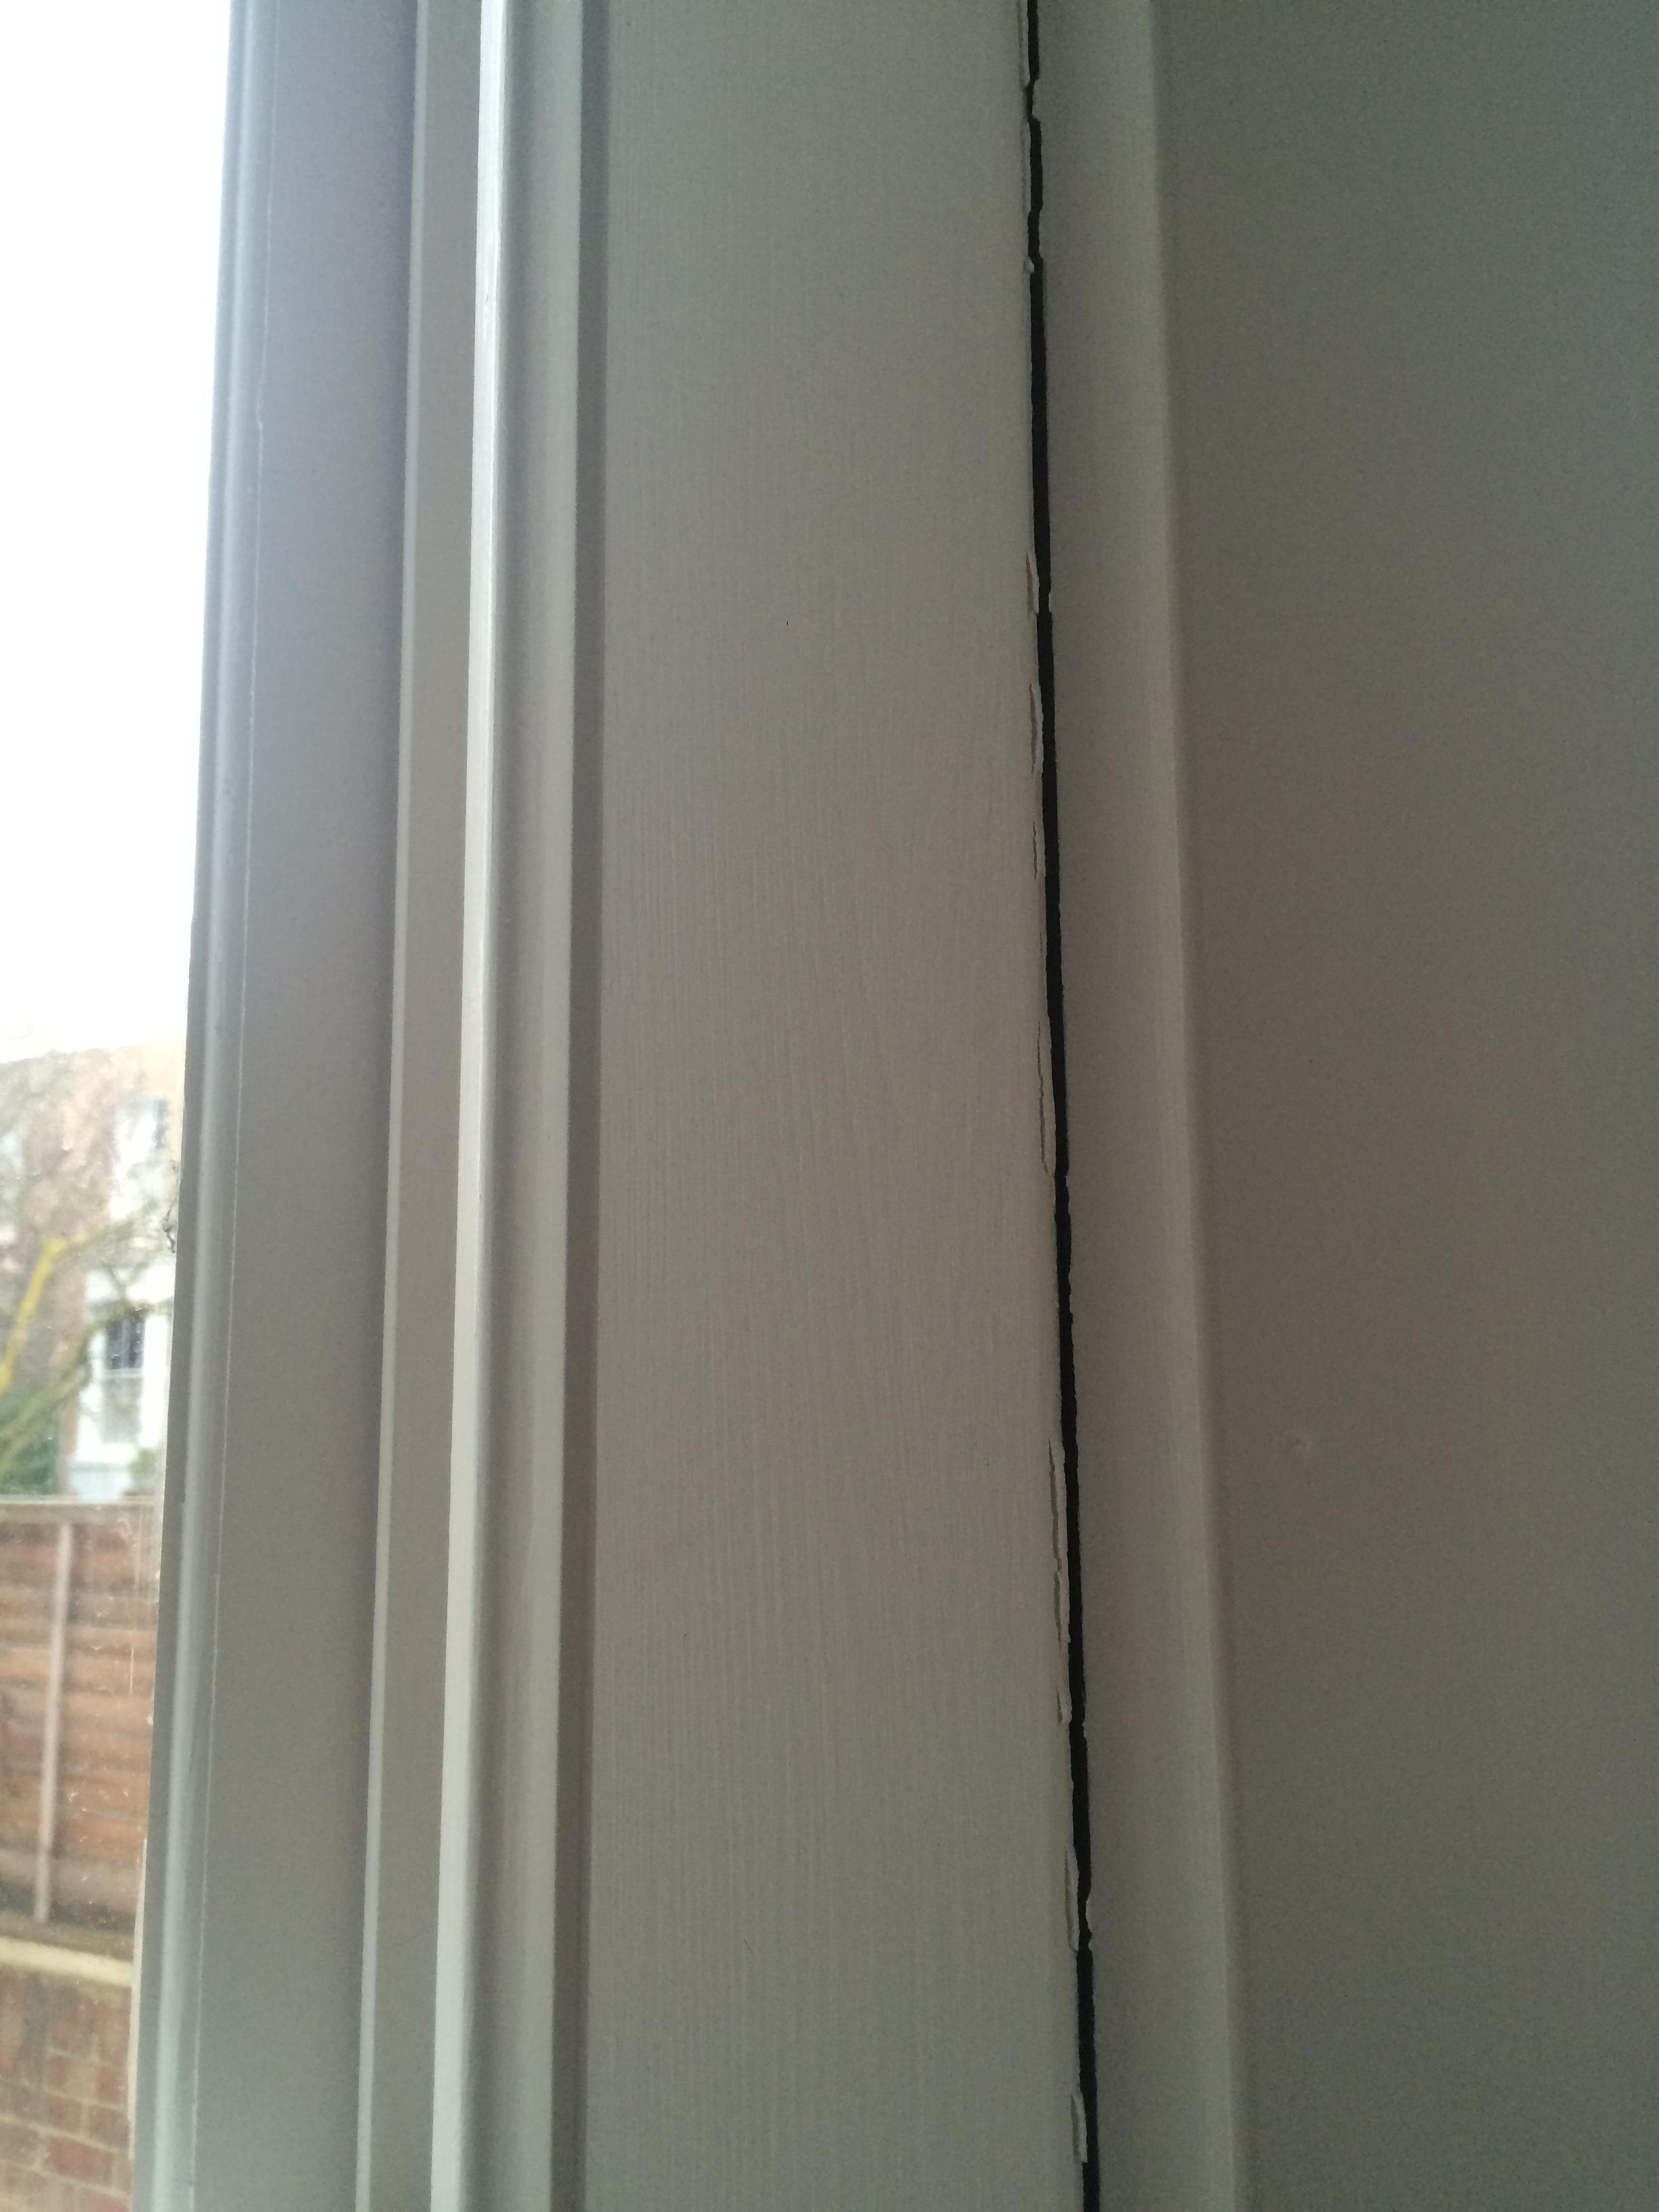
The separation that I see here can either be seasonal movement, as in the trim was installed in the summer and now it is winter where the moisture content of the wood is much less, therefore making it shrink.
It also could have been installed with too high of a moisture content to begin with and the loss of moisture is now evident. It may even be as simple as not enough nails used at the proper angle to hold the trim fast in the corner. Since it is a touch up item, I would add a few piloted 2 1/2"-3" nails angled into the corner to tie it together, set them below the surface and putty and sand flush. Before you commit the nails, make sure the trim is solid in its backing. You will notice it if it starts moving while starting the nail in, the trim will want to compress in. If it does, it will make the gap MUCH bigger. If so then you may want to use a trim head screw.
After it is secured, caulk with a good grade of painters caulk, it can be siliconized, but not 100% silicone. Prime and finish paint.
-
A word of caution, do these windows have weight pockets? As in is there a cord or chain that aids in the lifting of the window? If so the angled nails and or screws may not be a good idea.– JackCommented Mar 15, 2015 at 16:44
-
Though I doubt it is by the way that it's cracked, if it is actually silicone sealant, you'll want to remove it before you re-apply a paintable sealant (for example, screwfix: "Geocel Trade Mate Paintable Frame Sealant White 310ml, Product Code: 20090"). Personally, I wouldn't try screws unless the problem persists. Commented Mar 15, 2015 at 22:08
-
It is really not a crack, as the term goes. Crack suggests broken wood. It is really a joint that opened up due to wood movement or shrinkage. The nails driven in at an angle will attach the trim to the framing in the corner, stabilizing it. If the trim moves with nails and makes the gap bigger, the nails need to be removed before they are driven all the way in, (committed, as mentioned above) so they can be removed. Replace with screws and sink the heads so the wood goes around them a bit, and reverse the screw. The wood around the head will pull the trim out with it, closing the gap.– JackCommented Mar 15, 2015 at 23:03
Across most of them, we've had these cracks/separations start to appear
It looks like typical shrinkage cracks to me.
It looks to me like the carpenter/installer chamfered some beading to cover the join between the two windows. If so, I'd break the beading free of both frames, clean up the paint on the edges, re-seat it and re-paint.
I'd check the outside to make sure the mastic between masonry and frame is intact and keeping moisture out.
One builder has said this was because the wrong kind of silicone was used
It sounds strange to me, but I'm not an installer. Unless your installer warranted his work would be free of such cracks, this may be irrelevant.