0

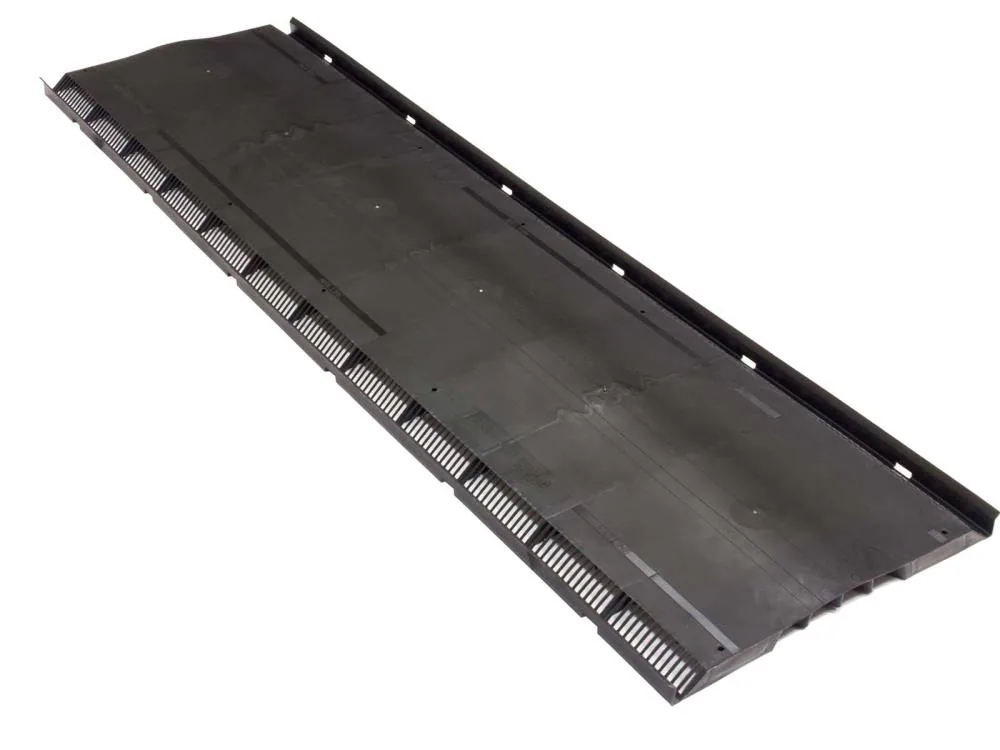
I need to remove a chimney, patch the hole, and shingle over the patch. The chimney is adjacent to the ridge. The ridge is vented and uses plastic vents similar to this:

enter image description here

Some of the shingles that will need to be replaced run under the plastic vents. There is no vent in the small section of ridge right next to the chimney; the plastic vent covers run up to the chimney on either side.

Can the plastic vents be partially pulled up to patch up the roof and replace shingles underneath then nailed back down in the same spot? How to handle the ridge caps on top of the ridge vent? Does the vent need to be nailed through different spots?

CLARIFICATION: When I ask if the vents can be "partially pulled up" I mean can I pull up one end of a solid continuous unit, not "can I pull up one of these vents completely then nail it back down. The point is to disturb less material.

0

1 Answer 1

2

Almost anything on a roof can be disassembled. Without seeing your situation I can only offer general advice.

  • Work when it's cool and out of the sun. Shingles pop apart with flat tools fairly easily unless they're soft and gooey.

  • Work backward, where possible. Examine how the roofing was laid, and reverse that. If the cap was installed starting at the other end, all you can do to avoid removing the entire run is pick a spot and work your way into the interleaved system, gently.

  • The older shingles are the more brittle they are. You may be able to flex them up quite a bit as you work, or not at all without cracking them.

  • Cap shingles are removed as you'd expect--by pulling the nails. The problem is that you can't really pry over the vent structure or you risk damaging it and the shingles. Instead, pry off a block of wood or something below the vent using a long wrecking bar.

  • The vents aren't super-special-magic devices. All they do is create a weather-protected gap for airflow. If you need to hack one in half to make the job easier, do that at a sensible spot, between ribs. It's the cap shingles and the ones below the vent that waterproof the roof. The vents may be lightly nailed in place through the holes you see in that photo, but sometimes it's just the cap nails that secure it all.

  • All roofing nails should penetrate the sheathing completely, plus a little. Use nails long enough for the vent and the layers of shingles. This is often 2" to 2½". The original installer may have been lazy and used what was in the gun, barely securing the cap.

  • Use hand-driven nails for the cap. It's very difficult to keep from punching through or squishing things with automatic nailers.

  • Don't try to reuse nail holes. Put fresh nails in fresh wood.

  • Consider putting a quarter-sized dab of roofing sealing under the last few cap shingle corners to secure them. The original seal strips may not be up to the task, depending on age and how they came apart. Just keep it back far enough so it doesn't squish out and all over your roof.

  • If you're using sealant for anything other than the occasional nail hole or securing a few tabs, you're doing roofing wrong. Ask more questions about the situation so you get it right.

Not the answer you're looking for? Browse other questions tagged or ask your own question.