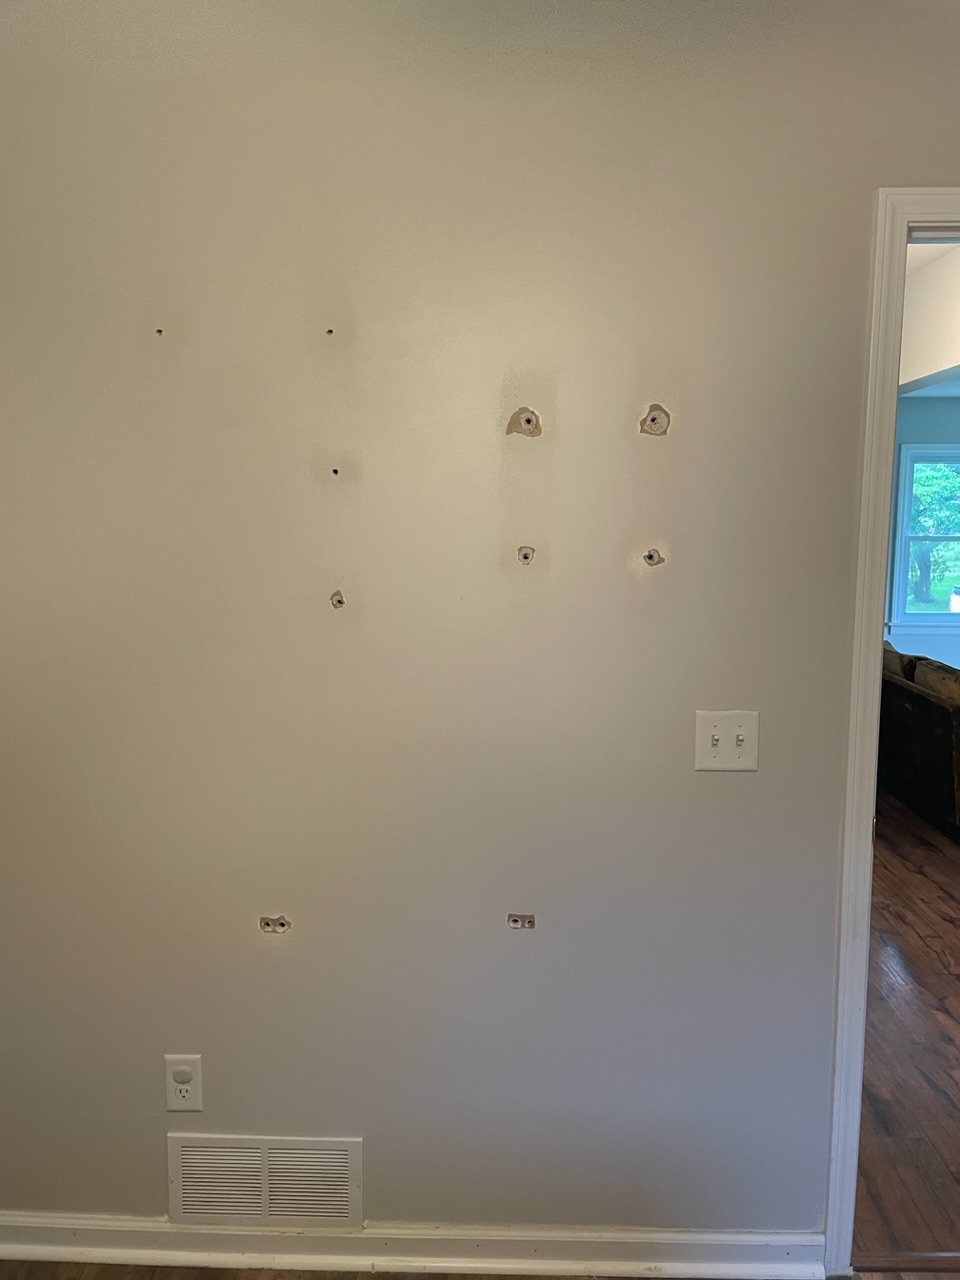
What I have found to be the best way to go about these types of repairs is to first, remove the loose paper from the holes. I sometimes grab the loose edge and pull in such a way that the paper does not tear farther out, at least not by much, maybe not much more than an inch beyond where the paper facing is intact again. Sometimes this is not so easily done, and when that is the case, I lightly score the paper beyond the loose paper and use that score as a tear line. This is an important step, for if it is not done, when the wet drywall mud hits the flap of paper, it will show as a bubble under the mud, usually not until it is dried. Should this happen anyway if one is missed, score lightly with a razor knife to remove it and mud it again.
The product I use is a fast setting joint compound. It is a dry mix, available with various setting times. Just add water and mix to a peanut butter consistency. It can be found as 5 minute set, 20 minutes 40 minutes and 90 minutes depending on who makes it, Get the "Easy sand version". Otherwise it hardens like a rock. This material shrinks very little. I found that it in some cases like yours, it does not need tape to keep cracks from forming, which when using regular drywall mud it will crack, the tape eliminates the cracking due to so much shrinkage.
To do your repair, I would use a 40 minute setting compoiund, it will give plenty of time to smooth over the holes with a 4" drywall knife and clean out the pan before the 40 minutes is up. Clean it while it is still soft, it is a bugger to clean after it is set. I usually set a small blob aside to see how the hardening is going to know when to do th next step if I need to get it done asap.
After the first coat is done and set up, there may be some sagging in some of the larger holes. This is where I take the 4" knife and scrape or carve the bulge flush with the rest of the wall. ow you are ready for the second if not the last coat. THe can be mixed a little more loose, like toothpaste. Do what you can to get an air bubble free, thin layer, about a 1/16th to no more than an 1/8" thick over the first coat, "feathering" it out over a larger area so the hump of added drywall mud is not so detectable. It is the same thing that is done with nail or screws that hold drywall in place.
Here is a tip, When I apply drywall mud, rarely I use even pressure across the width of the blade, I always apply more pressure on one side or the other to get the knife the run on the wall while the other edge is building up the thickness I need. I have 8" and 12" knives to aid in doing this. These larger blades, I curved so the blade will contact the wall and leave material in the middle. This is an oversimplification, but it gets the idea across, I hope.
Fast set tutorial

