First off: you don't need nearly that much electric heat
Your first order of business is pruning that heating system down, as it is monstrously oversized for your house, especially with the type of insulation details you're planning on (R32 walls, R60 attic) and air-sealing to match those. Speaking of air-sealing, if you weren't already planning on "before and after" blower door tests, do so, as they'll give you the hard truth about your air-sealing practice, measured in air changes per hour at a given pressure, usually 50 Pascals. The IRC's energy provisions (found in IRC N1102.4.1.2) generally limit you to a maximum of 3ach given your climate zone, while 1.5 is considered good, 1 excellent work, and 0.6 Passivhaus-level.
Once you have the envelope locked down tight, and a Heat Recovery Ventilator (HRV) fitted, then we can start talking about heat sources. Your primary heat source, since you don't have gas, will be a proper heat pump; while the lack of ducts may sound like a barrier, it really isn't with today's ductless mini-split and multi-split systems. Capacity-wise, you must run a proper Manual J, Eighth Edition load calculation, or have someone skilled in those run one for you, in order to get a working HVAC load for the house. However, for the purposes of electrical estimation on a house your size with your proposed envelope, we can assume that you'll need less than 24kbtu (two cooling tons) of capacity here.
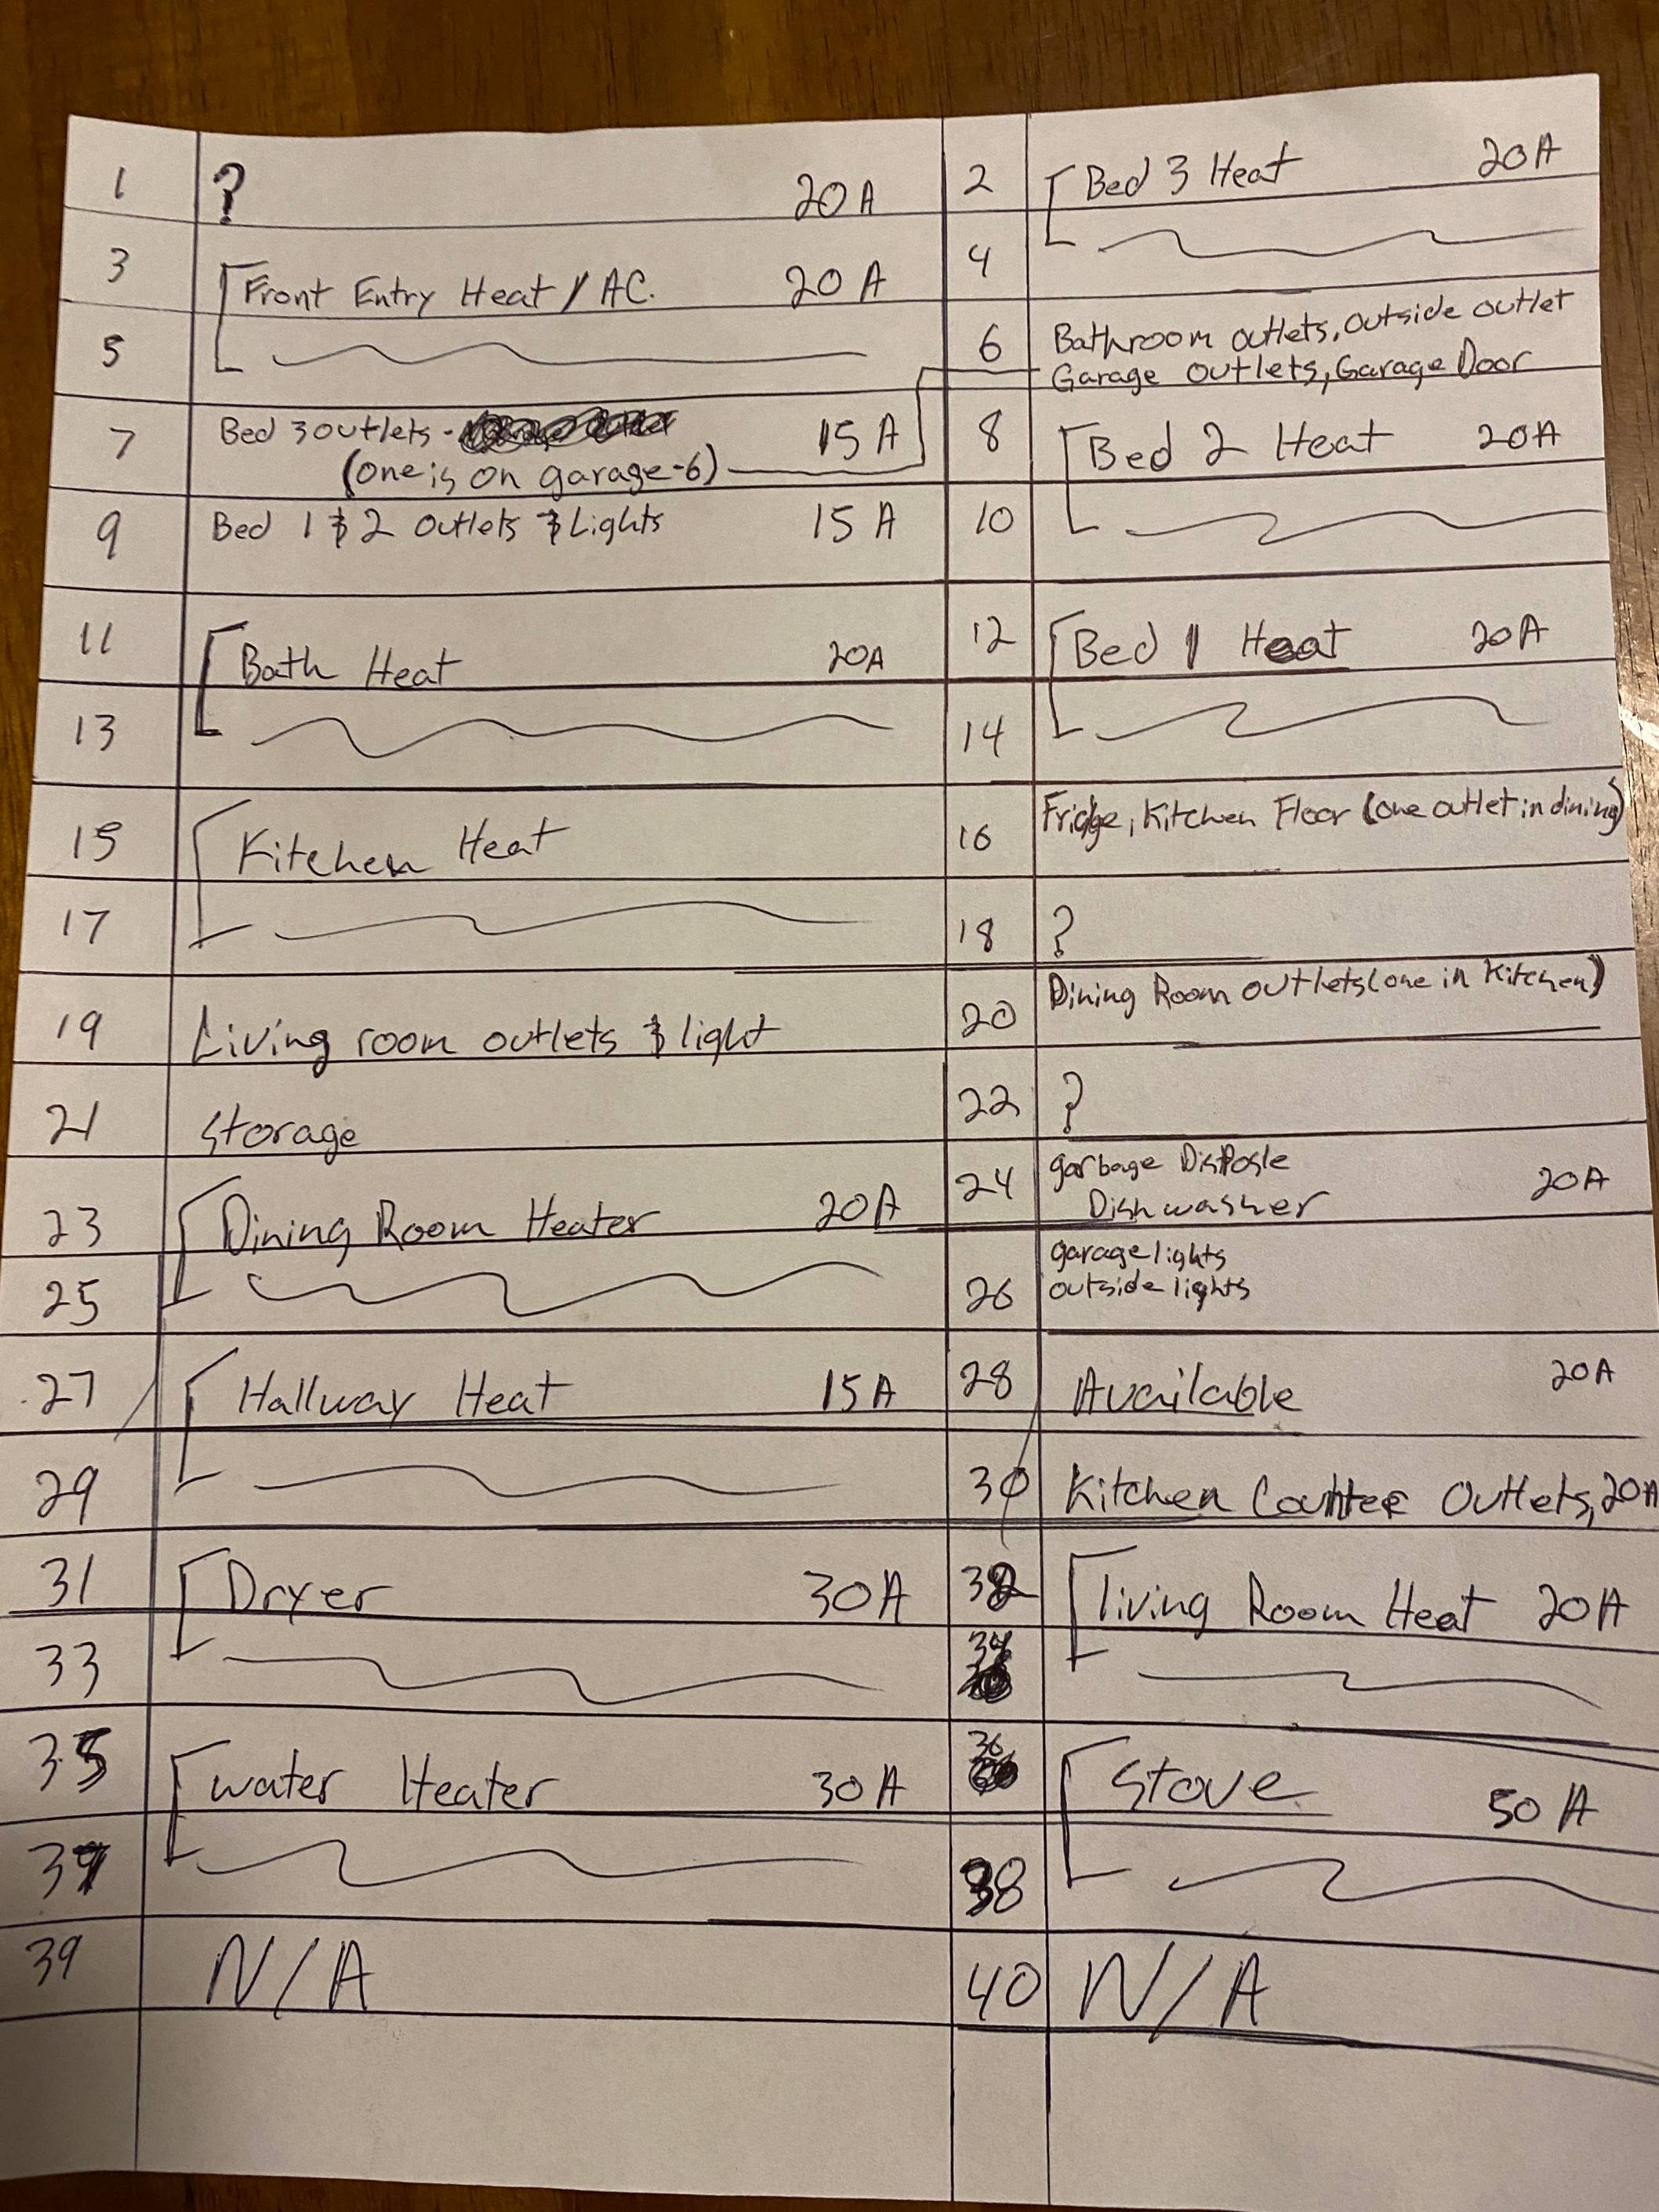
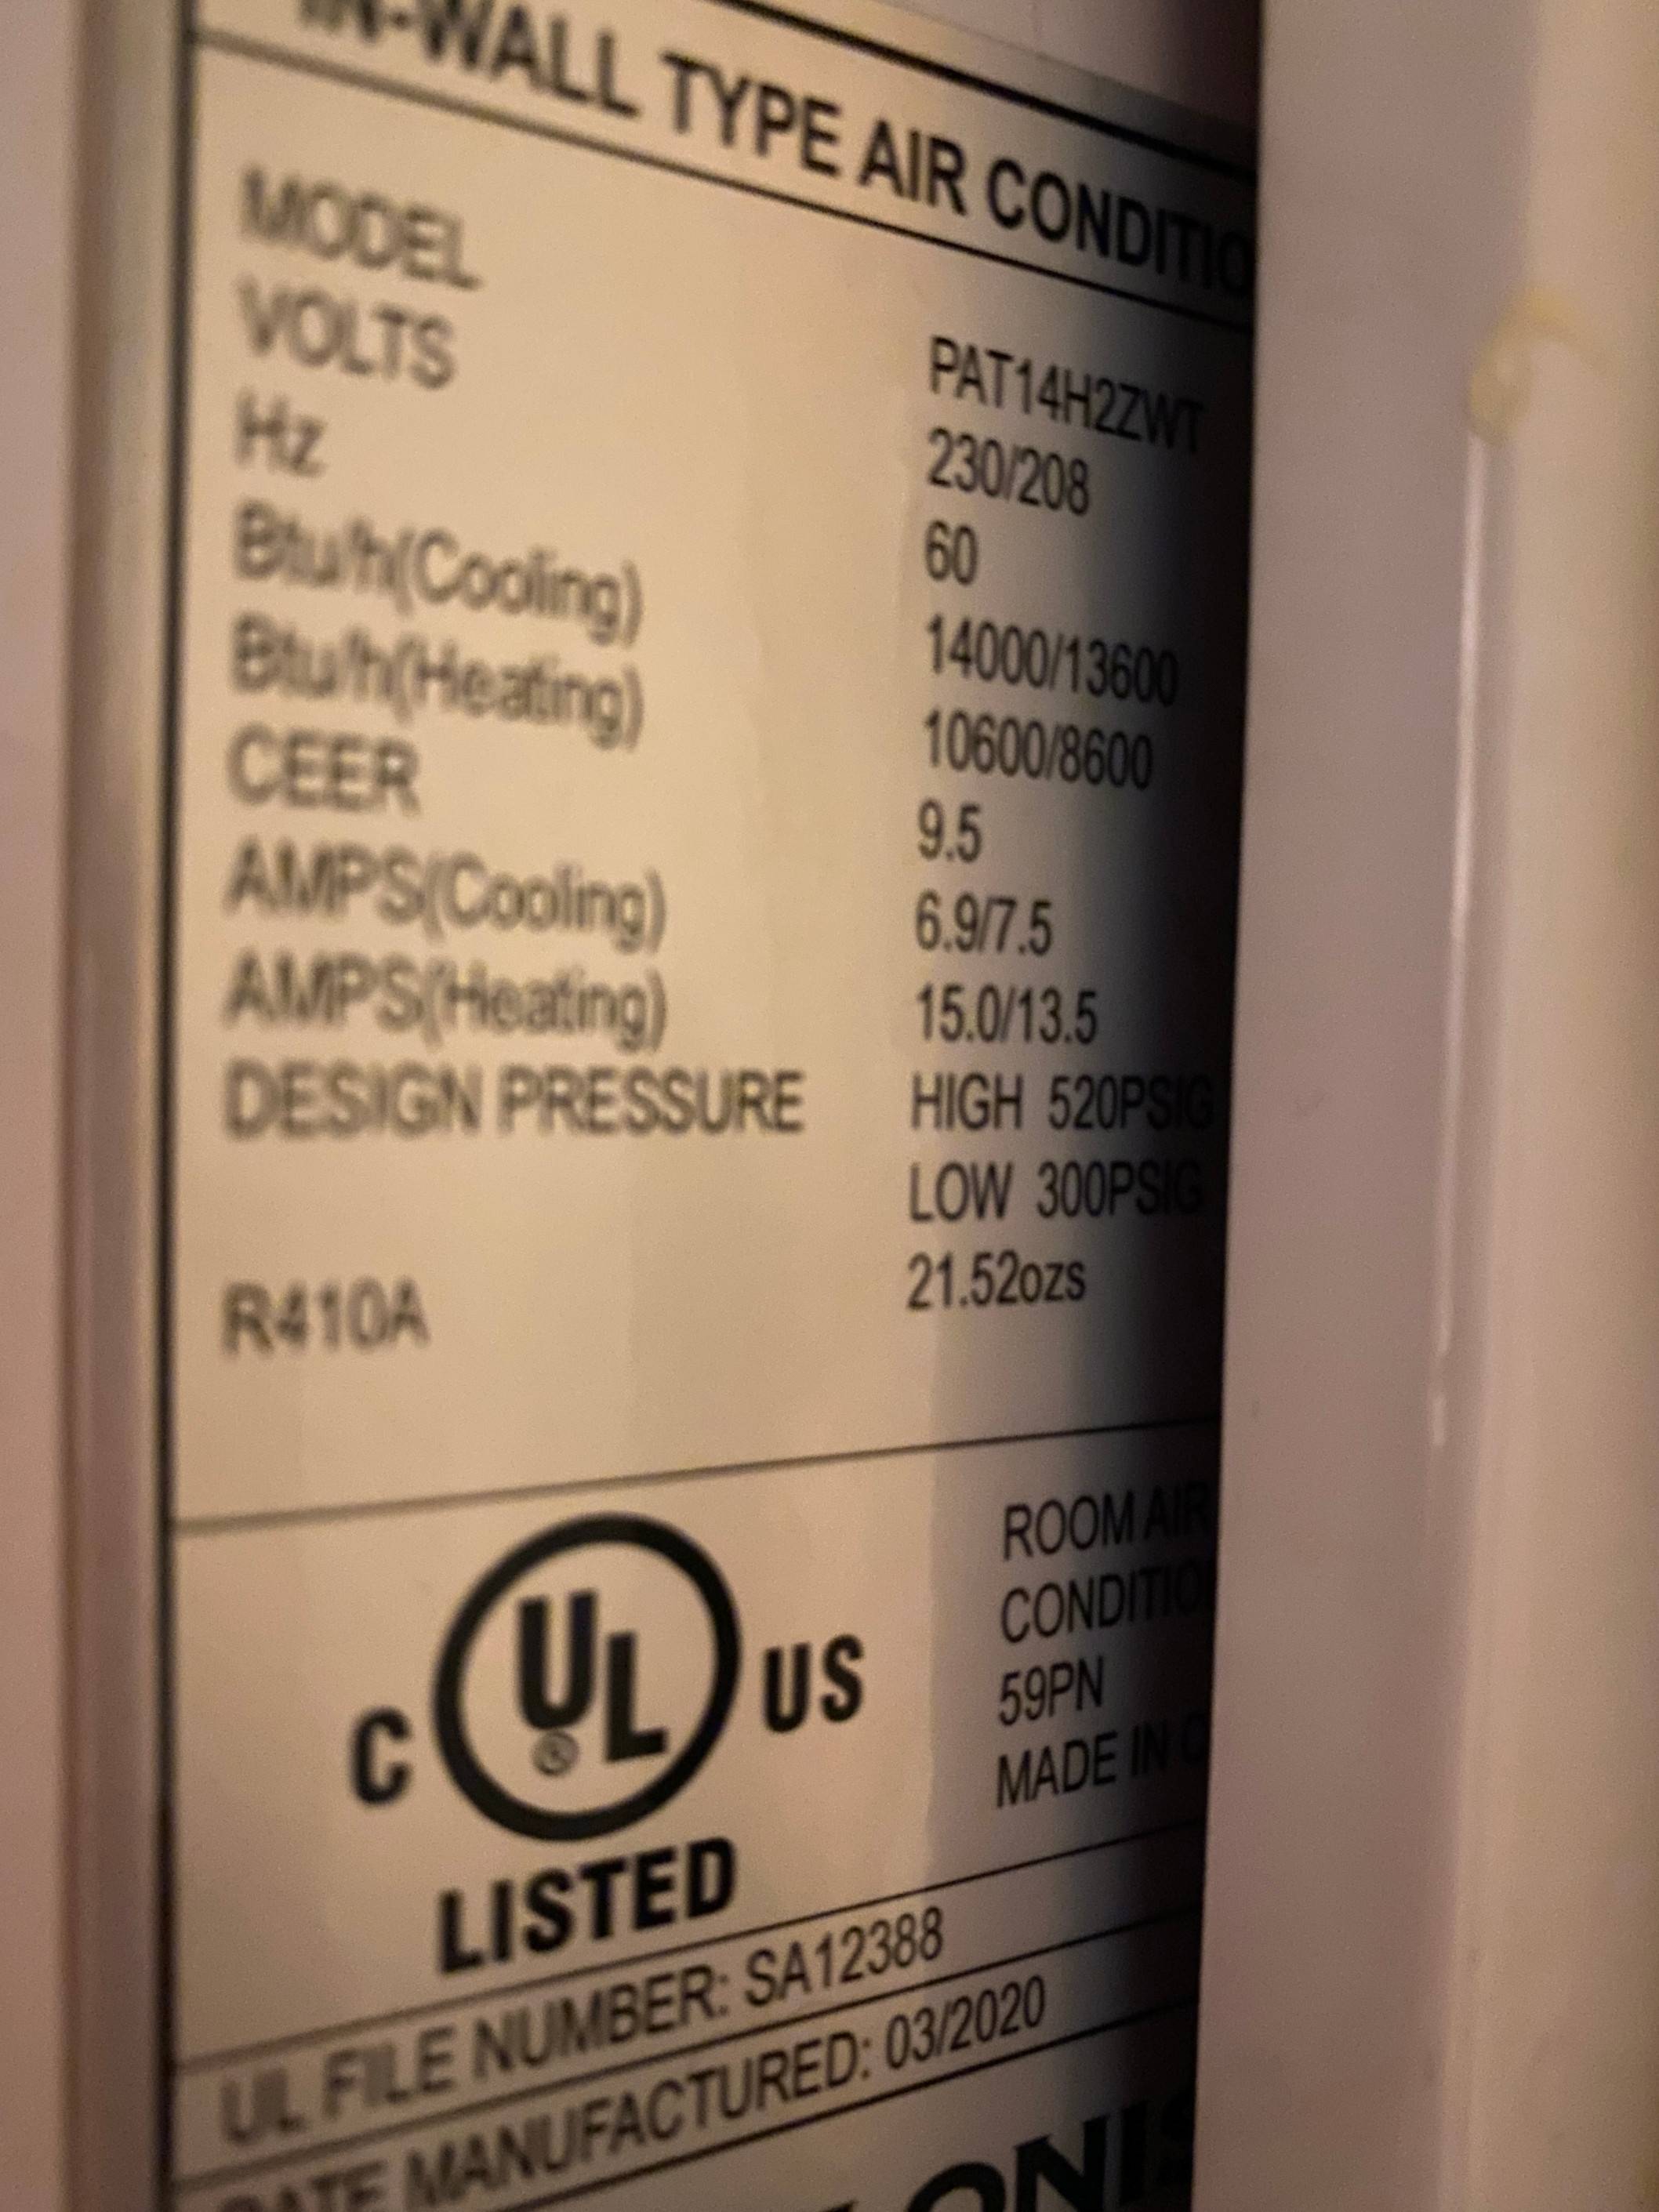
This means that you can decommission a large chunk of that 7.5kW of electric space heat, as it's supplying over 24kbtu of heating capacity to the house before you add in whatever heat (strips or heatpump) your current through-the-wall HVAC unit provides. Depending on your chosen heat pump's low ambient capabilities (top-of-the-line units, such as the Mitsubishi Hyper-Heat models, can go down to -13°F), you'll want a few kW of strategically placed electric heat still to make up the capacity shortfall heat pumps exhibit at low ambient temperatures, but that can be handled by a single 20A/240V circuit.
With that out of the way, we can tackle the electrical issues
Now that we have the elephant in the room covered, we can move on to the actual electrical issues with your plan. First and foremost, especially with LED lighting, separating lighting and receptacles onto their own circuits as you have more or less described makes sense. However, I would have at least two lighting circuits in the house, so that a single breaker trip doesn't take down all the lights; one could divide them into "ambient lighting" and "task lighting", for instance.
We then move onto the kitchen, where we see trouble pop up, starting at the kitchen countertop receptacles. Your plan to use split receptacles fed from a multi-wire branch circuit (MWBC) there is more or less a nonstarter due to a combination of factors:
- GFCI receptacles can't be split the way regular receptacles can, so you'd need two GFCIs at each outlet if you were using a two pole AFCI breaker with GFCI receptacles
- However, two-pole dual-function (AF + GF) breakers don't exist, either, so you'd need to use a two-pole 50A GFCI feeding a subpanel of two-pole 20A AFCIs instead, which introduces an extra box and a bunch of extra hassle if that GFCI ever trips
- Finally, the 2020 NEC tops it off by requiring GFCI protection for 240V kitchen countertop receptacles. This means that if you wanted to use the MWBC to "sneak" 240V to the kitchen countertops, you'd need to use the box and subpanel setup instead.
As a result, you'll have to make a hard choice here, as you can either:
- provision conduit to the kitchen countertops, which isn't as costly as it sounds thanks to ENT ("smurf tube") being a thing, and gives you the power to change things down the road,
- accept the tradeoffs of having one GFCI breaker for all the kitchen countertop receptacles in order to have your MWBCs,
- use paired GFCI receptacles with 12/3 at the cost of not being able to get 240V to the countertop or use GFCI feed-thru protection
- or use 12/2/2 NM cable to provide split receptacles on handle-tied pairs of single-pole DFCIs at the cost of not being able to "sneak" 240V in.
With that taken care of, we can then move onto the other half of your kitchen troubles, namely that you don't have enough circuits provisioned for a properly functioning kitchen. While having circuits for the dishwasher and disposal is a good start, the fact you only have two small appliance circuits for the kitchen counters is a bit of a penny-pinch. Especially if you run ENT to the countertop boxes, going to a four-small-appliance-circuit kitchen doesn't add all that much cost, and provides you with much more flexibility with regards to juggling multiple small appliances at once.
Going back to the dishwasher and disposal circuits, these don't need to be on a MWBC either, as /2/2 NM cable, once again, is a thing that is made in this day and age. (Ditching the MWBC for that also means you can locate the GFCI for the dishwasher in a convenient location.) Finally, you can safely go to a 15A circuit for the fridge, as refrigerators don't need much power at all in this day and age.
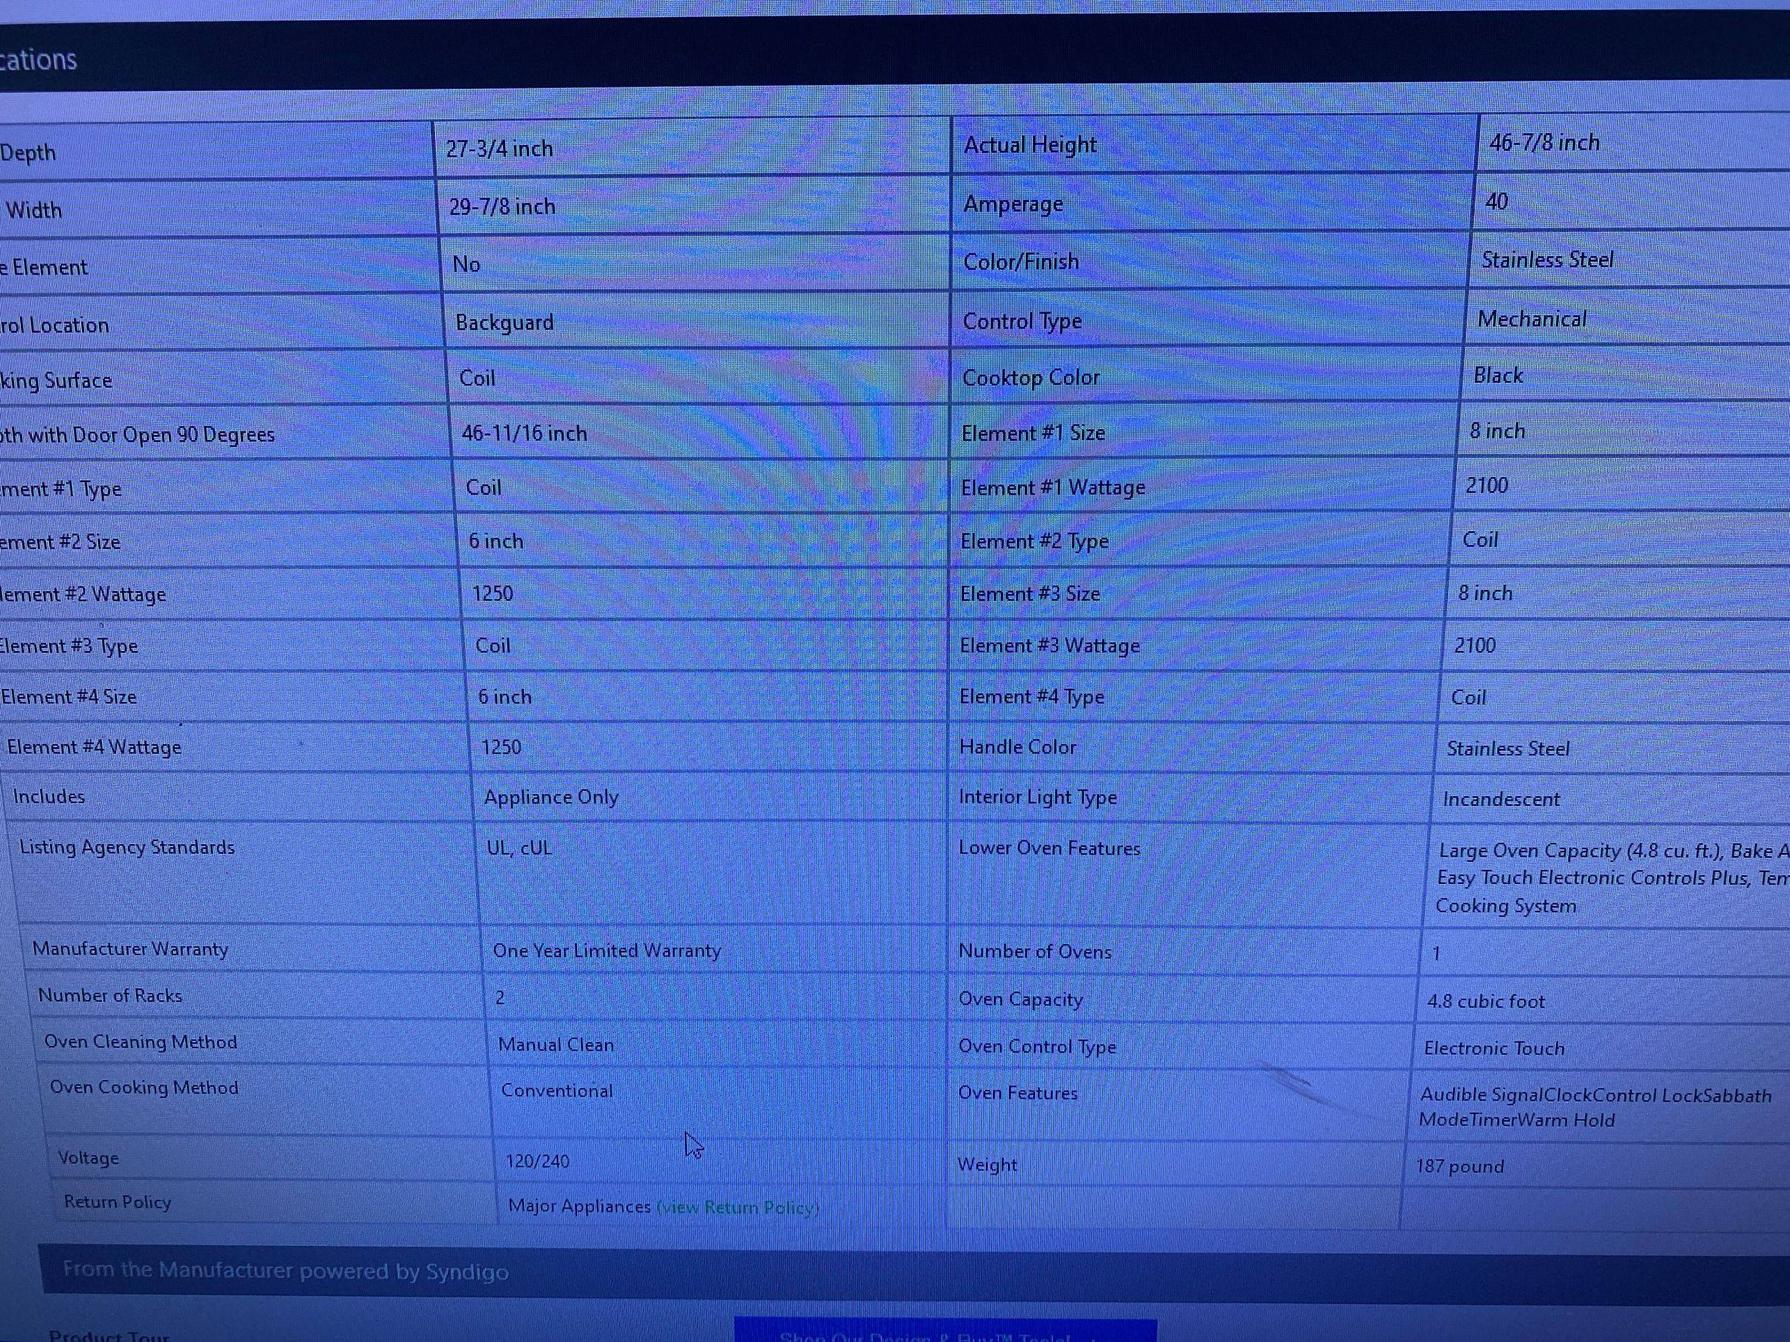
We then exit the kitchen and enter the garage, which is the other place we should bump up the provisioning from the Code minimum. You'll want a dedicated circuit for the garage's lighting and garage door openers, considering these are often tied together and the GDOs do take up a fairly significant chunk of the circuit's ampacity in any case, in addition to the dedicated garage receptacle circuit now required by the NEC. Furthermore, providing a 50A/240V circuit for a future electric car charger (EVSE) or RV bay is a good idea at this point, as well. In fact, one can get a "RV panel" box that has both 50A and 20A receptacles in it, as well as spare breaker spaces for the garage lighting/GDOs and extra garage receptacles, and loop feed lugs that can be used to send power off to a future garage subpanel; one of these on a 125A feeder, run using 1/0 Al SER, provides a fairly elegant, "all in one" solution to futureproofing a garage.
As to box selection...
With all those issues covered, we can move onto selecting breaker boxes for your remodel. As you can tell, your existing 40-space panel is pretty cramped as-is; while it might be able to accommodate your plans for now, given that we're taking out several of the existing heater circuits, there's no sense in not providing more room for expansion since we have the opportunity.
In that vein, we start at the meter since that's what has the most requirements attached, both by Xcel Energy and the current NEC. In particular, the new 2020 NEC "emergency disconnect" requirements for single-family dwellings mean that a traditional setup with a standalone meter socket on the outside connected to a main breaker panel on the inside with SE (SEU, not to be confused with USE) cable will no longer fly. As a result, you'll want to upgrade to a meter main when you redo the outside box, but this requires you to change the feed from outside to inside to a 4-wire feeder with separate neutral and grounding wires, usually run using SER cable. Furthermore, that upgrade practically requires you to convert your panel to a main lug panel from a main breaker type, which is somewhat limiting as to your choices for new panels.
As far as meter-mains go, I'd use a Siemens MC0816B1200JLT, Eaton MBX816B200BTS or CMBX1212B200BTS, Square-D QC816F200SL or RC816F200SL, or Milbank U6281-XL-200-5T9; all of these meet the requirements Xcel imposes on metering hardware and provide a few spare breaker spaces in addition to a set of feed-through lugs coming directly off the busses. From there, I'd run 250kcmil Al SER to a 54-space or 60-space, 200A or 225A, convertible panel, fitted with grounding bars. This way, you can order it as a main panel initially and wire it with neutrals and grounds separated but bonded, so that when the meter-main gets installed, you can run the SER cable from the meter-main to the panel, convert the panel to main lug, and pull the bonding screw to turn into a subpanel off the meter-main.
While you're at it, you'll want to fit a Type 2 SPD and matching breaker at the meter-main; this is also a 2020 NEC requirement, and provides a convenient home for the surge suppression right where power comes into the house. If you're looking for panel part numbers for the inside panel, you're looking at a CHP60E225X9 or BRP60E200 with a GBKP2120 ground bar and CSR2200 main breaker fitted if you are an Eaton fan, a PN5482B1225C or SN5482B1200 if you prefer Siemens for this, or a Square-D QO154M200P(C) or QO160M200PC fitted with a PK23GTAL or PK27GTAL grounding bar. (You could get the QO panels in main lug and fit a QOM2200VH main breaker to them, but it's cheaper to get the main breaker version and swap it to main lugs instead.)
TORQUE ALL LUGS TO SPEC
Finally, you'll want to use an inch-pound torque wrench or torque screwdriver (depending on the torque needed) to torque all breaker and panel lugs down to their stated connection torques. This is a new requirement in the 2017 NEC, and is a good idea even if your AHJ doesn't enforce it, lest your electrical system go off and lose you the race!


