8

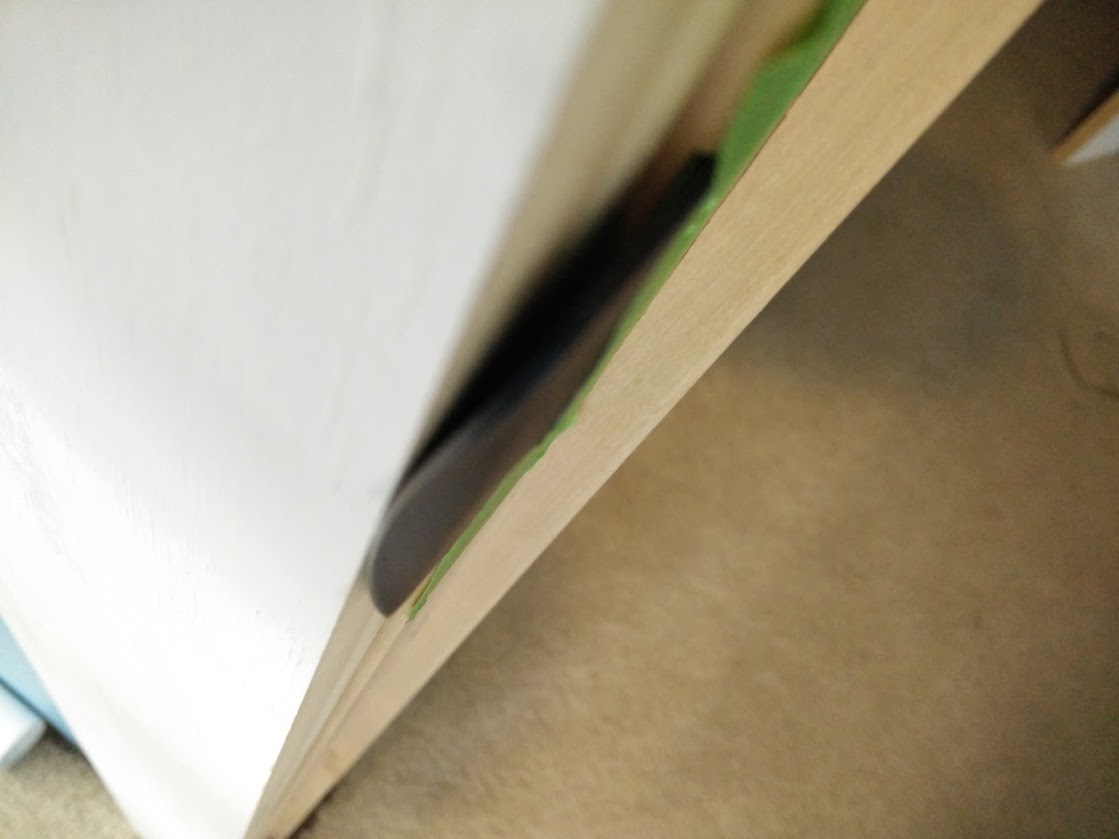
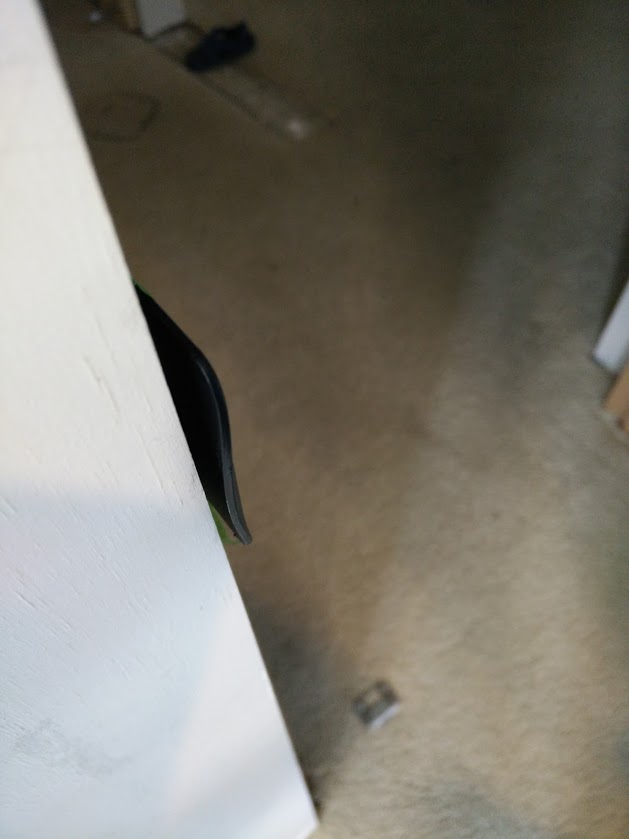
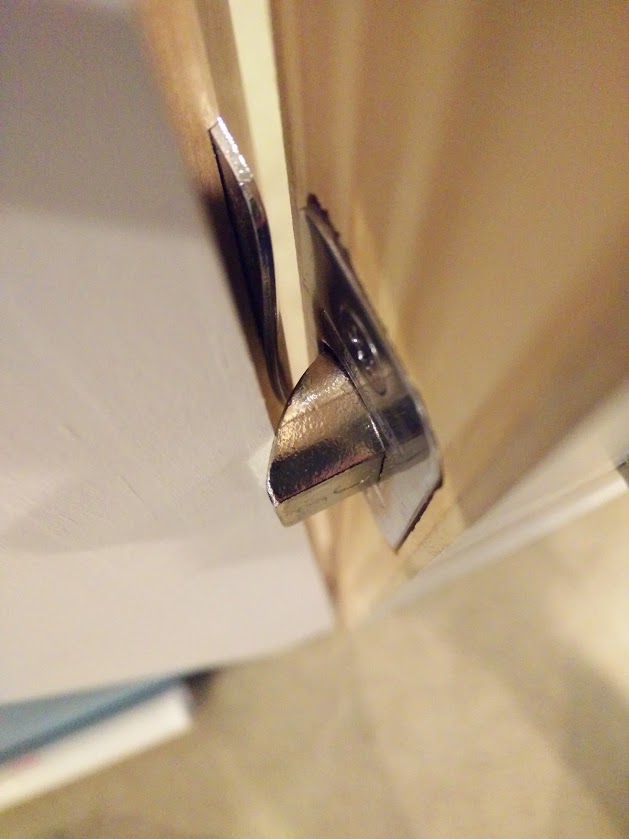
I was starting to install casing on my doors and while positioning the board I realized the door latch is going to contact the casing (1x4 craftsman) before the strike plate. The solutions I've found are extended strike plates or chisel/route the trim. Anything else I'm missing? I see 1x4 used a lot in casing but I couldn't find anyone talking about this issue. I wonder if my door latch (Schlage) is extra long.

enter image description here

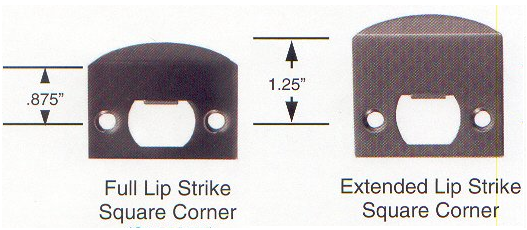
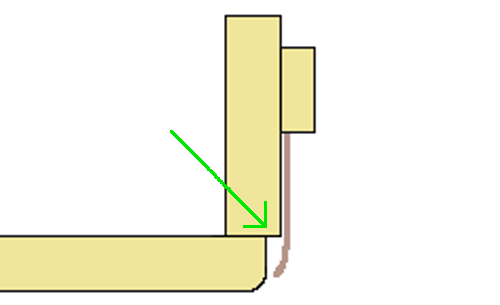
I approxmated the lengths of two sizes of extended strike plates I can order. Any idea on what size would look/function the best? I was thinking the smaller would not flex and I can get a 3/16" reveal. The longer extends beyond the trim but could flex some.

enter image description here

enter image description here

Update I wrote more in detail about the problem and solution here http://newyuma.blogspot.com/2015/11/craftsman-trim-and-extended-strike.html

3 Answers 3

5

Just replace your strike plate with an extended lip type.

enter image description here

1
  • I found these online -- no local hardware stores stocked them. I just need to decide on the length. The 2" will extend to exactly the edge of the trim. The 2 1/4" will curve around the trim by 1/4". Both will function but not sure what the best size to get is
    – Andrew
    Commented Nov 9, 2015 at 20:48
2

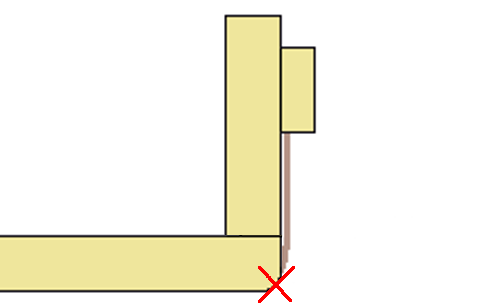
The issue isn't with the latch, it's with the placement of the trim. The fact that the strike plate is routed into the casing is a dead give-away. With craftsman style trim, you need to leave about a 1/4" reveal of the door jamb - it just doesn't work flushed up to it for this exact reason:

You can get away doing this with ranch style casing...

enter image description here

...but not 1x. The casing profile should look more like this:

enter image description here

Not only is this the more traditional way of installing craftsman style casings, IMHO it also looks a lot better by adding multiple layers of depth to the trim profile.

Since you already have the casing on, the best way to remedy this installation is (as you suggested in the question) is with an extended strike plate.

4
  • 1
    The pic shows pretty clearly that the trim was set back with a reveal, as in your "correct" picture. Commented Nov 7, 2015 at 5:59
  • The casing has not been installed yet. If I increase the reveal to clear the door latch, it's going to be a hair over 3/8", which would cause other problems, like not having enough of the door jamb to nail into and I'd interfere with a light switch. A radius would help but not much I suspect. I thought all craftsman trim was flat stock. I completely confused on how this is supposed to work. I looked through several millworks catalogs and the only casing thinner than 3/4 had an eased edge, so not 100% craftsman.
    – Andrew
    Commented Nov 7, 2015 at 14:38
  • Also to clarify, the casing is not flush. There is a 3/16" reveal as shown in the photo. I could not get it flush because it hits the strike plate at 3/16"
    – Andrew
    Commented Nov 7, 2015 at 14:54
  • @Andrew - My mistake, the top of the photo must just be badly out of focus due to the short depth of field. It looked like the strike plate was counter sunk into the casing and that the casing had a radius. Around here I've seen these basically done 3 ways - trim radiused on both sides, trim coved on the door side, and extended lip strike plates.
    – Comintern
    Commented Nov 7, 2015 at 16:19
1

Your latch is typical; you just need a strike plate with an extended tongue. (Admittedly, "tongue" probably isn't the right technical term, but I imagine you've got the picture.)

Your Answer

By clicking “Post Your Answer”, you agree to our terms of service and acknowledge you have read our privacy policy.

Not the answer you're looking for? Browse other questions tagged or ask your own question.