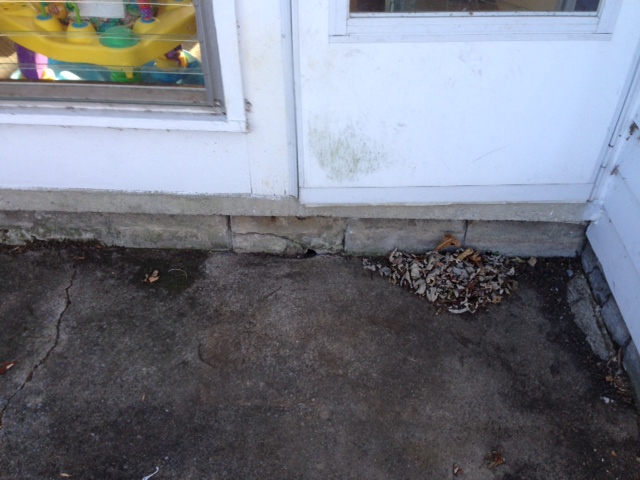
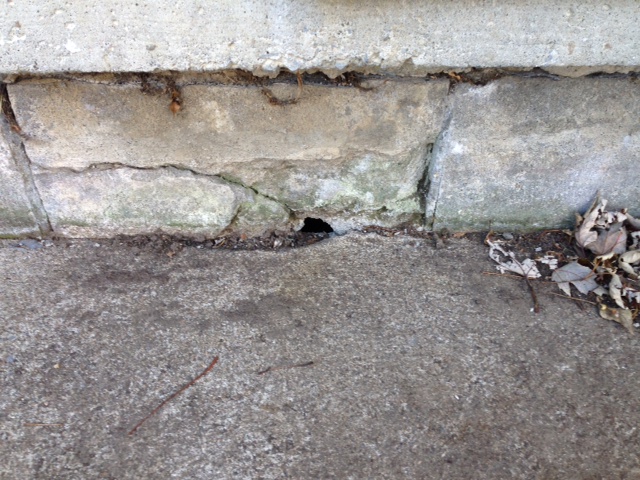
For question number 1, no, its not supposed to be solid concrete, it could, but in this case you have hollow core block, the solid concrete is above this block that makes the floor. The vertical lines I see in the picture are the head joints of the block and they should be about 16 inches apart.
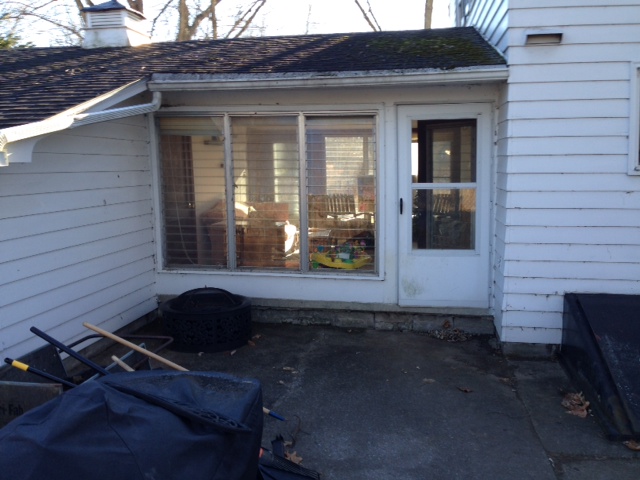
The freeze/thaw cycles affected this particular block where the surface is eroded away to expose the open cell of that part of the block. Some block are affected differently than others, this one happened to be the weakest in this run of block work, and the patio sloped the wrong way expedited the erosion.
Question number 2, the worst case scenario is foundation settling and mold as mentioned by bcworkz. Both issues though depends on existing factors, soil type, for the foundation concerns, and how well the soil was compacted when the house was built, for the settling of the interior slab. And what type of organics are present in the soil to feed the presence of mold. It usually has to have something to feed on to grow, and it may only need the dirt to do this, although I have only seen it grow on drywall, wood or wood chips and other construction materials.
Question 3, to fix it in the short run, bcworkx has a good method with the wire and backer, that would be good for the winter. The open core of the block is much larger than the hole you see.
Instead of a temporary fix, it should be the first step of the permanent fix. Repair the hole by chipping away at the hole to expose the whole core of that block, at least in it's width. That will serve two purposes, it will let you see how strong the block is as you chip away at the opening (if it is weak, it will turn to sand as you chip away at it) I am presuming this is concrete block not slag block or cinder block, the textures in the picture don't suggest that it is, yet I don't see any aggregate for it being concrete block either. Either way the chipping away will ensure a sound surface for the new masonry cement to bond to. The second purpose is the larger hole will allow masonry rubble or even gravel of one sort or another to go into the web of the block to give a base to support the repair cement to fill the hole. Only issue you may have is there is a long crack that may allow multiple cores to be exposed, no problem, more of the same remedy, read on. As you fill the hole, have other masonry rubble (positively no organic material!) to shove in the hole as you place the cement in the hole. that way the cement will not "slump out". If it insists on slumping out, it may be too wet, let it set for a while to a semi hard set and scrape off the slumped out part flat enough to be even with the rest of the block, the fill the rest after it has set a day. Cement should be peanut butter consistency, for example. Toothpaste consistency is too wet. With care and proper prep, it can be done in one shot, the trick is having enough brick or block rubble to shove in the hole in layers as you fill the hole with cement, like laying really small bricks.
Question 4 builds from the steps in number 3. Minimally you need to remove the patio slab that is against that wall, say a foot or so, to parge the surface of all the block on that wall with type S masonry to give that part of the wall a new weather surface, and to tie that parging in with the waterproofing layer below grade. Then, if there is a asphalt based waterproofing on the original foundation, it give you a solid surface to apply more foundation coat to. I don't think there is any existing foundation coating though, it is a slab on grade as it is called, and there was no need to protect the living space above grade. It is done nowadays to prevent water migration through the walls and getting to living space walls underground, preventing Murphy's Law from happening.
The second part of the permanent fix is to either break out all of the faulty pitched slab and pour a new slab pitched the right way with a minimum of a 4 inch step out of the door, max of 7 3/4 inch (building code maximum)and the 2% pitch minimum as Bcworks had mentioned previously. It can be pitched more and you can adjust the step at the door shorter or higher to do so. Use expansion joints at the house.
OR shorten that task by pouring a stoop over the existing slab, to the corner of the house, close to the edge of the siding as a height gauge, stay away about an inch or the siding will degrade quickly if the concrete touches it. Just make sure it is pitched away from the wall with the door minimally (2%). Also use expansion joints at the house.This fix is not recommended, for I would render a guess the existing slab beyond the corner is still pitched the wrong way too. This would still allow water to seep under the new slab at the joint of the new pour and freeze/thaw may have its way with that slab too, at least possibly, but I never liked dealing with possibilities. FWIW, the water that would still puddle there would freeze in the winter and cause a slip hazard, I imagine that is the case now...


