6

I am trying to remove a bathtub drain as the first step of replacing the tub waste and overflow assembly... but this first step has me stymied because every method I have tried to unscrew the old drain has failed.

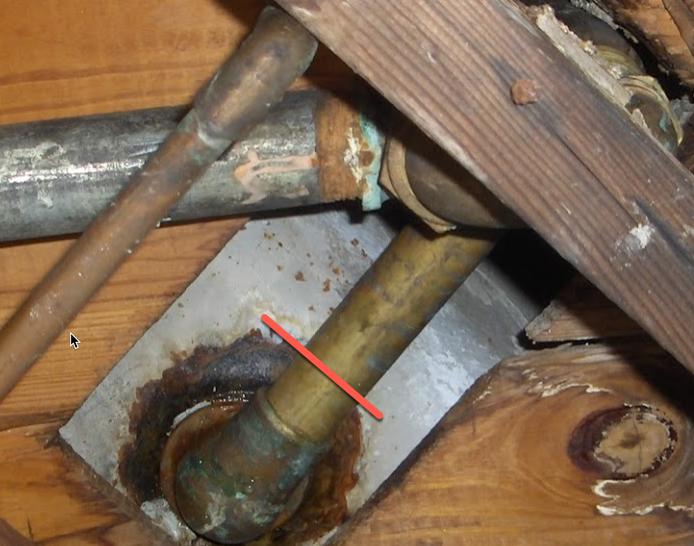
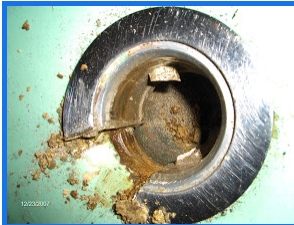
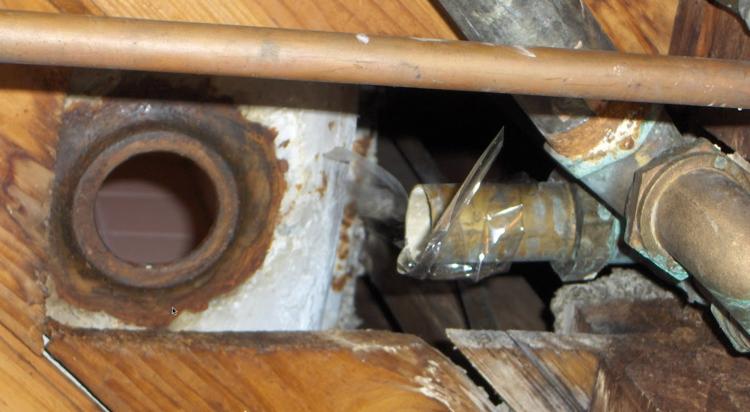
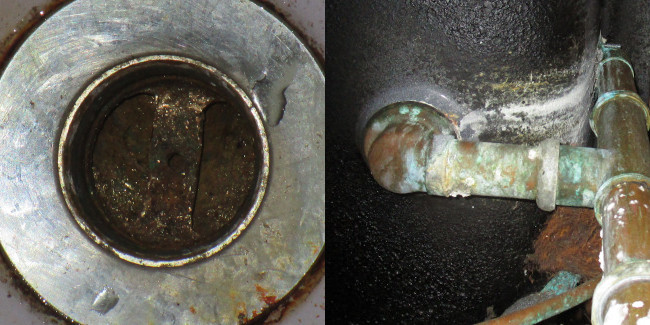
Here's the drain and a view from beneath the bathtub. There is a good amount of corrosion and there was a leaky overflow gasket a few years ago that was replaced. The drain is the smaller 1-3/8" size, has been in place for 50+ years, and does not want to come out.

old drain and plumbing

I tried the "trick" of using open needle-nose pliers inside the drain and turning it with Channellocks, but the needle-nose bent and half of one of the grips started to shear (yes, I'm turning counter-clockwise).

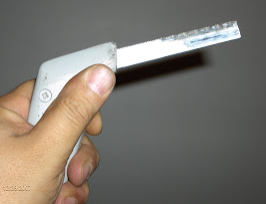
The typical drain removal tools have each failed:

failed tools

The 1st tool, a "barbell" style drain removal wrench, fails entirely because my drain has only a single crossbar which is wider than the part of the tool that is meant to fit over it.

The 2nd tool, a "drain key", fails because the drain's inside diameter is 1-3/8" and tightening the drain key results in it being forced up and out instead of locking against the inside of the drain. If you read reviews of the drain key, many people had the same issue when trying to use it on a 1-3/8 inch drain.

The 3rd tool, a "drain extractor", fails because it cannot be wedged far enough into a 1-3/8" drain to grip the inside walls. I believe it only works on 1-1/2 inch drains (despite the hardware store employee assuring me it would work on both drain sizes... "see, it's tapered," he told me).

The 4th tool, a "drain spud wrench", has a forked end that I attempted to use as a last resort, and while I was able to put a decent amount of torque on it, I was concerned that it could break/snap if I forced it much more, potentially sending a sheared off piece of metal ricocheting at high velocity in the tub. The forked end after all is to help install a new drain, not remove an old one.

Is there anything short of cutting off the drain shoe with an angle grinder (something I really do not want to attempt) that will safely get this thing out?

UPDATE: SUCCESS!

Following the advice of jay613 proved to be a success! It was a bit more difficult than described, mostly because I used a "close quarters hacksaw" that, unlike the one pictured in the answer, did not allow flush cuts, which made it impossible to cut the outside edge of the drain flange. But after making a lot of cuts and prying little bits of it out with a screwdriver (and chipping the tub enamel in the process) I eventually removed a wedge, then a larger wedge... and FINALLY the drain was able to be unscrewed the rest of the way!
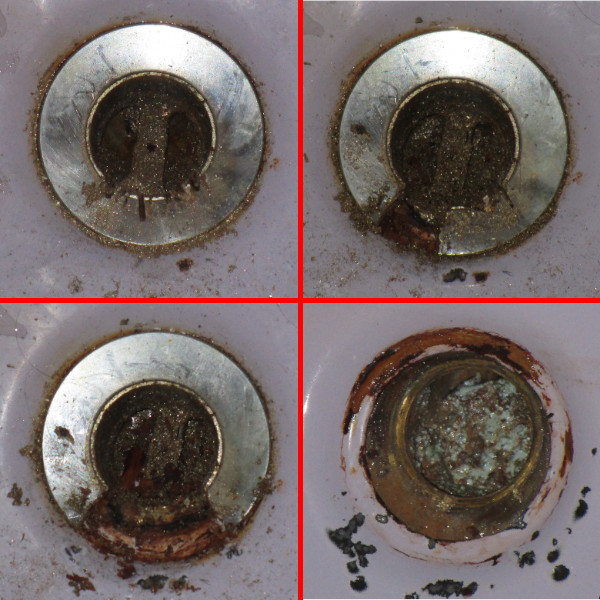
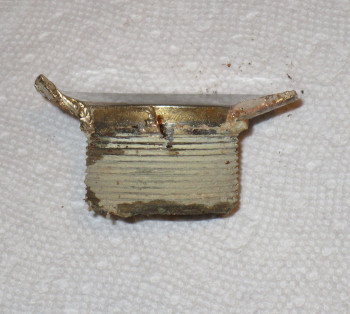
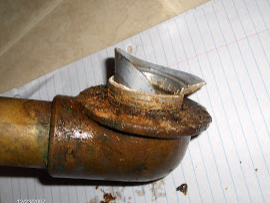
drain removal old drain Looking at the old drain, the threads are filled with what I'm guessing is long since dried out plumbers putty or pipe dope which is what made it impossible to unscrew in an ordinary manner. Whatever that stuff is it's been there since the LBJ administration.

And here at last is the new drain and below tub plumbing installed. new drain and plumbing Note that the chipping only happened because I had to pry the edges of the flange up due to my saw's inability to make flush cuts. Tomorrow's project is filling in those chips with enamel 'chip fix' epoxy.
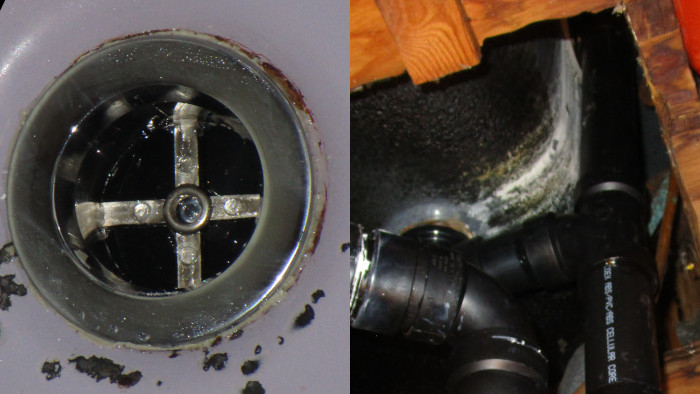
To anyone else in the same predicament of an impossible to remove tub drain, I would say the most important thing is to have a way of cutting all the way to the outside edge of the drain flange without damaging the tub. It's worth taking the time to acquire a mini hacksaw that can make flush cuts (take note of the one pictured in the answer). This way you won't have to pry it up and risk chipping the tub.

4
  • Just wondering if it is rusted on. Would make much harder to undo. If you can block off drain pipe, from draining, would suggest soaking it with one of the rusty nut loosen sprays for a while. Can make your own with automatic transmission fluid and acetone.
    – crip659
    Commented Aug 3, 2021 at 12:29
  • @crip659 I'm sure the threads are rusted and/or corroded (I edited the post to include a view from underneath the tub), but I am starting to suspect the crossbar piece is actually part of the drain shoe... so the torque I exert on it doesn't even transfer to the strainer body. I have PB Blaster, but am hesitant to use it because (1) I don't know if it would even reach the threads since there is I'm sure a plumbers putty seal between the flange and bathtub, and (2) I don't have any way of producing decent torque on the strainer body itself. Commented Aug 3, 2021 at 19:20
  • 2
    Similar question, some answers suggested to cut notches into the flange body with dremal tool or grinder and use a screwdriver or similar tool with hammer and turn it that way. diy.stackexchange.com/questions/92314/…
    – crip659
    Commented Aug 3, 2021 at 19:37
  • @crip659 I'll definitely keep that one in mind as a last resort. I prefer to be non-destructive so in case the drain remains stuck I can at least continue to use the bath/shower while plotting the next attempt. Commented Aug 3, 2021 at 19:55

1 Answer 1

3

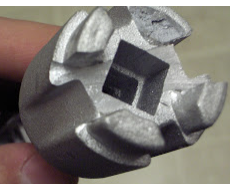
I went through the exact same series of attempts as you. A succession of drain wrenches, each stronger than the previous one, each of which eventually broke when enough force was applied.

enter image description here enter image description here

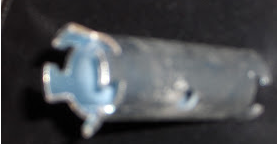
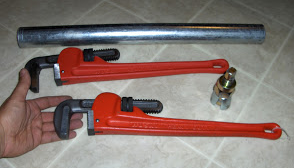
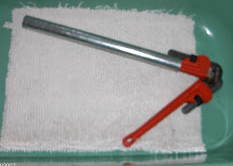
Followed by the indestructible expanding knurled wing thing, using huge pipe wrenches for leverage, which eventually with enough force just dug grooves into the side of the drain but did not free it.

enter image description here enter image description here

Here is what eventually worked, and took 10 minutes and almost no effort:

A $2 hack saw and a screw driver.

  1. Saw the trap off near the exit from the tub. Tie the tail piece with string to something nearby because later, when you are above, it's going to fall away.

enter image description here

  1. Saw two slits in the flange which is made of very soft metal then break away the piece you sawed off. Don't use a grinder or a dremel. You'll damage the tub. The flange is soft metal, a hack saw will get through it in 30 seconds.

enter image description here enter image description here

  1. Bend away the rest of the flange and shove it through the drain hole. Remember you sawed off the tail? Now is when that string does its job.

enter image description here

  1. And let's not forget: Wonder if you're in over your head. :)

enter image description here

Good luck!

5
  • While this is a destructive method, it sounds like it will work for sure since it doesn't rely on unscrewing the drain. Is that tool a "close quarters hacksaw"? Wonder if you're in over your head. lol yeah, I was worried about that before. But now that I've been down in the crawlspace and successfully replaced some DWV pipe and the p-trap (it had a hole in the bottom the size of a nickel), I'm pretty confident. This stuck drain was breaking me though. Commented Aug 3, 2021 at 22:30
  • You can't re-use any of the components so "destructive" is fairly meaningless. You could use a close-quarters hacksaw but I just used a pistol grip one with half a blade in it, turned backwards, because that gave me the most freedom to cut at different angles on different parts of the flange.
    – jay613
    Commented Aug 3, 2021 at 22:46
  • Mine was on the second floor and I did not want to replace the whole stack because that would mean ripping open the living room wall. So the "in over my head" aspect was how to proceed from the situation you see in my last picture, knowing that anything I touch of the existing plumbing will probably end up destroyed.
    – jay613
    Commented Aug 3, 2021 at 22:50
  • I see. My "destructive" remark was in reference to an earlier comment by @crip659 about cutting notches in the drain and using them as leverage to turn it with a screwdriver/hammer. I didn't want to use a destructive method that might fail to remove the drain but also allow a leak, thus rendering the tub unusable until I found another way to remove it Commented Aug 3, 2021 at 23:01
  • 1
    Just wanted to report that your answer worked and the drain was finally freed! I updated my original question and included pics of the nearly finished work (and damage lol). Commented Aug 14, 2021 at 23:24

Your Answer

By clicking “Post Your Answer”, you agree to our terms of service and acknowledge you have read our privacy policy.

Not the answer you're looking for? Browse other questions tagged or ask your own question.