1

I have traditional interior window trim in my bedroom:
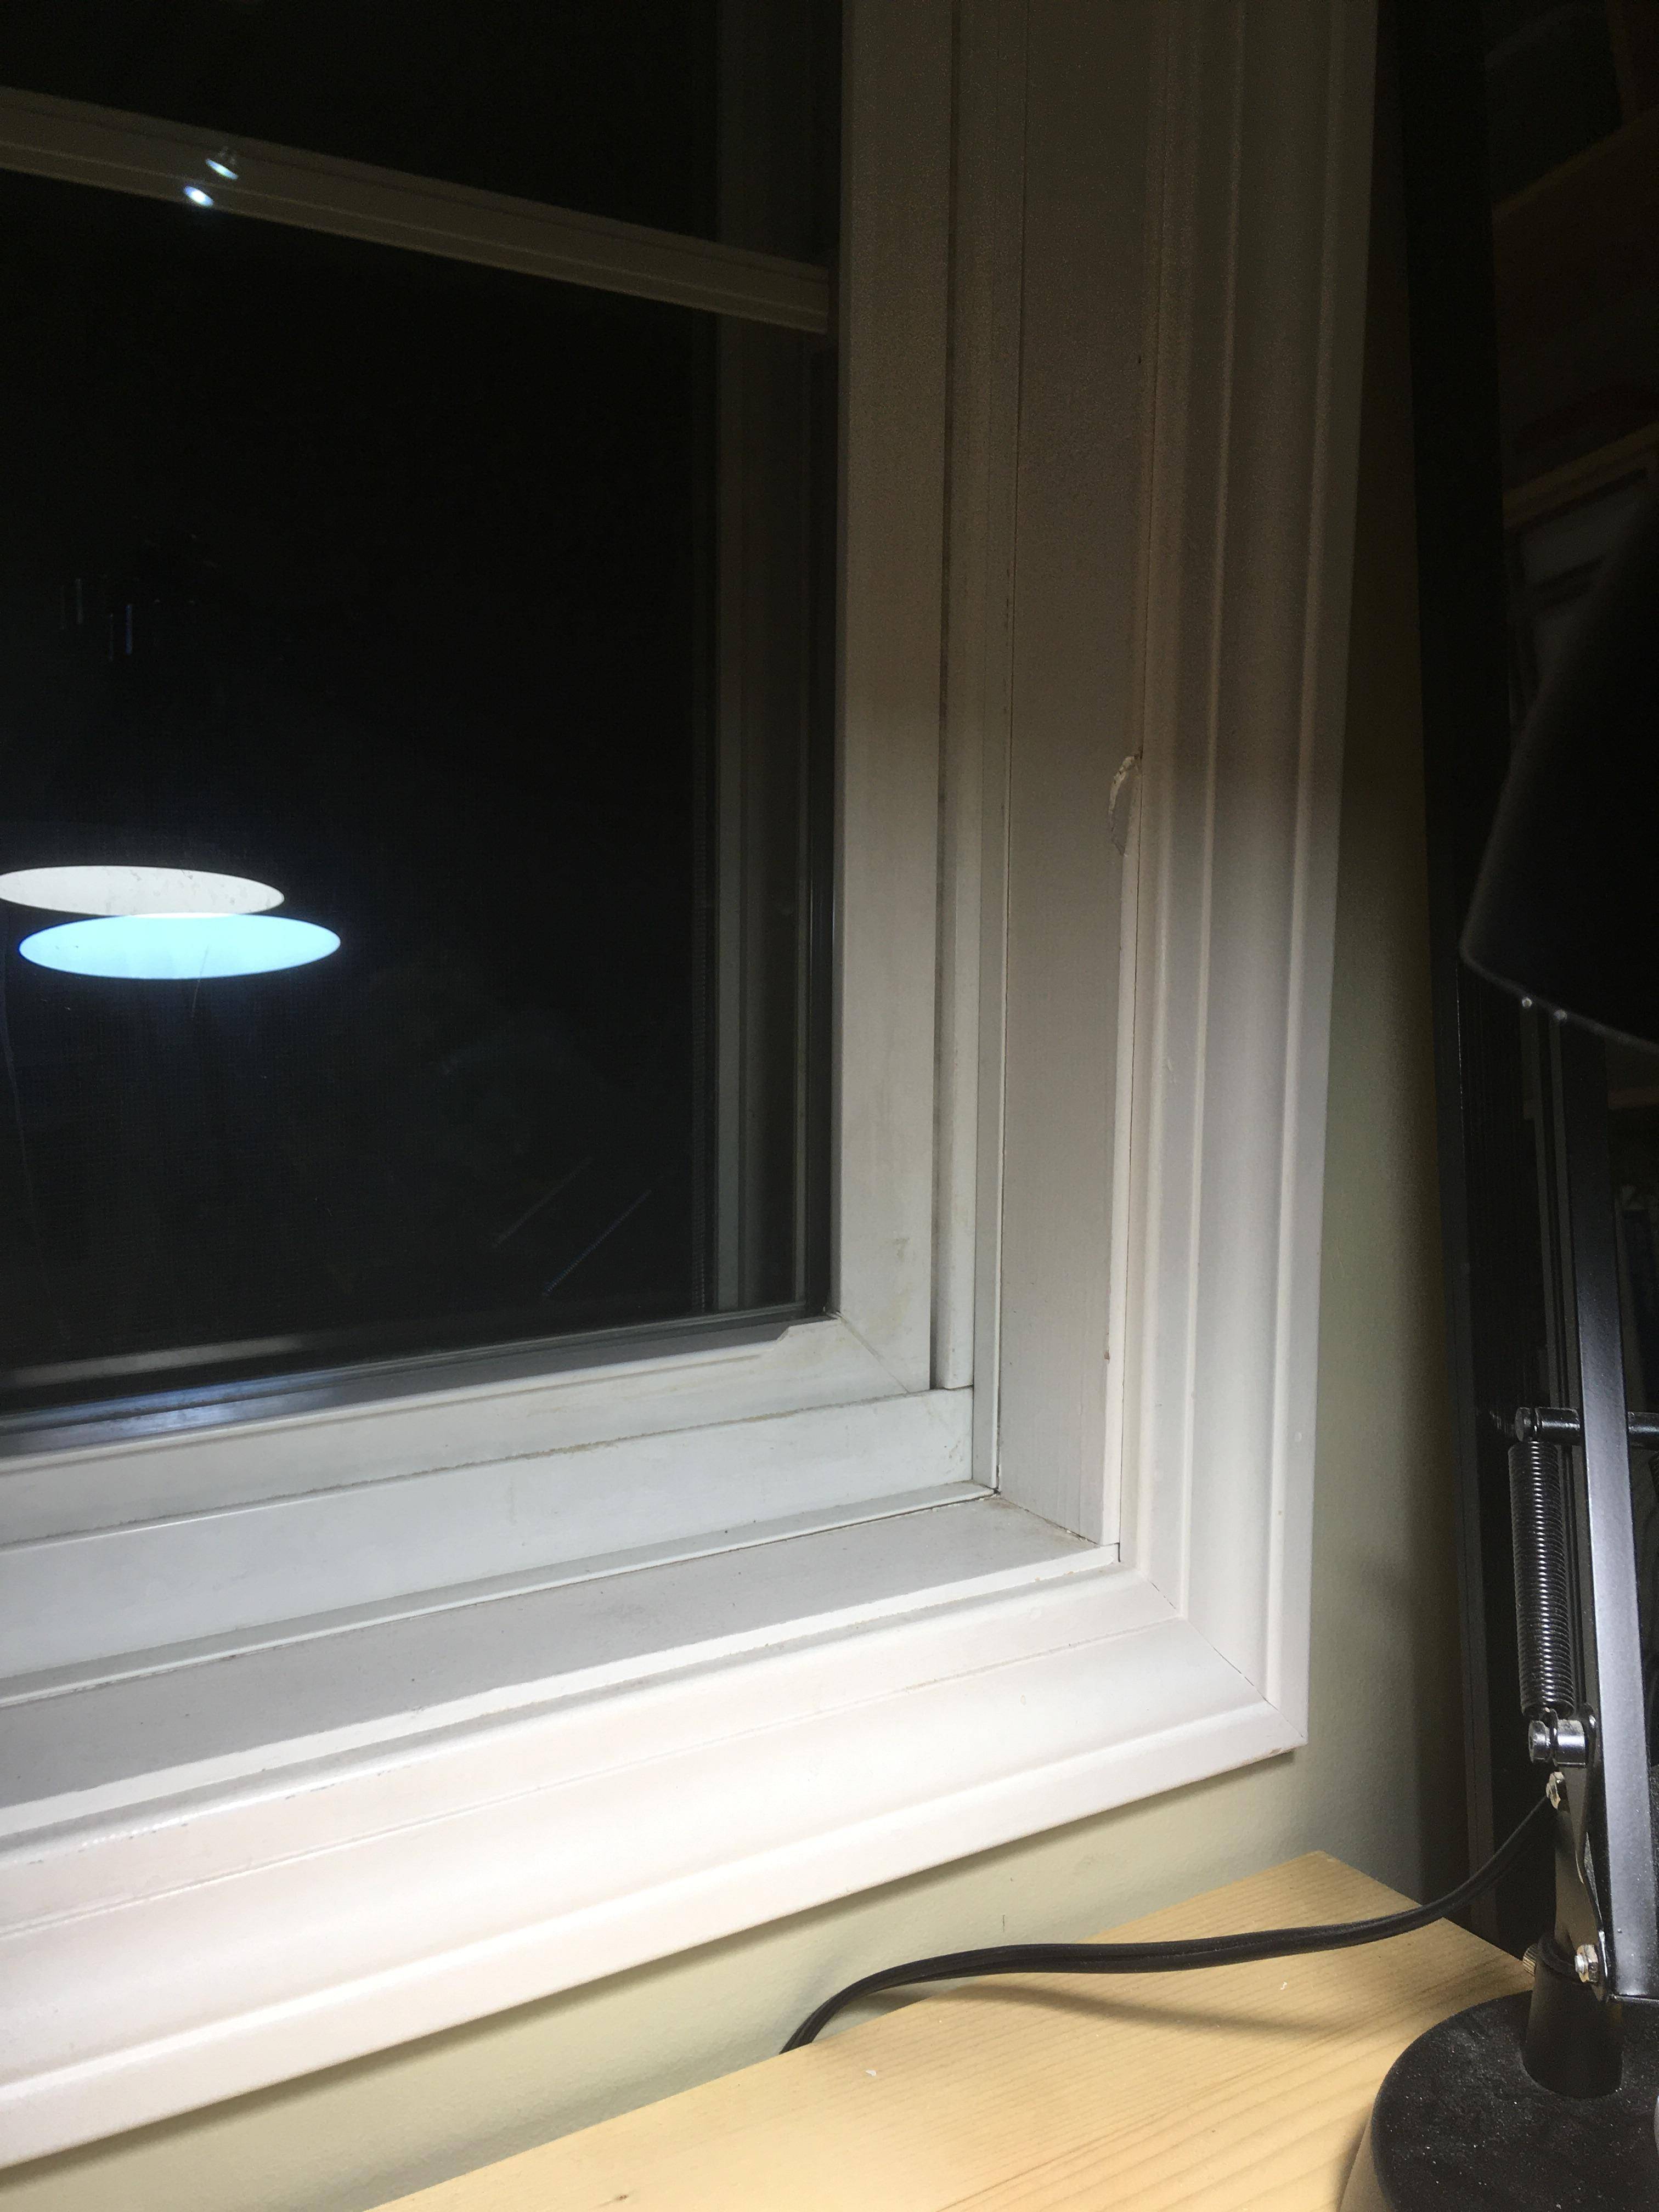
What It looks like now

and want to replace them with extension jambs for a more modern look:
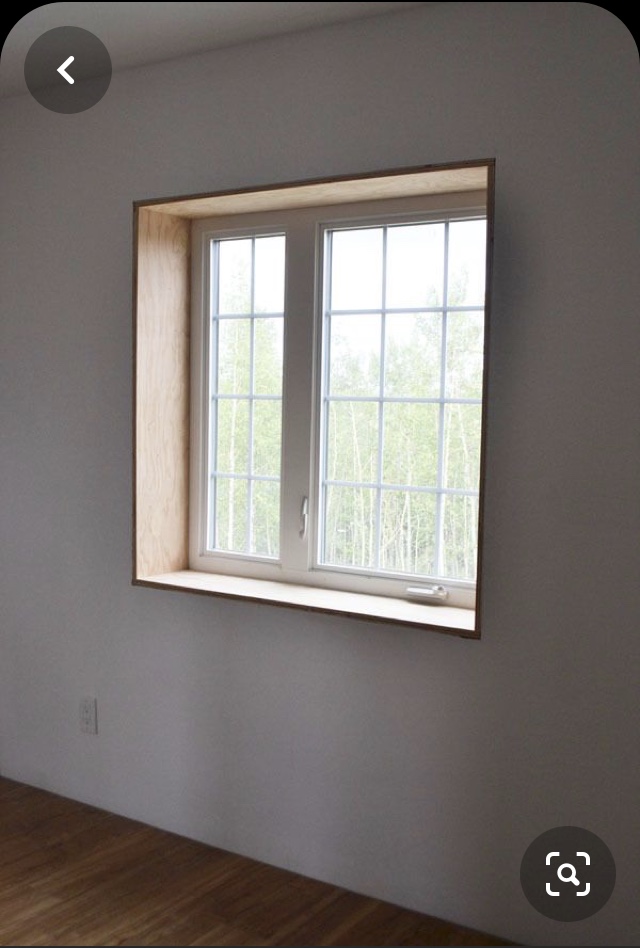
Goal

I’ve never done window trim and have never worked with drywall before but have seen a couple of great tutorials.

The reveal on my window measures 2”-2.5”. I’m pretty confident I can tear up the old trim, install corner beads if the drywall edges/corners are unfinished, lay down two coats of drywall compound (basically do a drywall return), and then cut-to-fit the extension jambs.
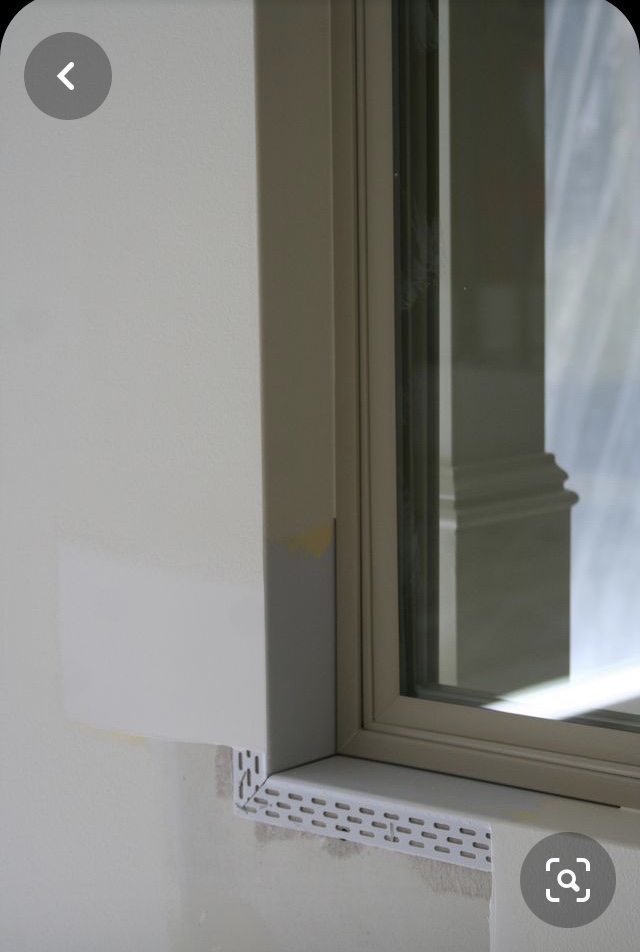
Prep work before laying down trim

But I’m wondering how to get uniform spacing between the extension jambs and window frame.

Any additional tips? This project seems straight forward enough but I’d just like to cover my bases.

4
  • Is this the window you're talking about? Because if it is, I don't see the need for jamb extensions as the existing jamb already appears to be flush with the drywall.
    – SteveSh
    Commented Jan 9, 2021 at 1:14
  • Sorry about the sloppy post. I’ve updated it with photos. Plan is to pry out the old ext jambs and moulding, assess the state of the drywall finish, install corner beads and compound if necessary to achieve a smooth surface onto which to glue maple ext jambs and a sill.
    – Minh Tran
    Commented Jan 9, 2021 at 3:49
  • After the jamb extensions, are you adding a wall trim? If you are, you do not need to add a corner bead, or drywall return for that matter.
    – Jack
    Commented Jan 9, 2021 at 5:52
  • I belive that the "modern, trimless" look is what is wanted, @Jack.
    – Ecnerwal
    Commented Jan 9, 2021 at 13:49

1 Answer 1

3

If the look you want is modern trimless, be careful on how you remove the jamb extensions. It looks like the window jamb may go over the wood jamb extensions.

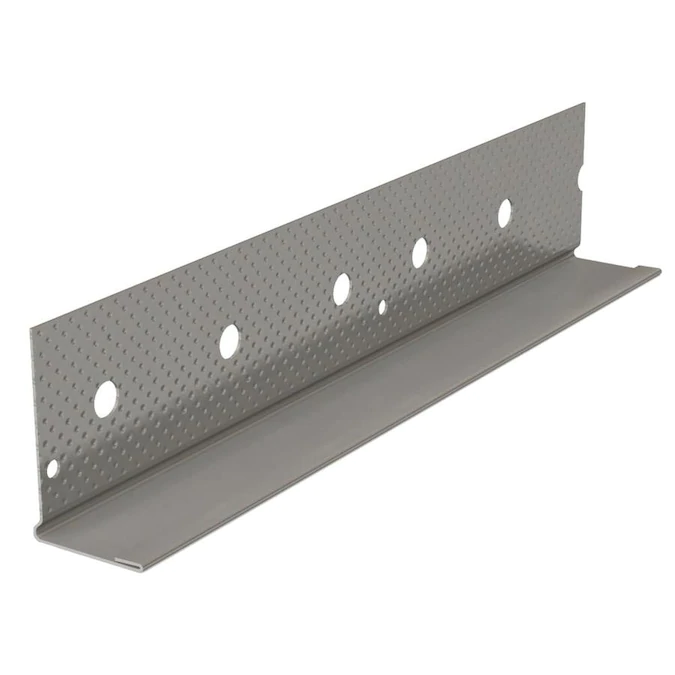
You will not need to add drywall to the returns. Add plywood instead, this way you can add 3/4" 1/2" or 1/4" where needed and add shims if things are at an angle. Then add your corner bead to that, or even this...enter image description here

Image courtesy Lowes

That way when the finished wood jamb is in place, the reveal, will be consistent all the way around and the dimension you wish to see.

When adding plywood or solid wood fillers you may need to keep it flush with the existing drywall to give either the corner bead or L bead some backing since it will be difficult to add a small sliver of drywall to the edge. It would be unnecessary to cut back the drywall, just to add more.

The L bead has a raised edge so the nail heads are below the raised edge so the nail heads do not get into the finish. This would all depend on what you have to work with. The standard corner bead may be the better choice.

2
  • Thanks for the advice, Jack. Using plywood and shims to keep the trim mounting surface level is a fine idea.
    – Minh Tran
    Commented Jan 10, 2021 at 21:34
  • When you fasten the wood fillers, make certain they are in line with the face of the drywall accurately. The corner bead will cover about an 1" wood filler since the metal bead is about 1 1/8" to 1 1/4 wide. If you fill in more than that, drywall tape will be needed to span the gap no matter how small it is. Another tip is, since you may be nailing the corner bread into the added wood strips, make certain there is enough nails or preferably screws holding the wood filler in place so when the nails are driven in, the fillers do not vibrate and bend the corner bead or L bead.
    – Jack
    Commented Jan 11, 2021 at 0:58

Your Answer

By clicking “Post Your Answer”, you agree to our terms of service and acknowledge you have read our privacy policy.

Not the answer you're looking for? Browse other questions tagged or ask your own question.