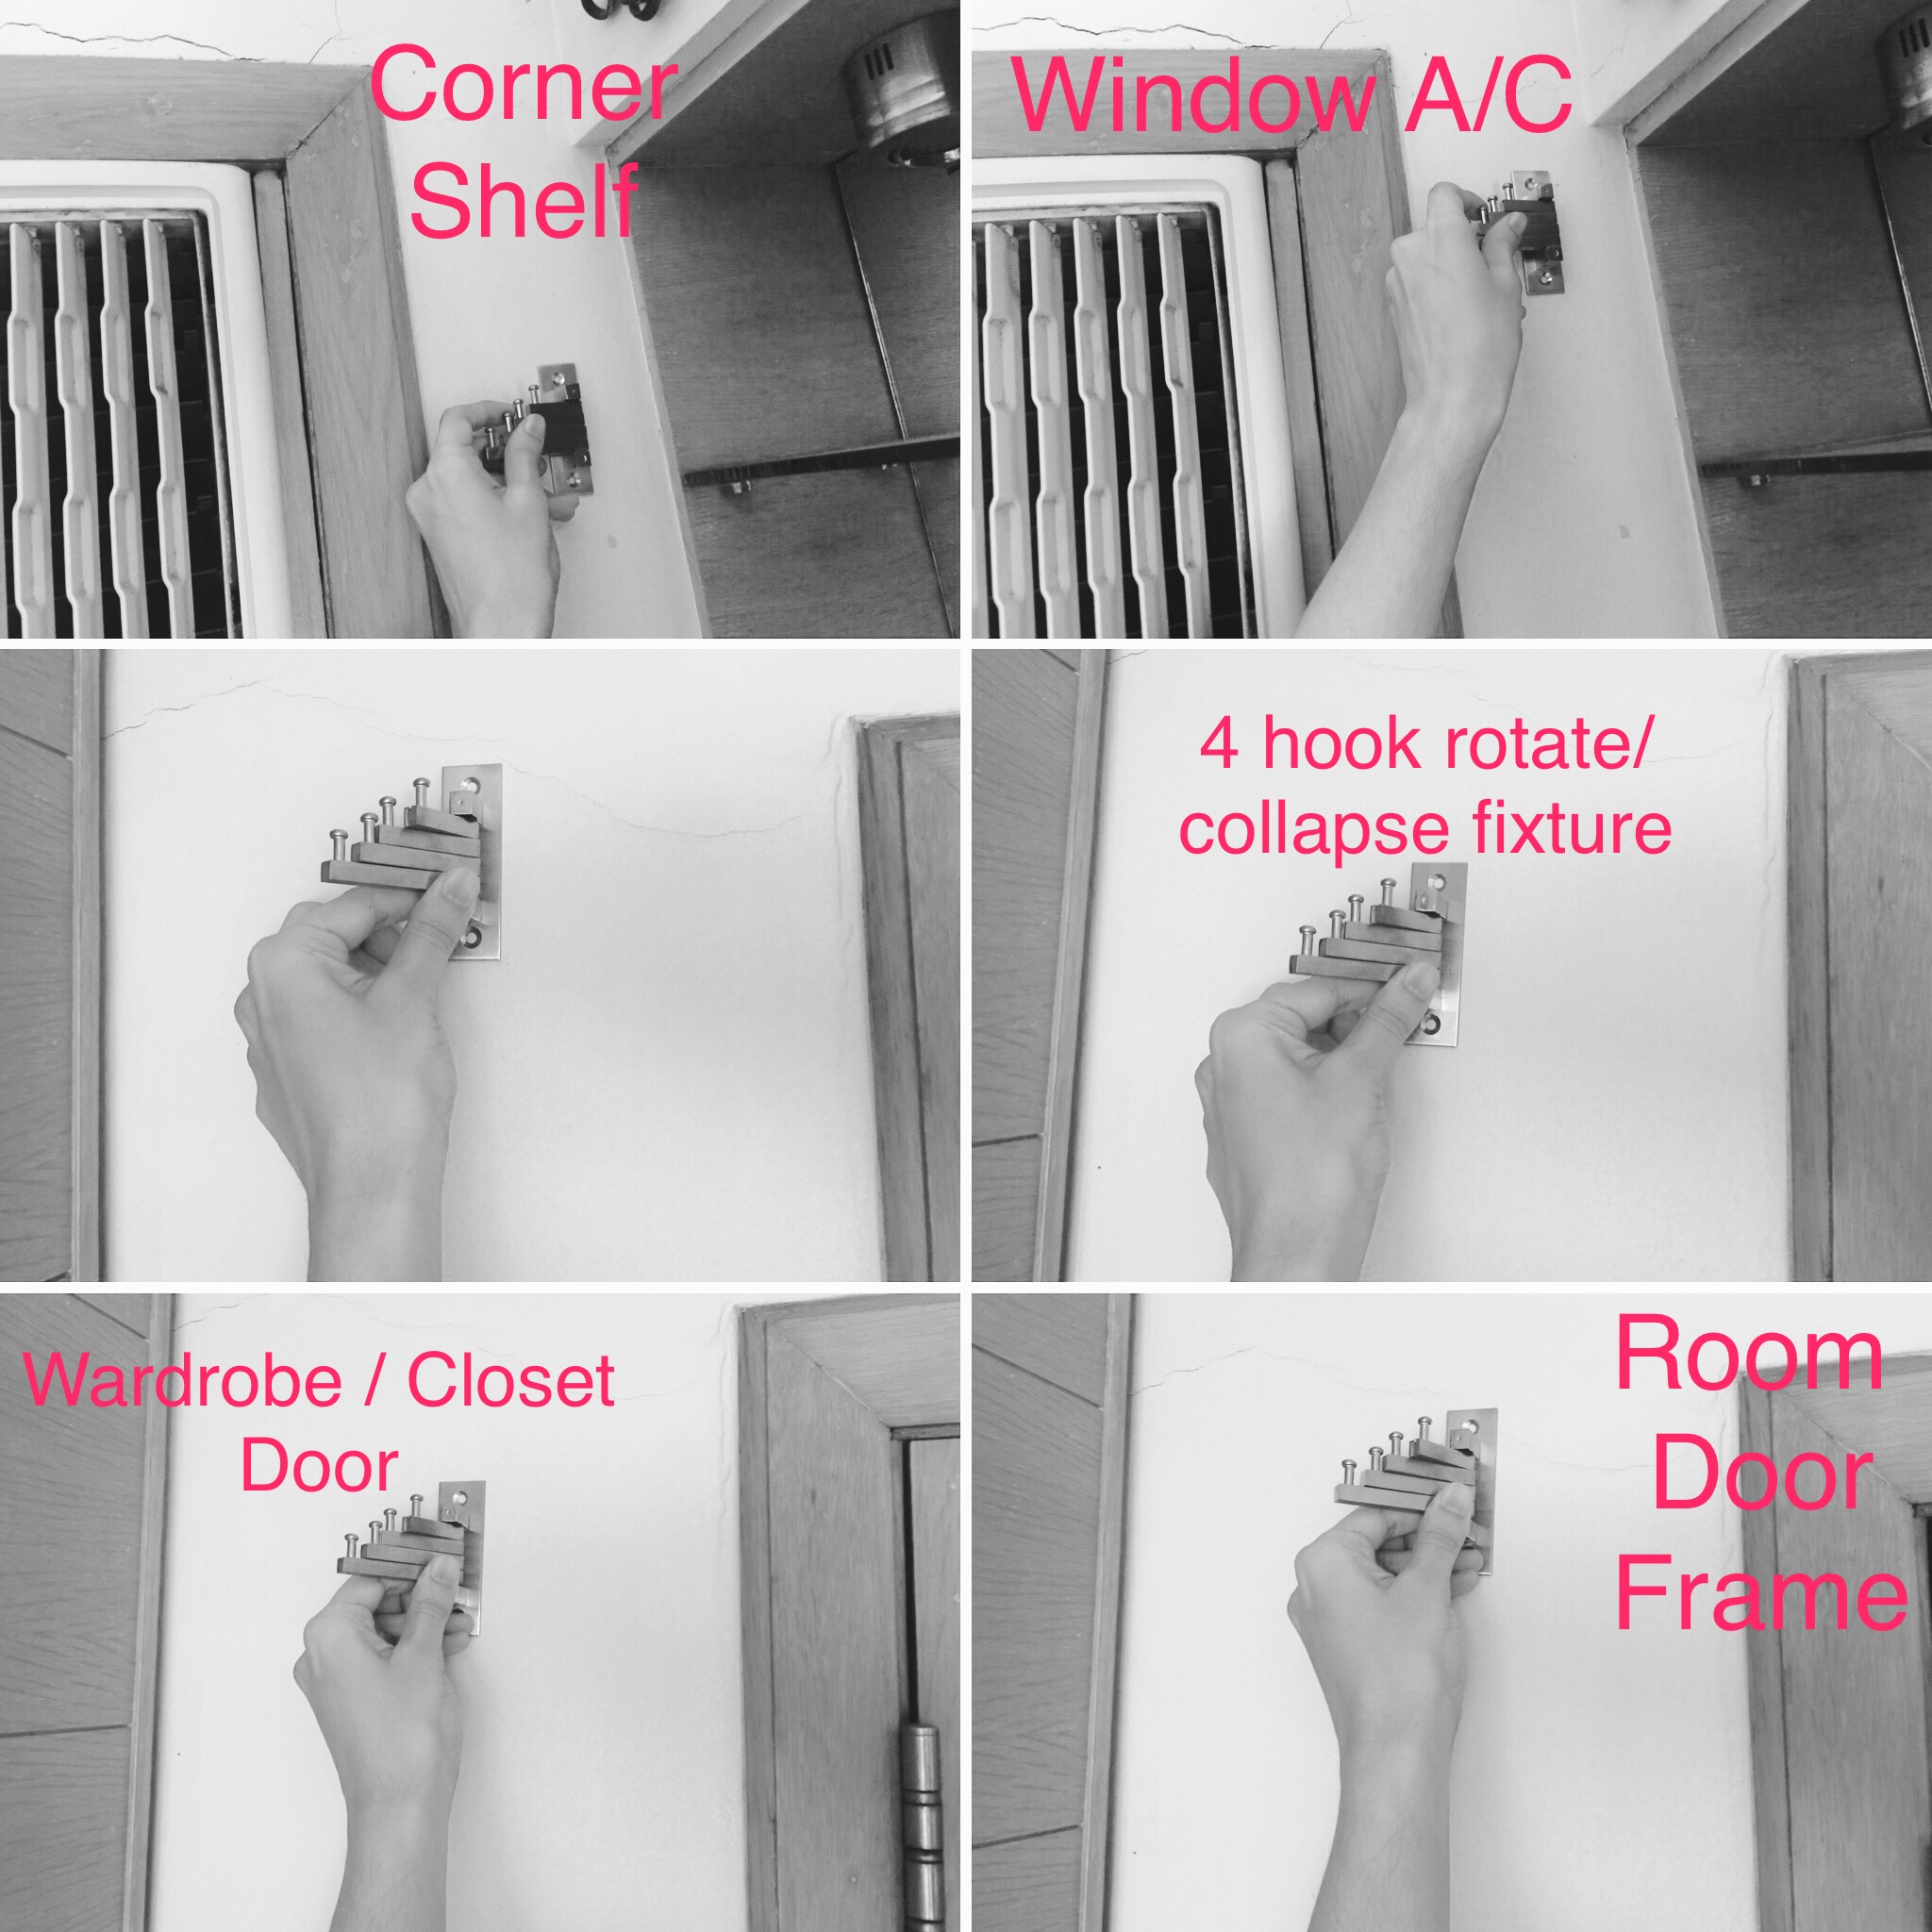
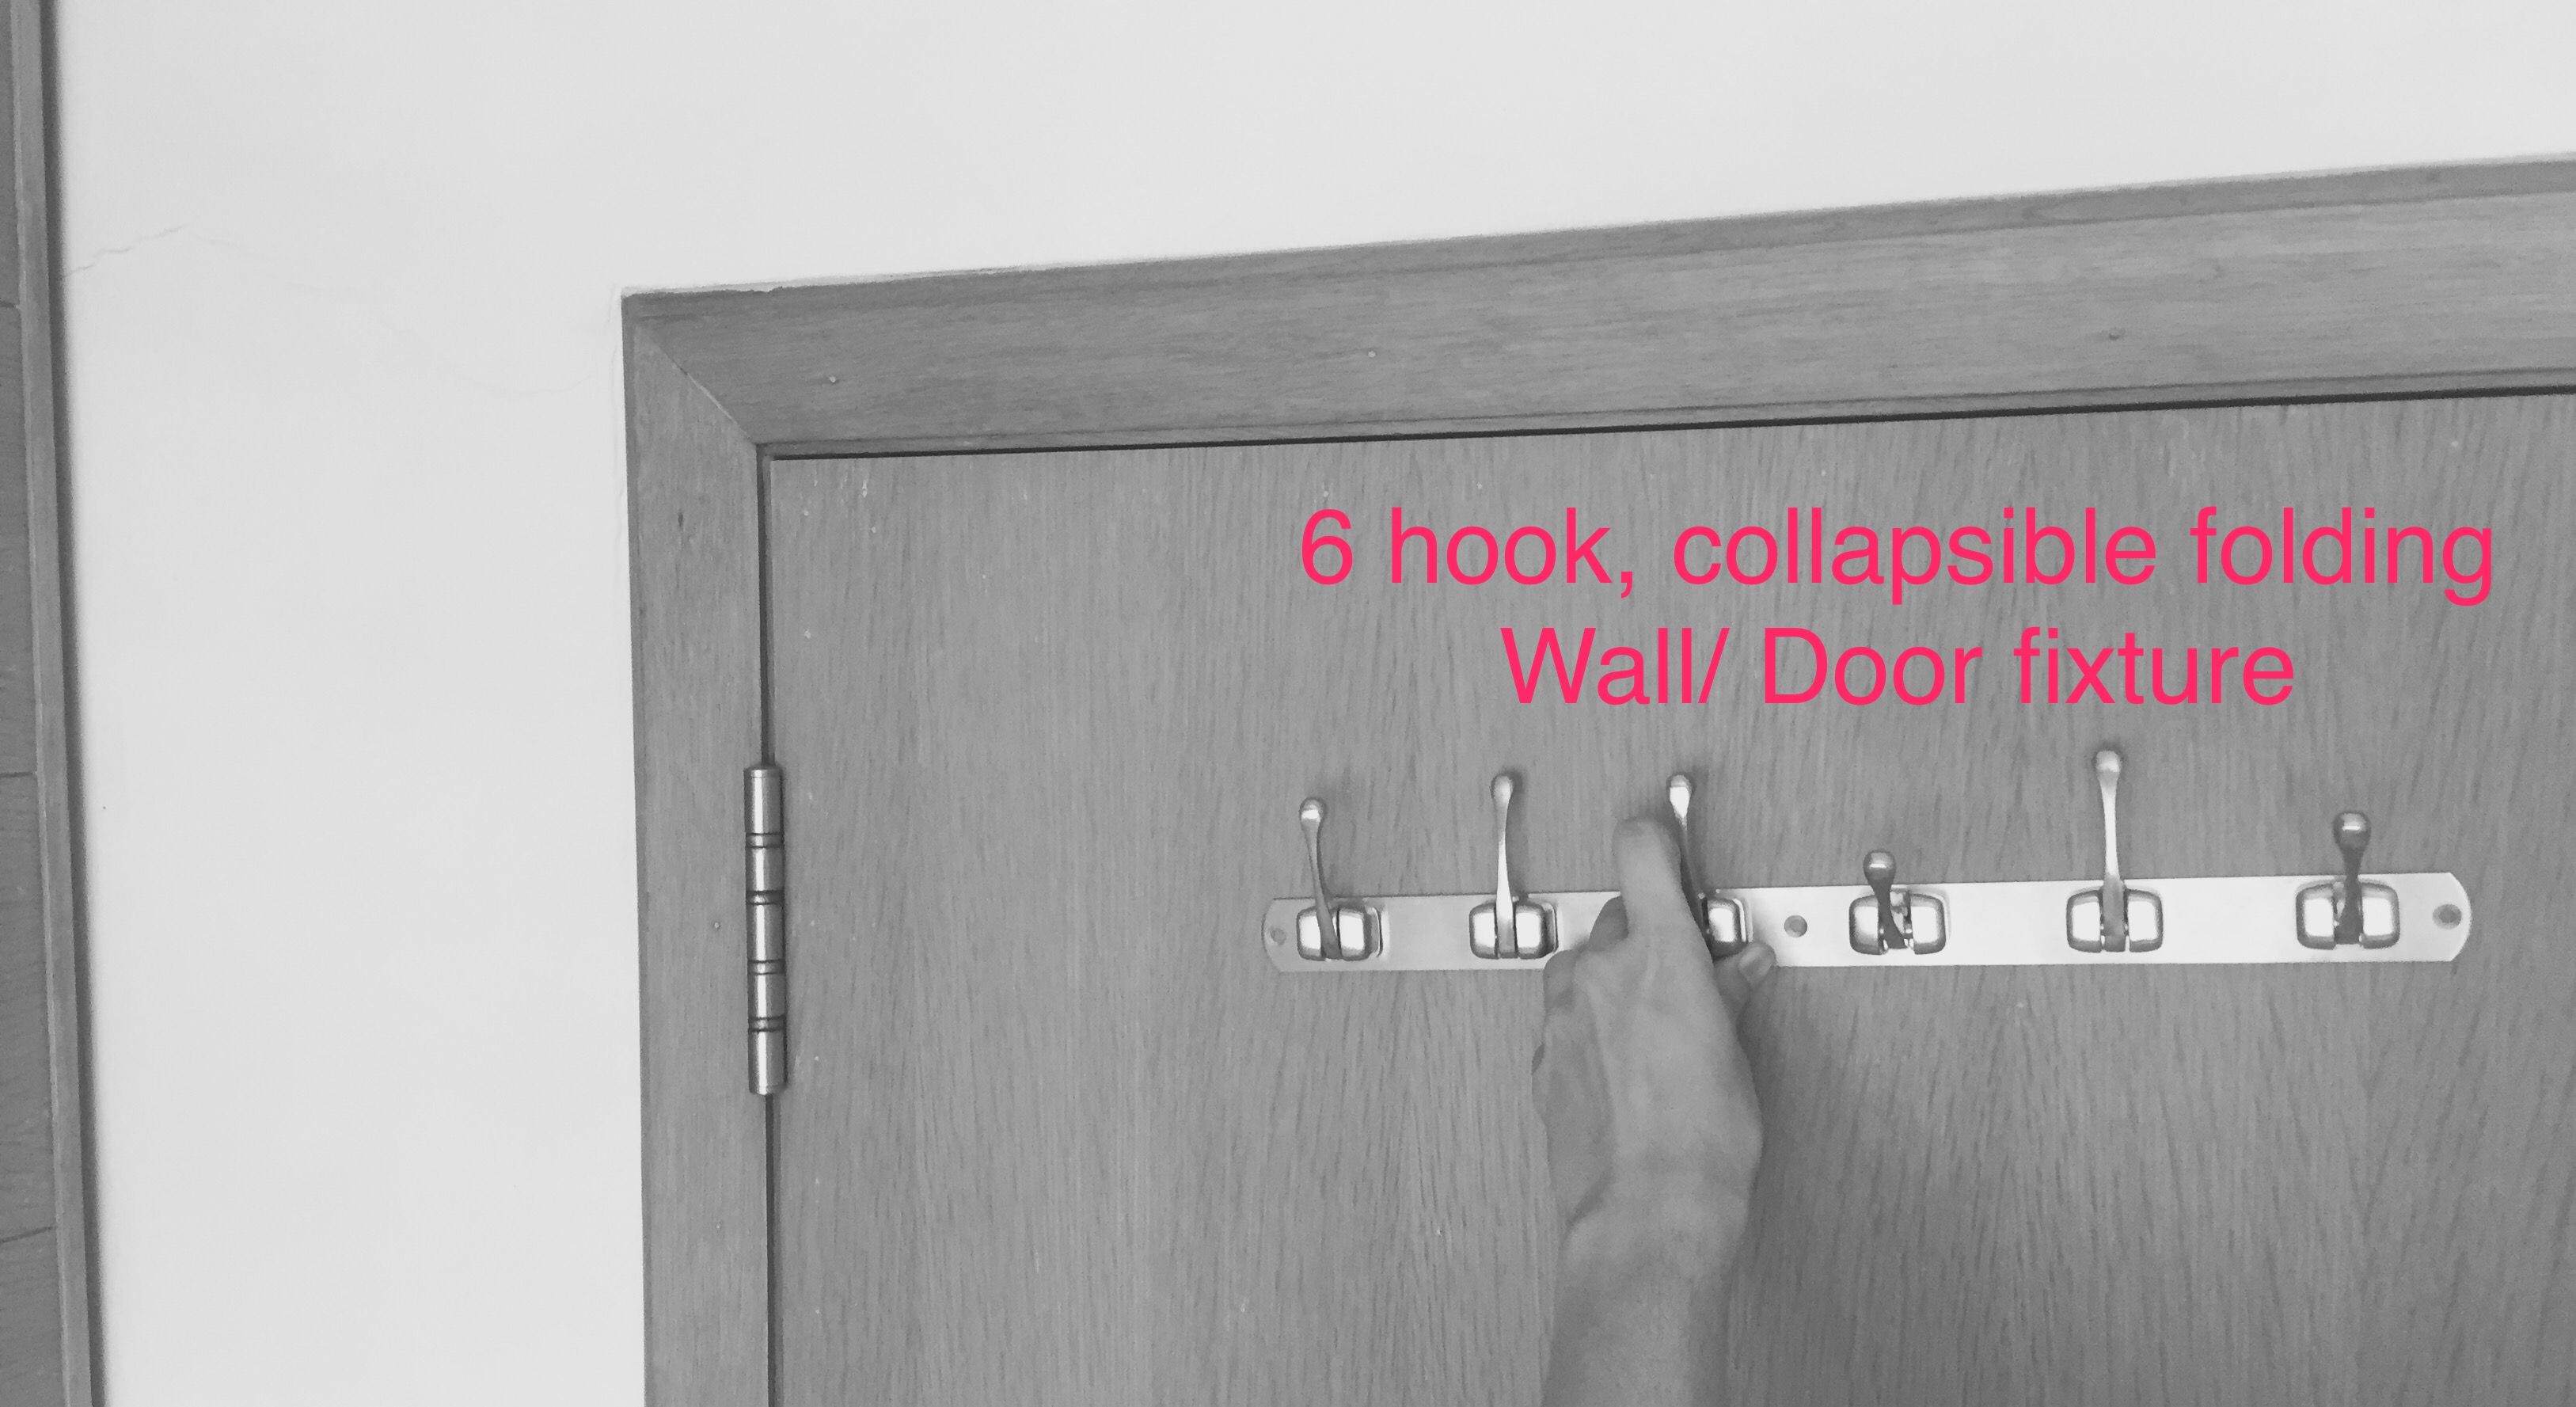
So I've got 2 (small 4 hook) + 1 (Long 6 hook) of these collapsing hook fixtures (each has 2/3 holes for screws) as shown in pictures. I've tried to label the surrounding things as well as I can.
This is currently at my family's home where I needed some functional modifications in my current room.
Problem is I may end up changing rooms in few months or move to a separate apartment and would like to have these fixtures wherever I end up staying for longer.
Also, these were the last few pieces in stock and are not being manufactured anymore and I didn't like any others after lot of hours of physical leg work during market search (in humid Asia).
I'll either have to buy or borrow some tools or ask someone to help me do this.
So I'd like to attach/ screw in these fixtures with following in mind:
- Least damage to fixture & wall during attachment
- Easy remove ability with minimal damage to both during detachment
- Easy cleanup, filling of holes etc once done
The construction is concrete columns & beams & walls are mostly brick, so I'm not sure what's behind the surface in each of the above variations/ scenario.
So is there a way or method or "dos & donts" from experienced folks/ experts for someone who is a newbie to DIY stuff, at ones family's home.
PS: Any tips on whether placement looks better in line with top of frame or slightly moved below the line of the wood frames


