3

I bought a 100+ plus house and to my horror, under the carpet was not the strip hardwood floor we expected, but particleboard. Not OSB, not plywood - particleboard (which I just learned would need to be replaced anyways with plywood if new flooring going on top).

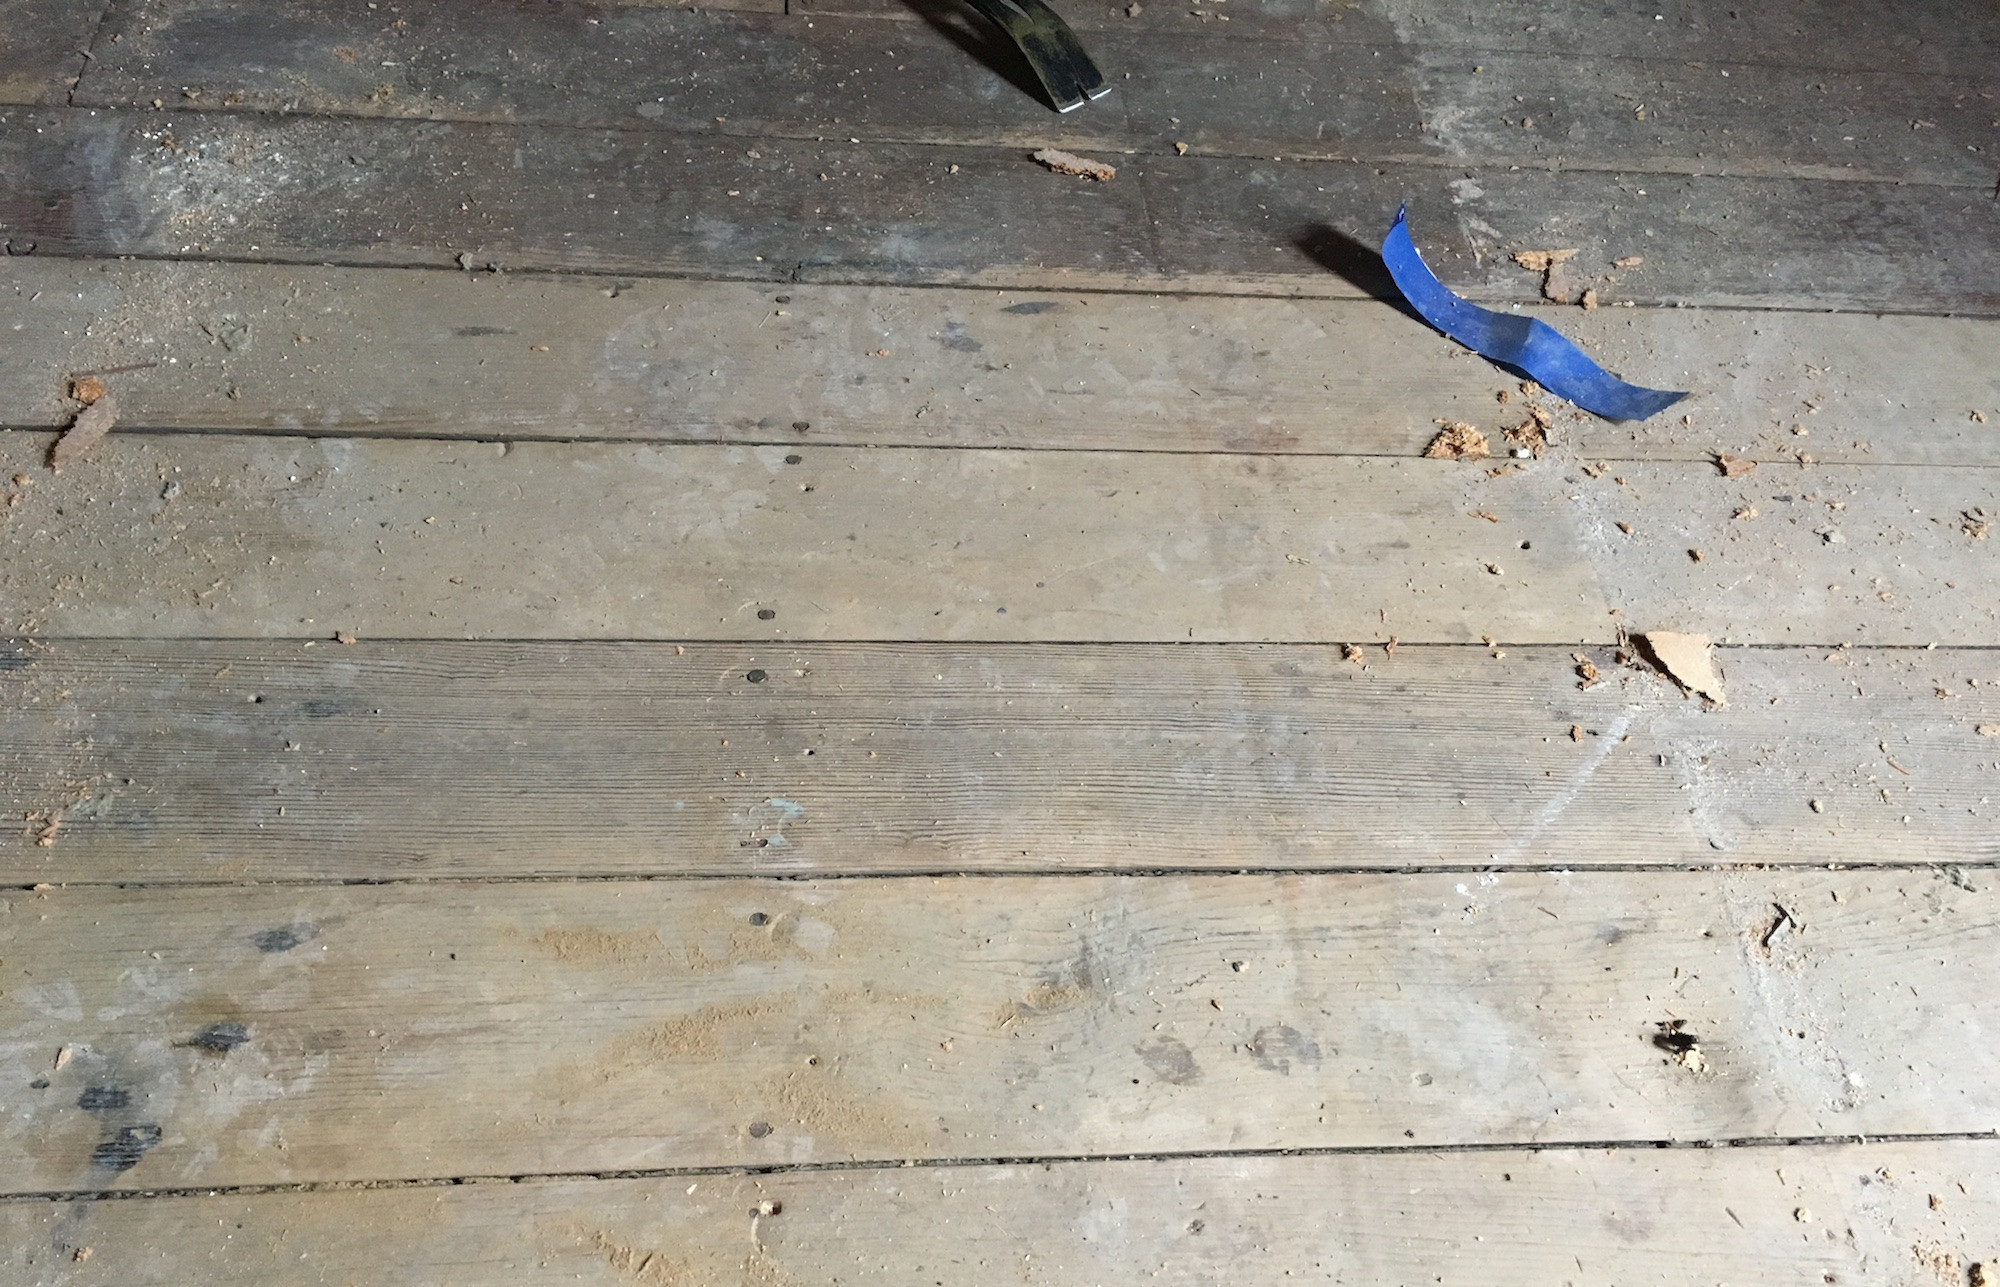
BUT! Under the particle board are very old wood planks! They're 5" t&g douglas fir (I think) and they look like they've never been sanded once. There's an old varnish or shellack finish (except for in the middle of the room where a rug must have been) so they where not installed as just subflooring.

enter image description here

They're awesome! But.. they're plenty soft, gaps as big as 1/4", plenty of damage and splinters, tons of nail holes, a large section by the front door was replaced with pine, etc. And here's the biggest problem maybe: there's no subfloor underneath them!

However I don't think they're worn badly at all and we're intent on restoring and using them, even if that means pulling them up and flipping them over to the unused side. It's only in one small room -- about 300 sq ft -- but it's the living room and the heart of the house. And we're on a major budget and new flooring is expensive, less sustainable than reclaimed, and not as cool :).

What do you recommend? Should I sand them with a drum sander or just a DA sander? Or would a DA sander catch splintered edges and rip out large sections? What finish do you recommend? Poly or a hard wax like rubio monocoat? What about wood filler? Any other tips??

Thanks! (BTW, I will NOT accept NO for an answer!)

[UPDATE: we sanded finished them: http://dannix.net/lib/abode/floor ]

4
  • Are these planks at 45 deg to the walls in the house or parallel to some and perpendicular to others? Commented Jan 17, 2017 at 11:32
  • Where is this house and what are the climate and soil conditions? Commented Jan 17, 2017 at 12:42
  • @JimStewart no they're not at 45 degree angle, and they're above an unconditioned cellar. It's on NE Kansas in the Kansas River Valley "river bottom land" with excellent, very deep, well-drained, moderately permeable soils that formed in silty or loamy alluvium a.k.a. silt-loam a.k.a. awesome soil for gardening but causes high humidity in the cellar bellow the wood flooring in question :) Commented Jan 17, 2017 at 19:25
  • 1
    From Google ths.gardenweb.com/discussions/2444999/…. Commented Jan 17, 2017 at 21:44

3 Answers 3

5

It is totally feasible to do this. Just a lot of hard work.

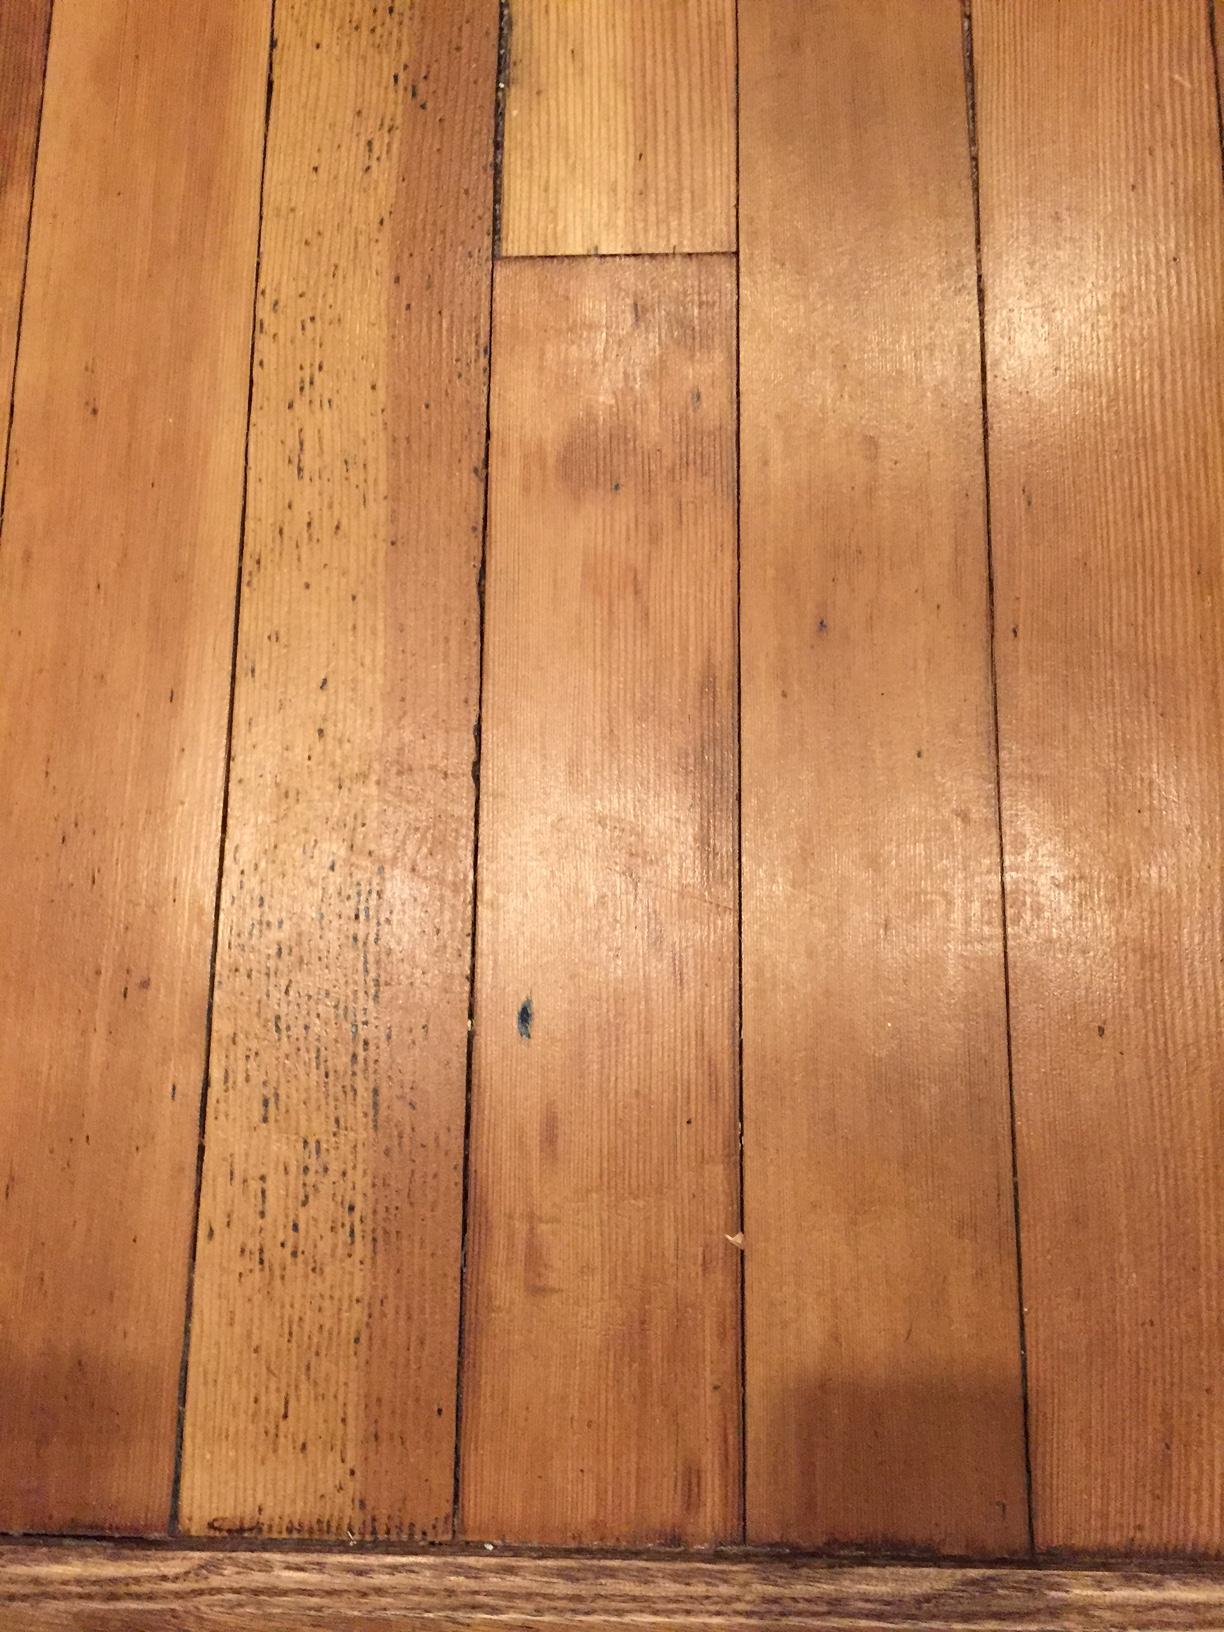
We redid a laundry room that had a worn painted outdoor porch floor (the house is from 1869 and has been organically growing for 150 years). Tongue in groove. Fir, we think. We pulled up the boards carefully, removed the nails, hand scraped the edges, (which had been coated with paint and would prevent close reassembly), put in a subfloor and then reassembled the porch floor over it. We then sanded it down (no drum sander -- too small an area and too hard to control). It is finished with a good satin poly, three coats. We left it a bit rustic.

enter image description here

You do need a subfloor for strength, to prevent flex and to minimize airflow from below.

You are likely to have a few damaged boards, so you may need to rearrange the pieces to compensate. This will leave you short several board feet, so you may need to use a border of new wood around the edges to fill in. Small holes can be left open or filled, depending on your taste.

8
  • I would just add: if one uses wedges to pry the face-nailed boards up just ~3/8" then let down again, the nail head would protrude for use of a claw hammer; pry up each board, gradually, along each point held down by a nail to prevent cracking. Pry up the groove side of board first; the tongue will pivot within the groove. Oh, start at wall furthest from room's exit, lol. Commented Jan 17, 2017 at 16:23
  • @JamesOlson Excellent technique advice. Also could use a small catspaw prybar to gently lift the boards.
    – bib
    Commented Jan 17, 2017 at 16:41
  • thks, I though of including mention of catspaw but I like the pry radius of a claw hammer better. Also, I don't like the flex of a catspaw as it stores kinetic energy and then thwack knuckles hit the floor. Commented Jan 17, 2017 at 16:47
  • 1
    @JamesOlson I actually like the broad end of a catspaw for lifting. It's a good size and a shallow leverage. I agree on the nail lifting approach. I usually use a carpenter's hammer - less curve for a slower pull and I put a shim under the head to reduce the chance of marring.
    – bib
    Commented Jan 17, 2017 at 17:10
  • 1
    You probably need to cut through the ends with a multitool unless the ends of the boards are free after taking off a floor cap molding.
    – bib
    Commented Jan 17, 2017 at 18:00
2

Old post here but if anyone else is considering this. I recommend not even bothering to pull the floors. If you have a crawl space underneath, encapsulate it instead to prevent draft, make the house more efficient, and promote airflow from below (you want this as you allow a bit of heat to go into the encapsulated space.

Any gaps can be filled with filler wood or wood filler. Then you can just sand the boards as is, stain, and clear.

1
  • 1
    Any areas with flex can be fixed with sistered joists.
    – hoodun
    Commented Jul 8, 2020 at 1:23
1

I had the same, sanded down in place, refinished with poly, insulated under floor, filled gaps with a complimentary color big stretch and looks beautiful. Old growth Douglas fir, but concerned about hardness, but held of for two years great so far.

1
  • Welcome to Home Improvement! Would you please edit your answer to explain what "big stretch" means in "filled gaps with a complimentary color big stretch".
    – FreeMan
    Commented Mar 27, 2023 at 16:32

Your Answer

By clicking “Post Your Answer”, you agree to our terms of service and acknowledge you have read our privacy policy.

Not the answer you're looking for? Browse other questions tagged or ask your own question.