added 183 characters in body
Source Link
Tester101
  • 132.5k
  • 79
  • 324
  • 612

Start by attaching two rack gears to the post.
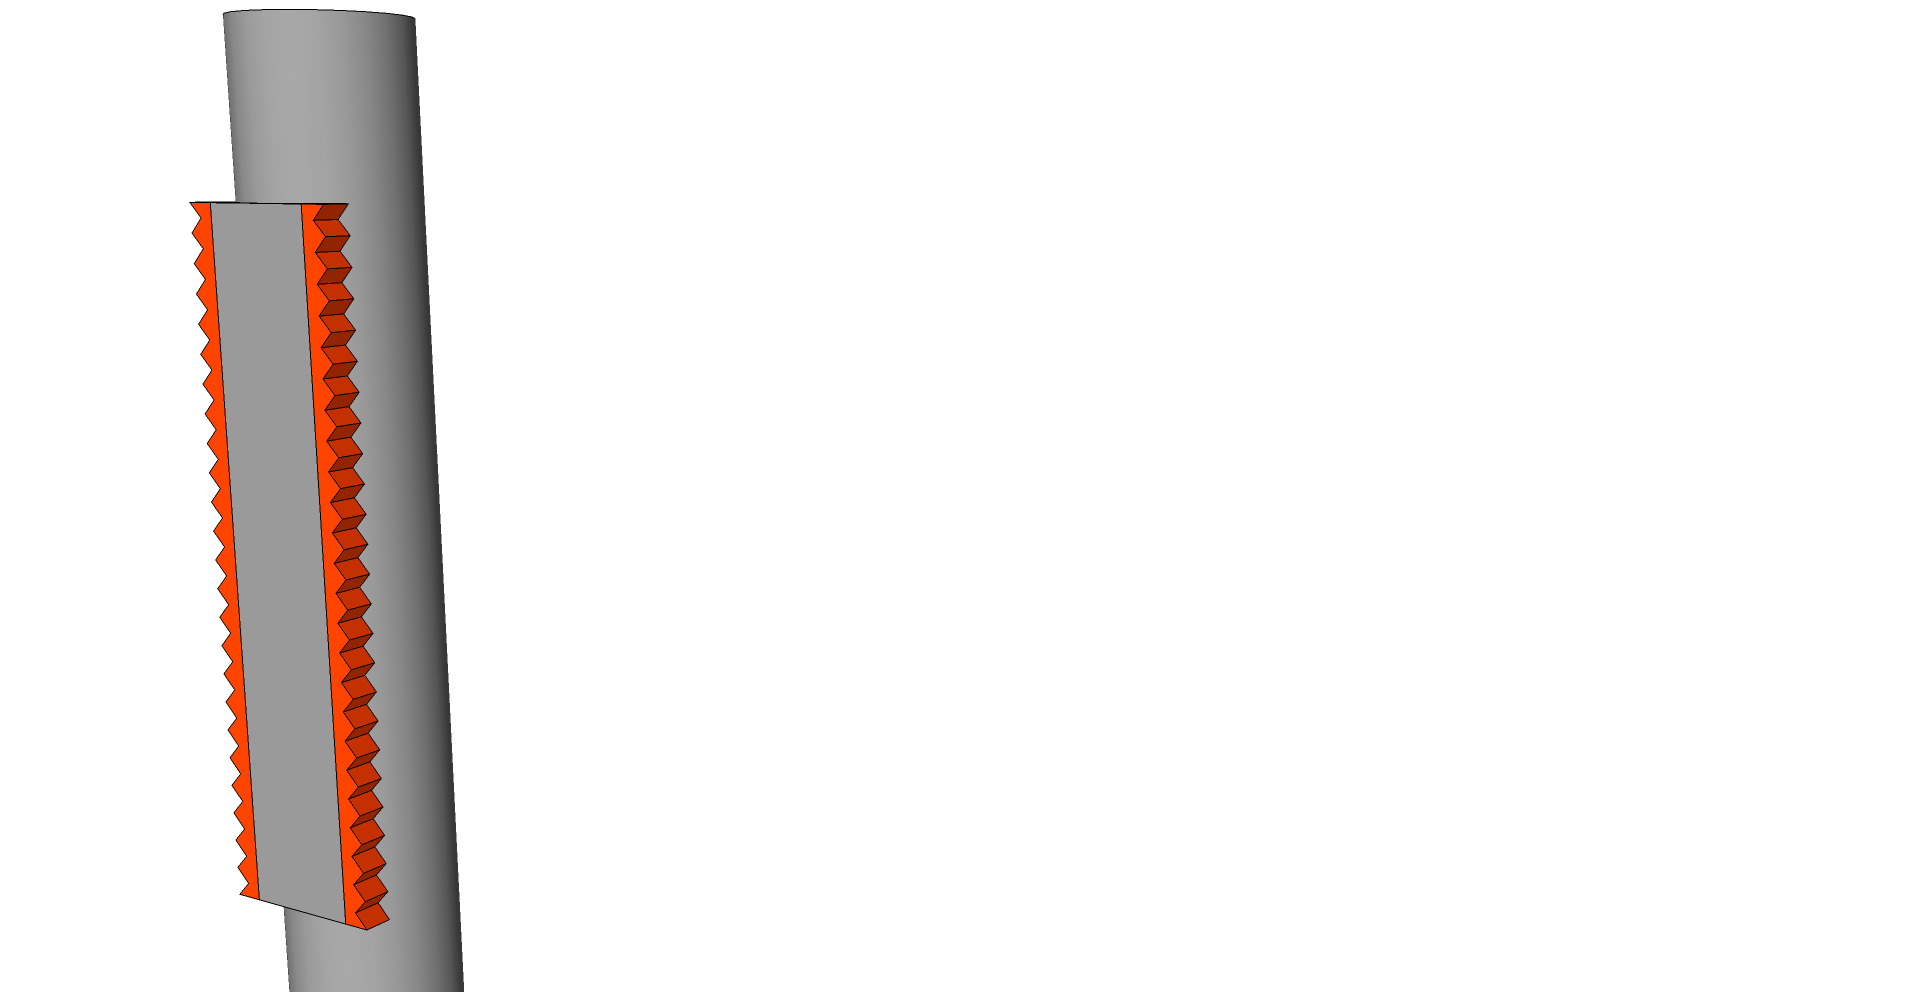
enter image description here

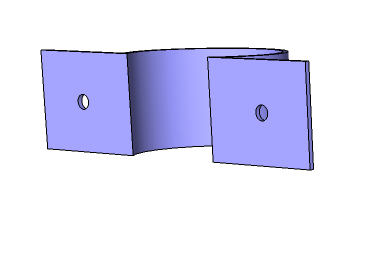
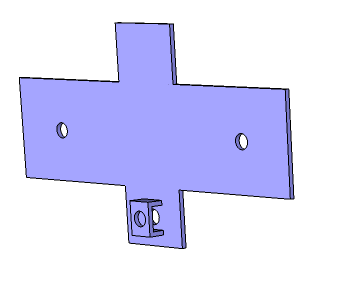
Next fabricate a halved trolley.

enter image description here
Rear Trolley
enter image description here
Front Trolley

You'll need a couple pinion gears that can mesh with the rack gears.
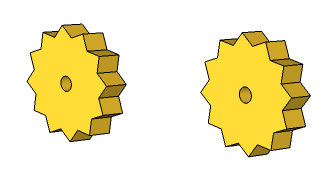
enter image description here

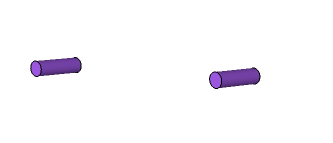
And a couple pins to allow the gears to spin.
enter image description here

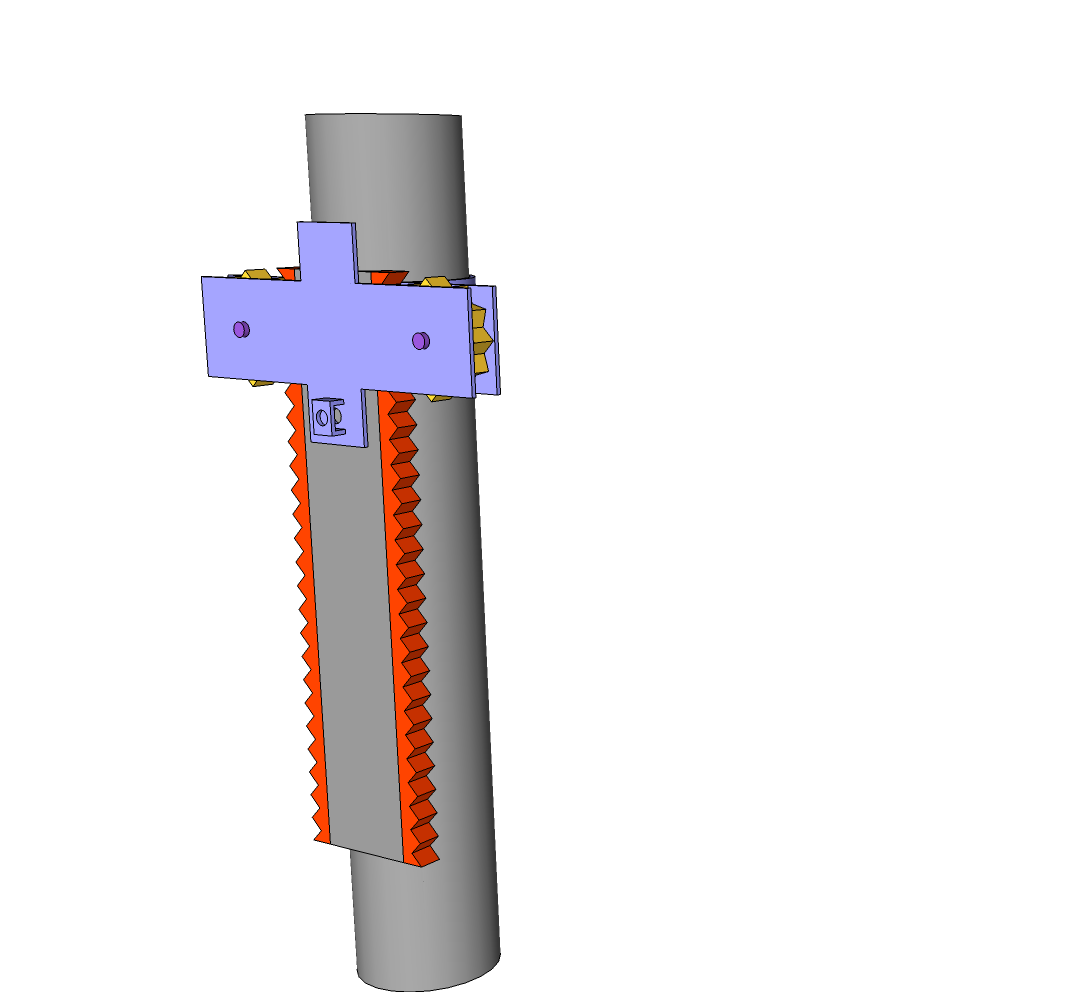
Next assemble the trolley. You can use cotter pins through the gear pins to hold everything together You'll probably want to use 4 cotter pins for each gear pin. One on the front of the front plate, one on the back of the front plate, one on the front of the rear plate, and one on the back of the rear plate.
enter image description here
Cotter pins not pictured

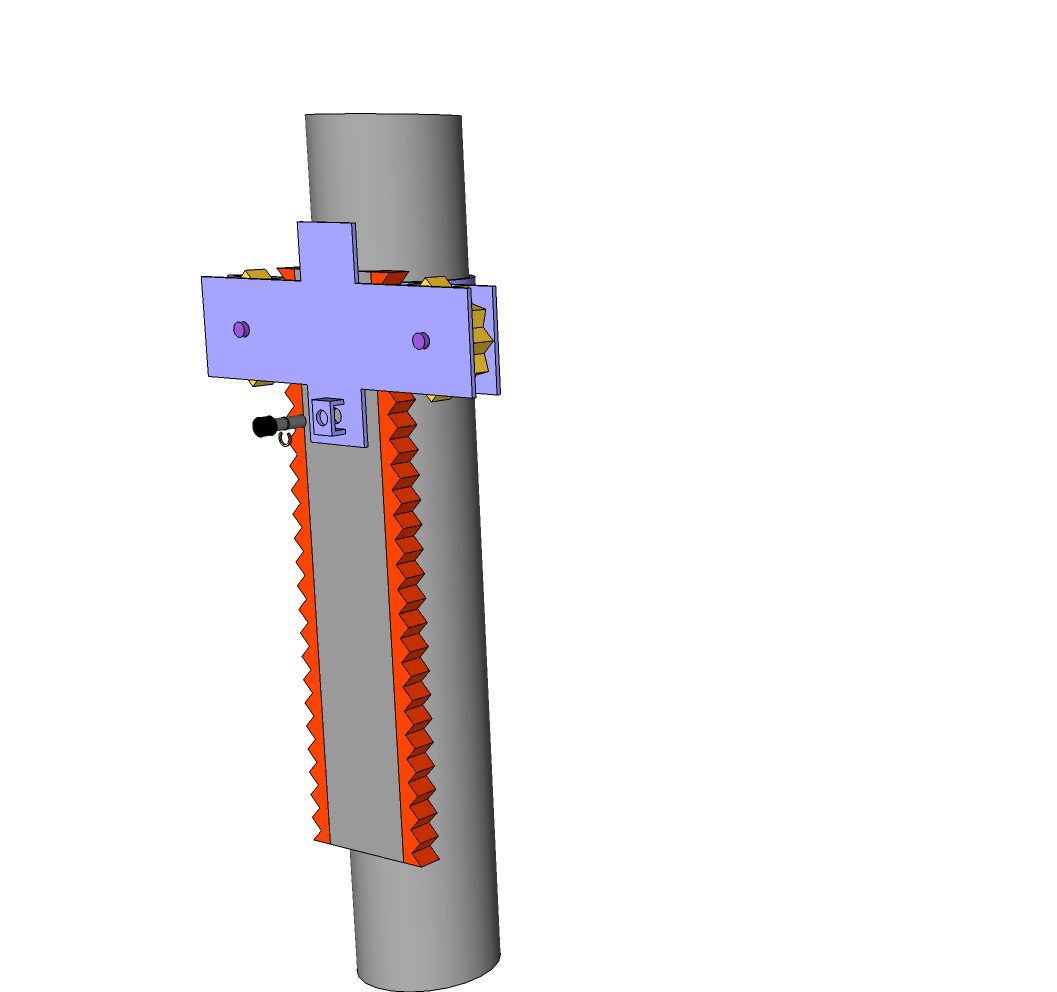
Finally, install a spring loaded release pin (held in place using a C-clip), that will lock the trolley in place.
enter image description here
Spring not pictured

When you want to raise/lower the monitor, pull out the release pin, move the monitor, then let the release pin spring back locking the monitor in place.


For a simpler design. Go take a walk through your local hardware store, and pay close attention to the mechanisms used to raise and lower the table on drill presses.

Start by attaching two rack gears to the post.

enter image description here

Next fabricate a halved trolley.

enter image description here
Rear Trolley
enter image description here
Front Trolley

You'll need a couple pinion gears that can mesh with the rack gears.

enter image description here

And a couple pins to allow the gears to spin.

enter image description here

Next assemble the trolley. You can use cotter pins through the gear pins to hold everything together You'll probably want to use 4 cotter pins for each gear pin. One on the front of the front plate, one on the back of the front plate, one on the front of the rear plate, and one on the back of the rear plate.

enter image description here
Cotter pins not pictured

Finally, install a spring loaded release pin (held in place using a C-clip), that will lock the trolley in place.

enter image description here
Spring not pictured

When you want to raise/lower the monitor, pull out the release pin, move the monitor, then let the release pin spring back locking the monitor in place.


For a simpler design. Go take a walk through your local hardware store, and pay close attention to the mechanisms used to raise and lower the table on drill presses.

Source Link
Tester101
  • 132.5k
  • 79
  • 324
  • 612

Start by attaching two rack gears to the post.

enter image description here

Next fabricate a halved trolley.

enter image description here
Rear Trolley
enter image description here
Front Trolley

You'll need a couple pinion gears that can mesh with the rack gears.

enter image description here

And a couple pins to allow the gears to spin.

enter image description here

Next assemble the trolley. You can use cotter pins through the gear pins to hold everything together You'll probably want to use 4 cotter pins for each gear pin. One on the front of the front plate, one on the back of the front plate, one on the front of the rear plate, and one on the back of the rear plate.

enter image description here
Cotter pins not pictured

Finally, install a spring loaded release pin (held in place using a C-clip), that will lock the trolley in place.

enter image description here
Spring not pictured

When you want to raise/lower the monitor, pull out the release pin, move the monitor, then let the release pin spring back locking the monitor in place.